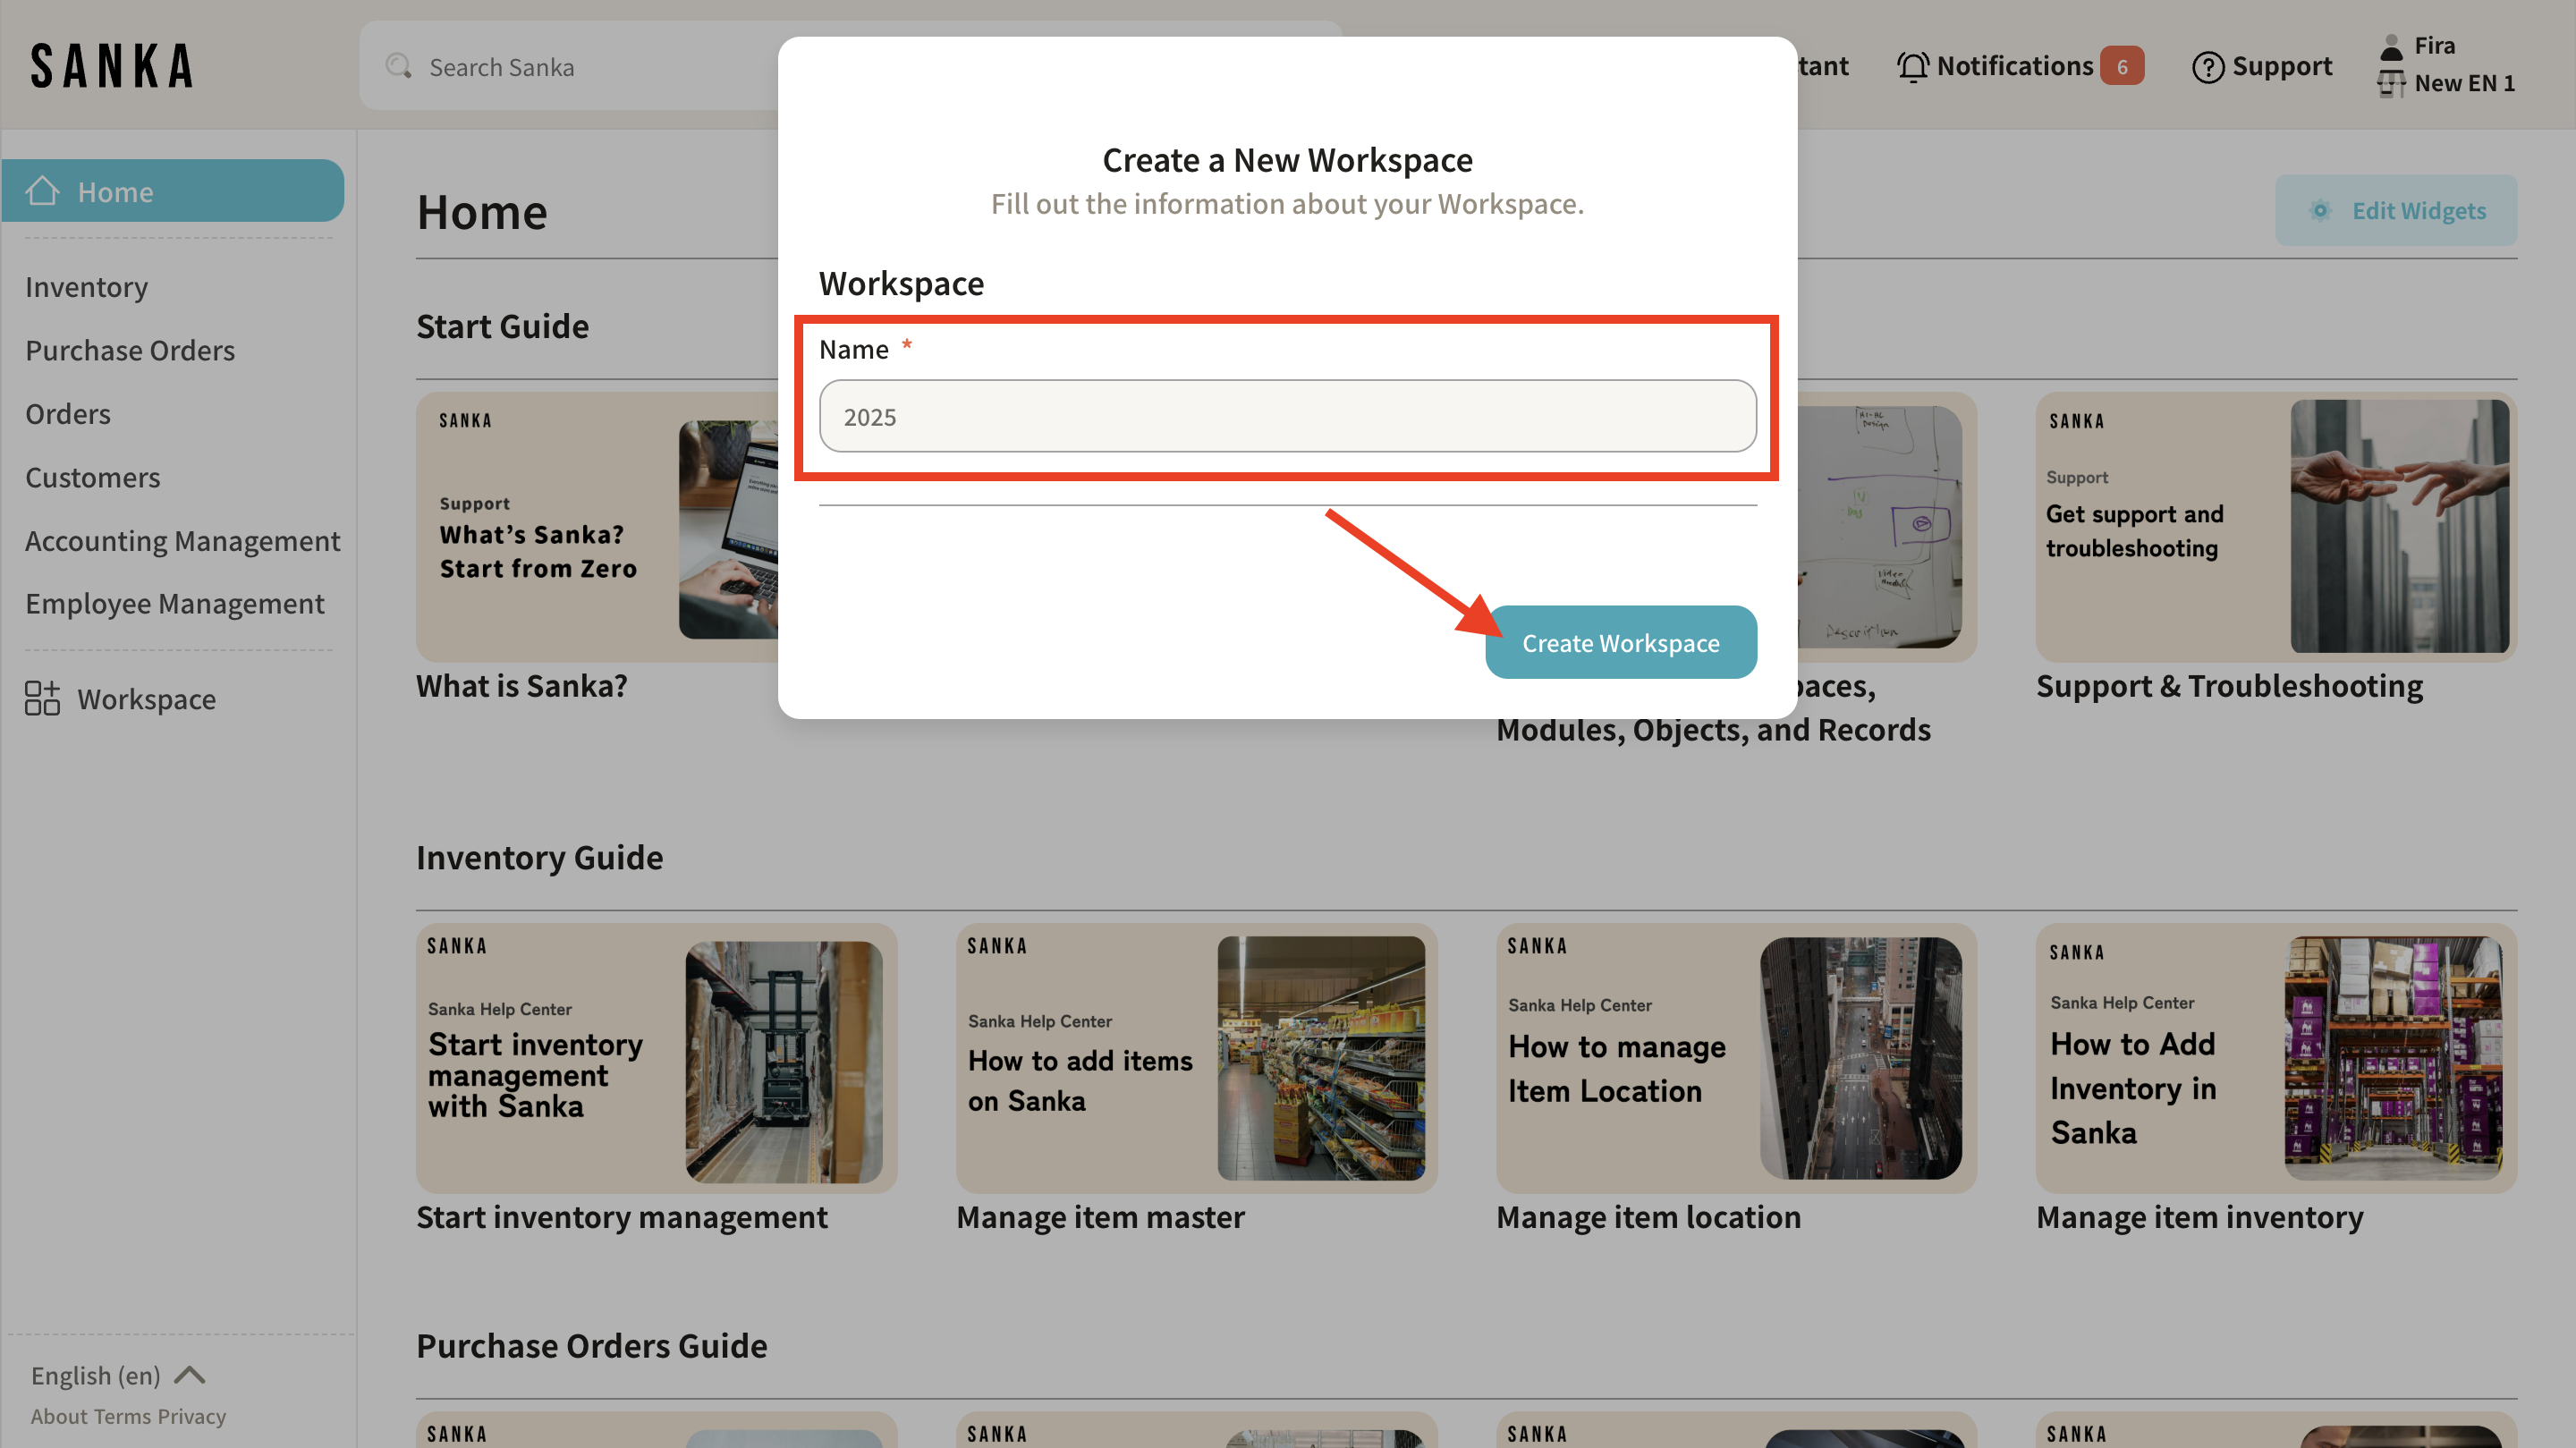
 **3: Enter a name to describe your team, project, or business. After entering the name, click the “Create Workspace” button. **
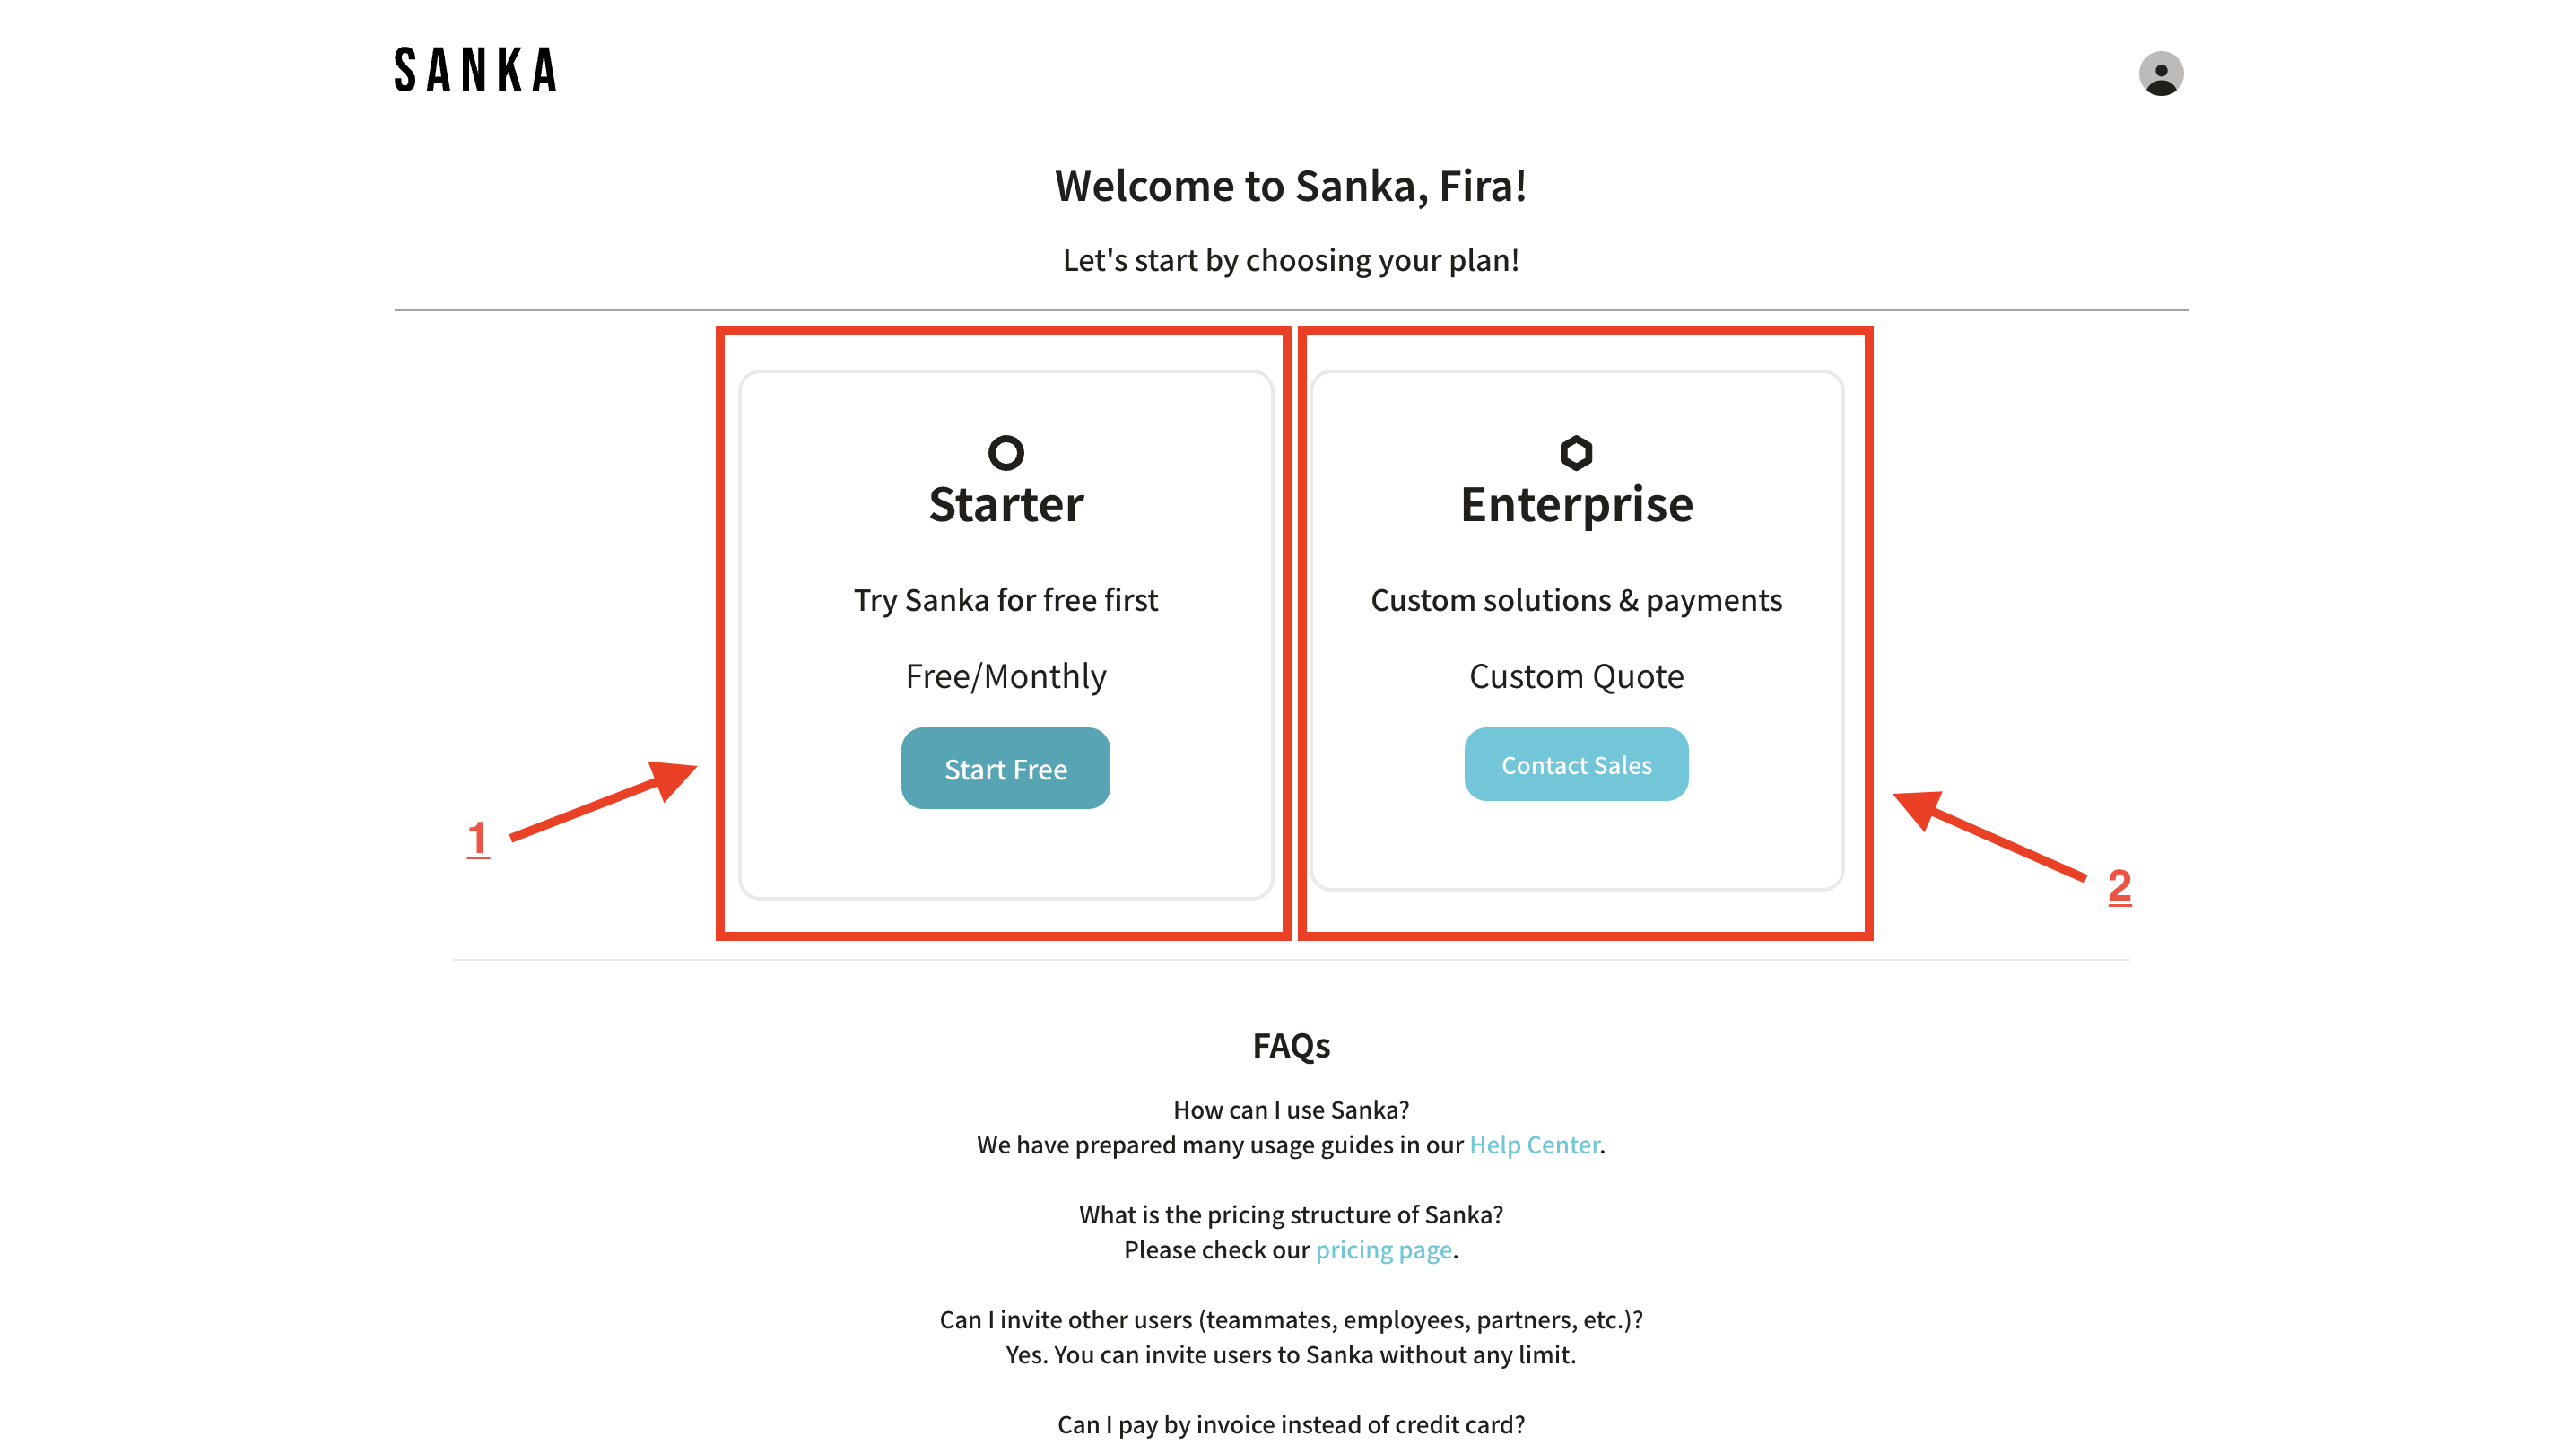
 **4: Select a plan. We recommend the “Starter Plan” for initial use (1). If you need custom solutions and features tailored to your business, please contact our sales team directly for our Enterprise Plan (2). **
 **5: After selecting a plan, select the features you want. “Features” here refers to modules and solutions used in Sanka’s workspace. **
Click here** for more information about modules. **
**5: After selecting a plan, select the features you want. “Features” here refers to modules and solutions used in Sanka’s workspace. **
Click here** for more information about modules. **
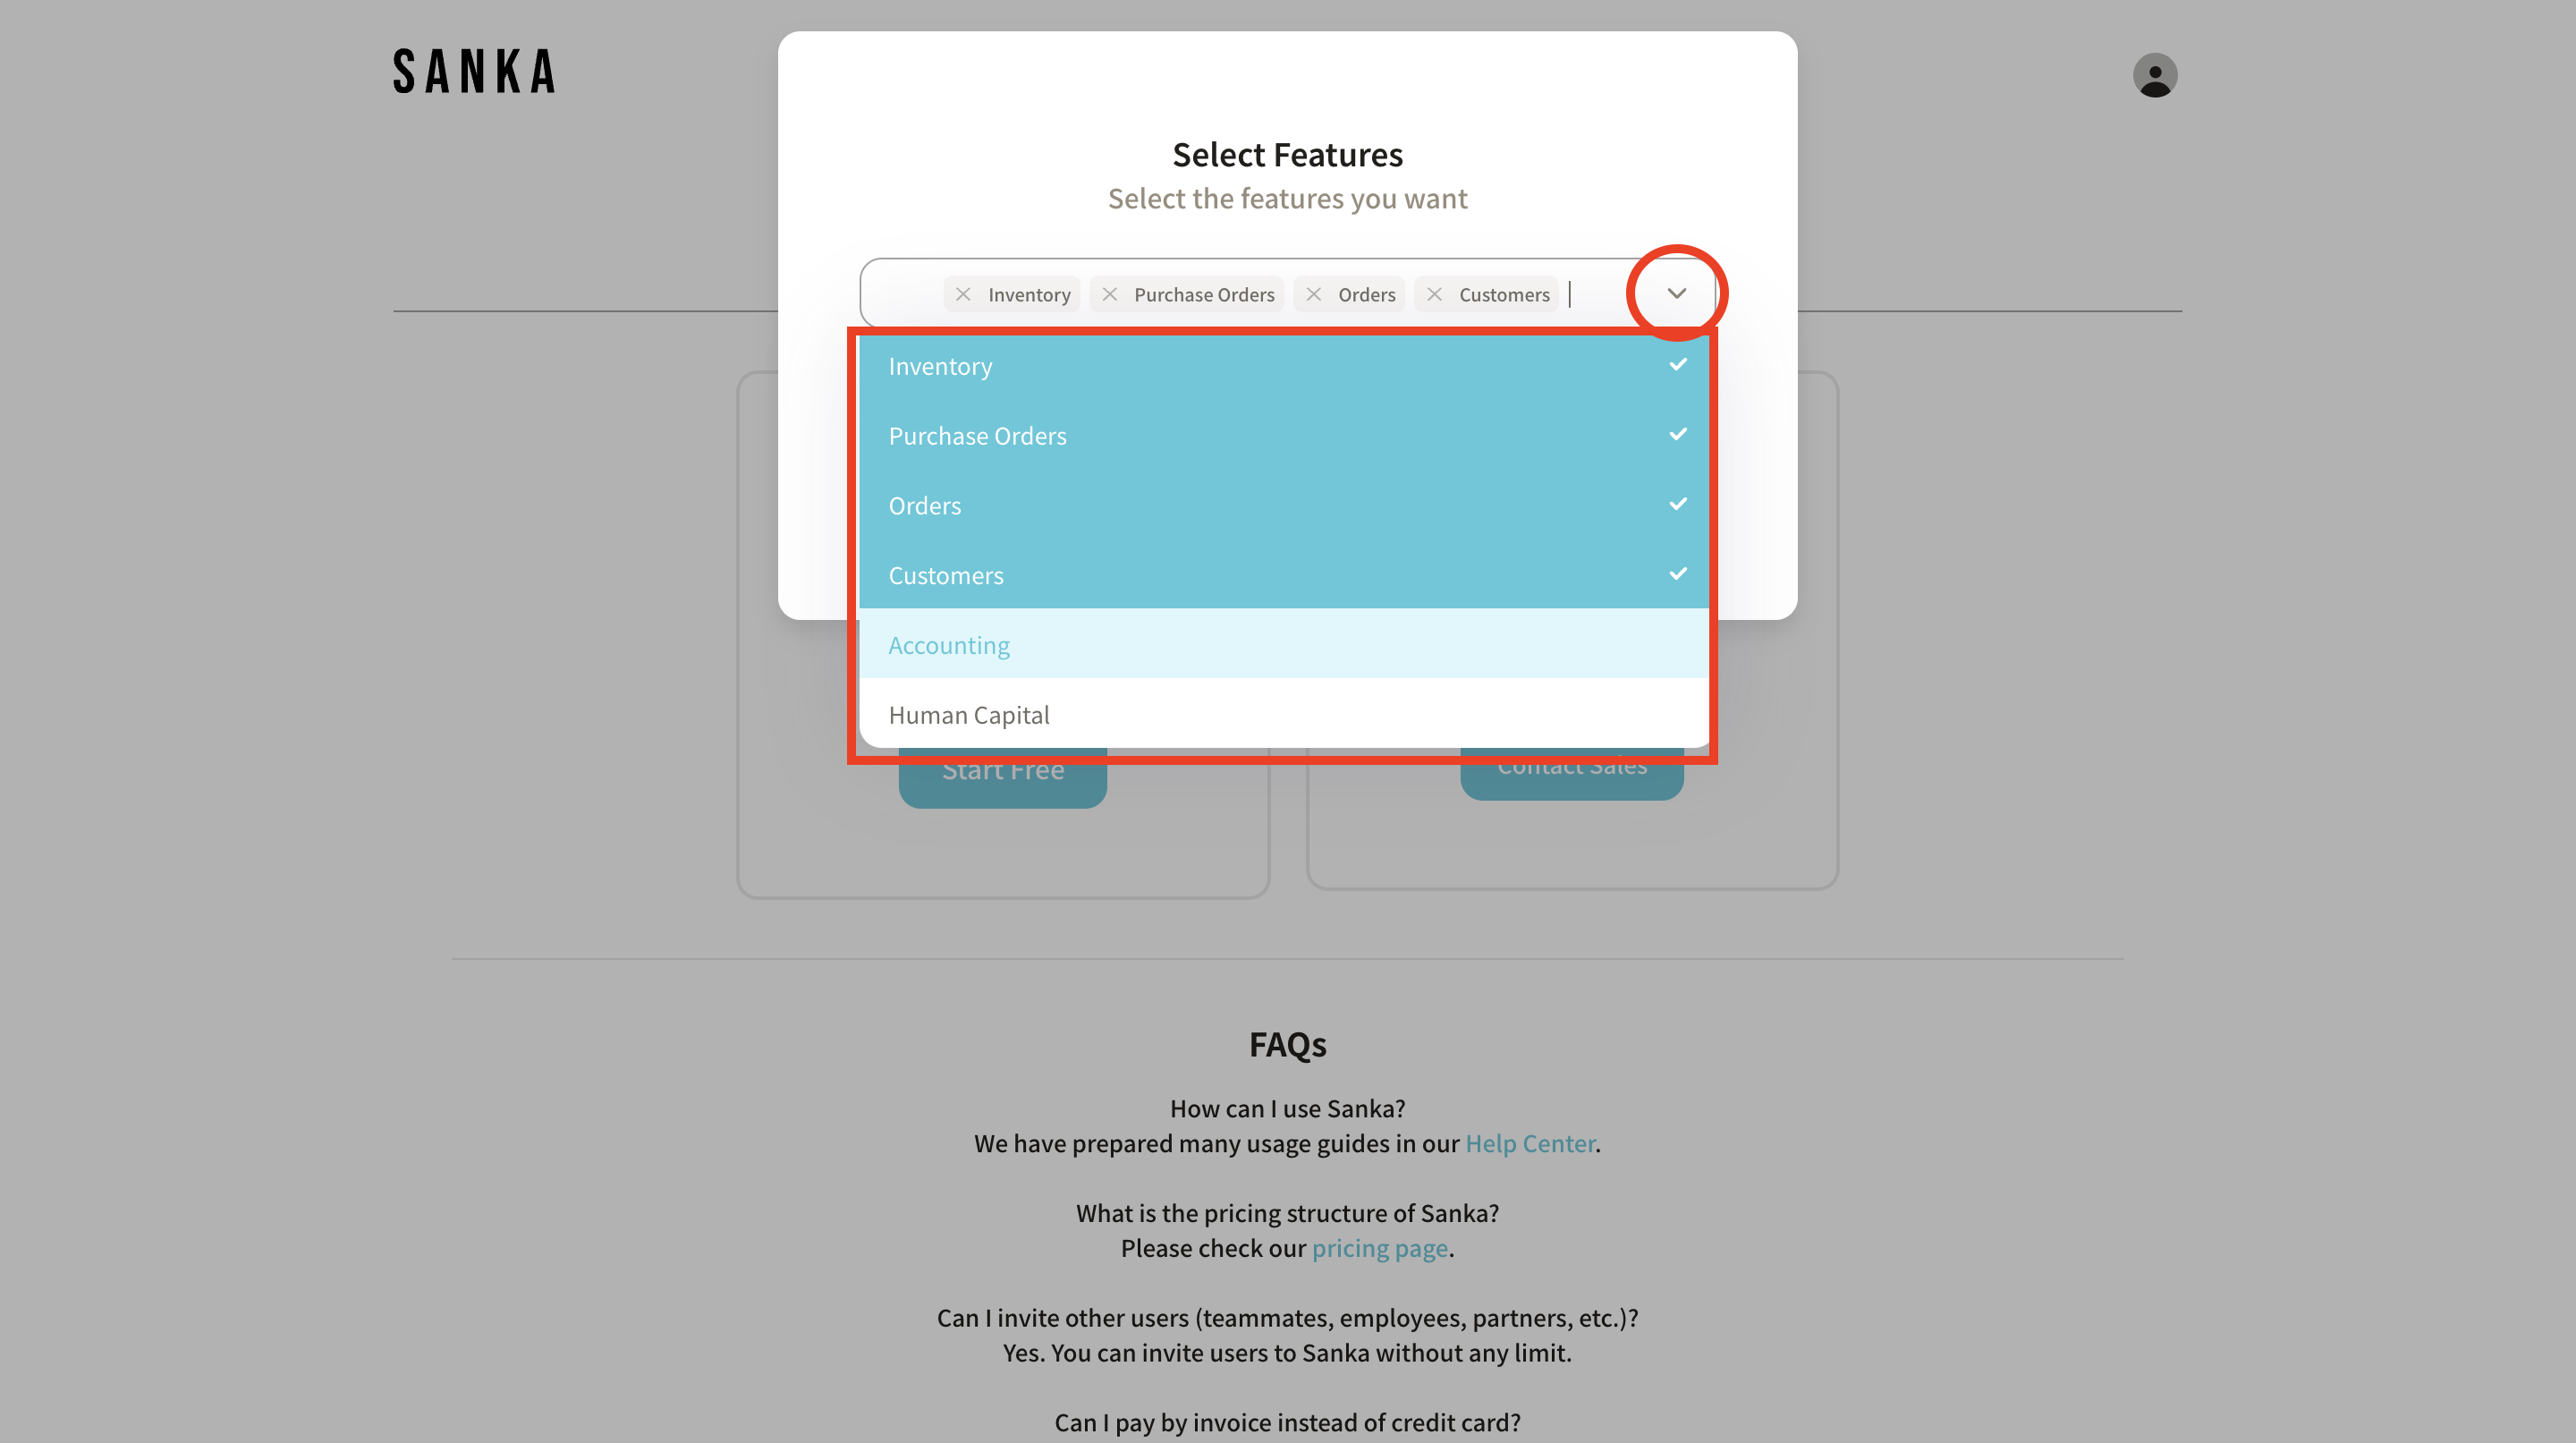
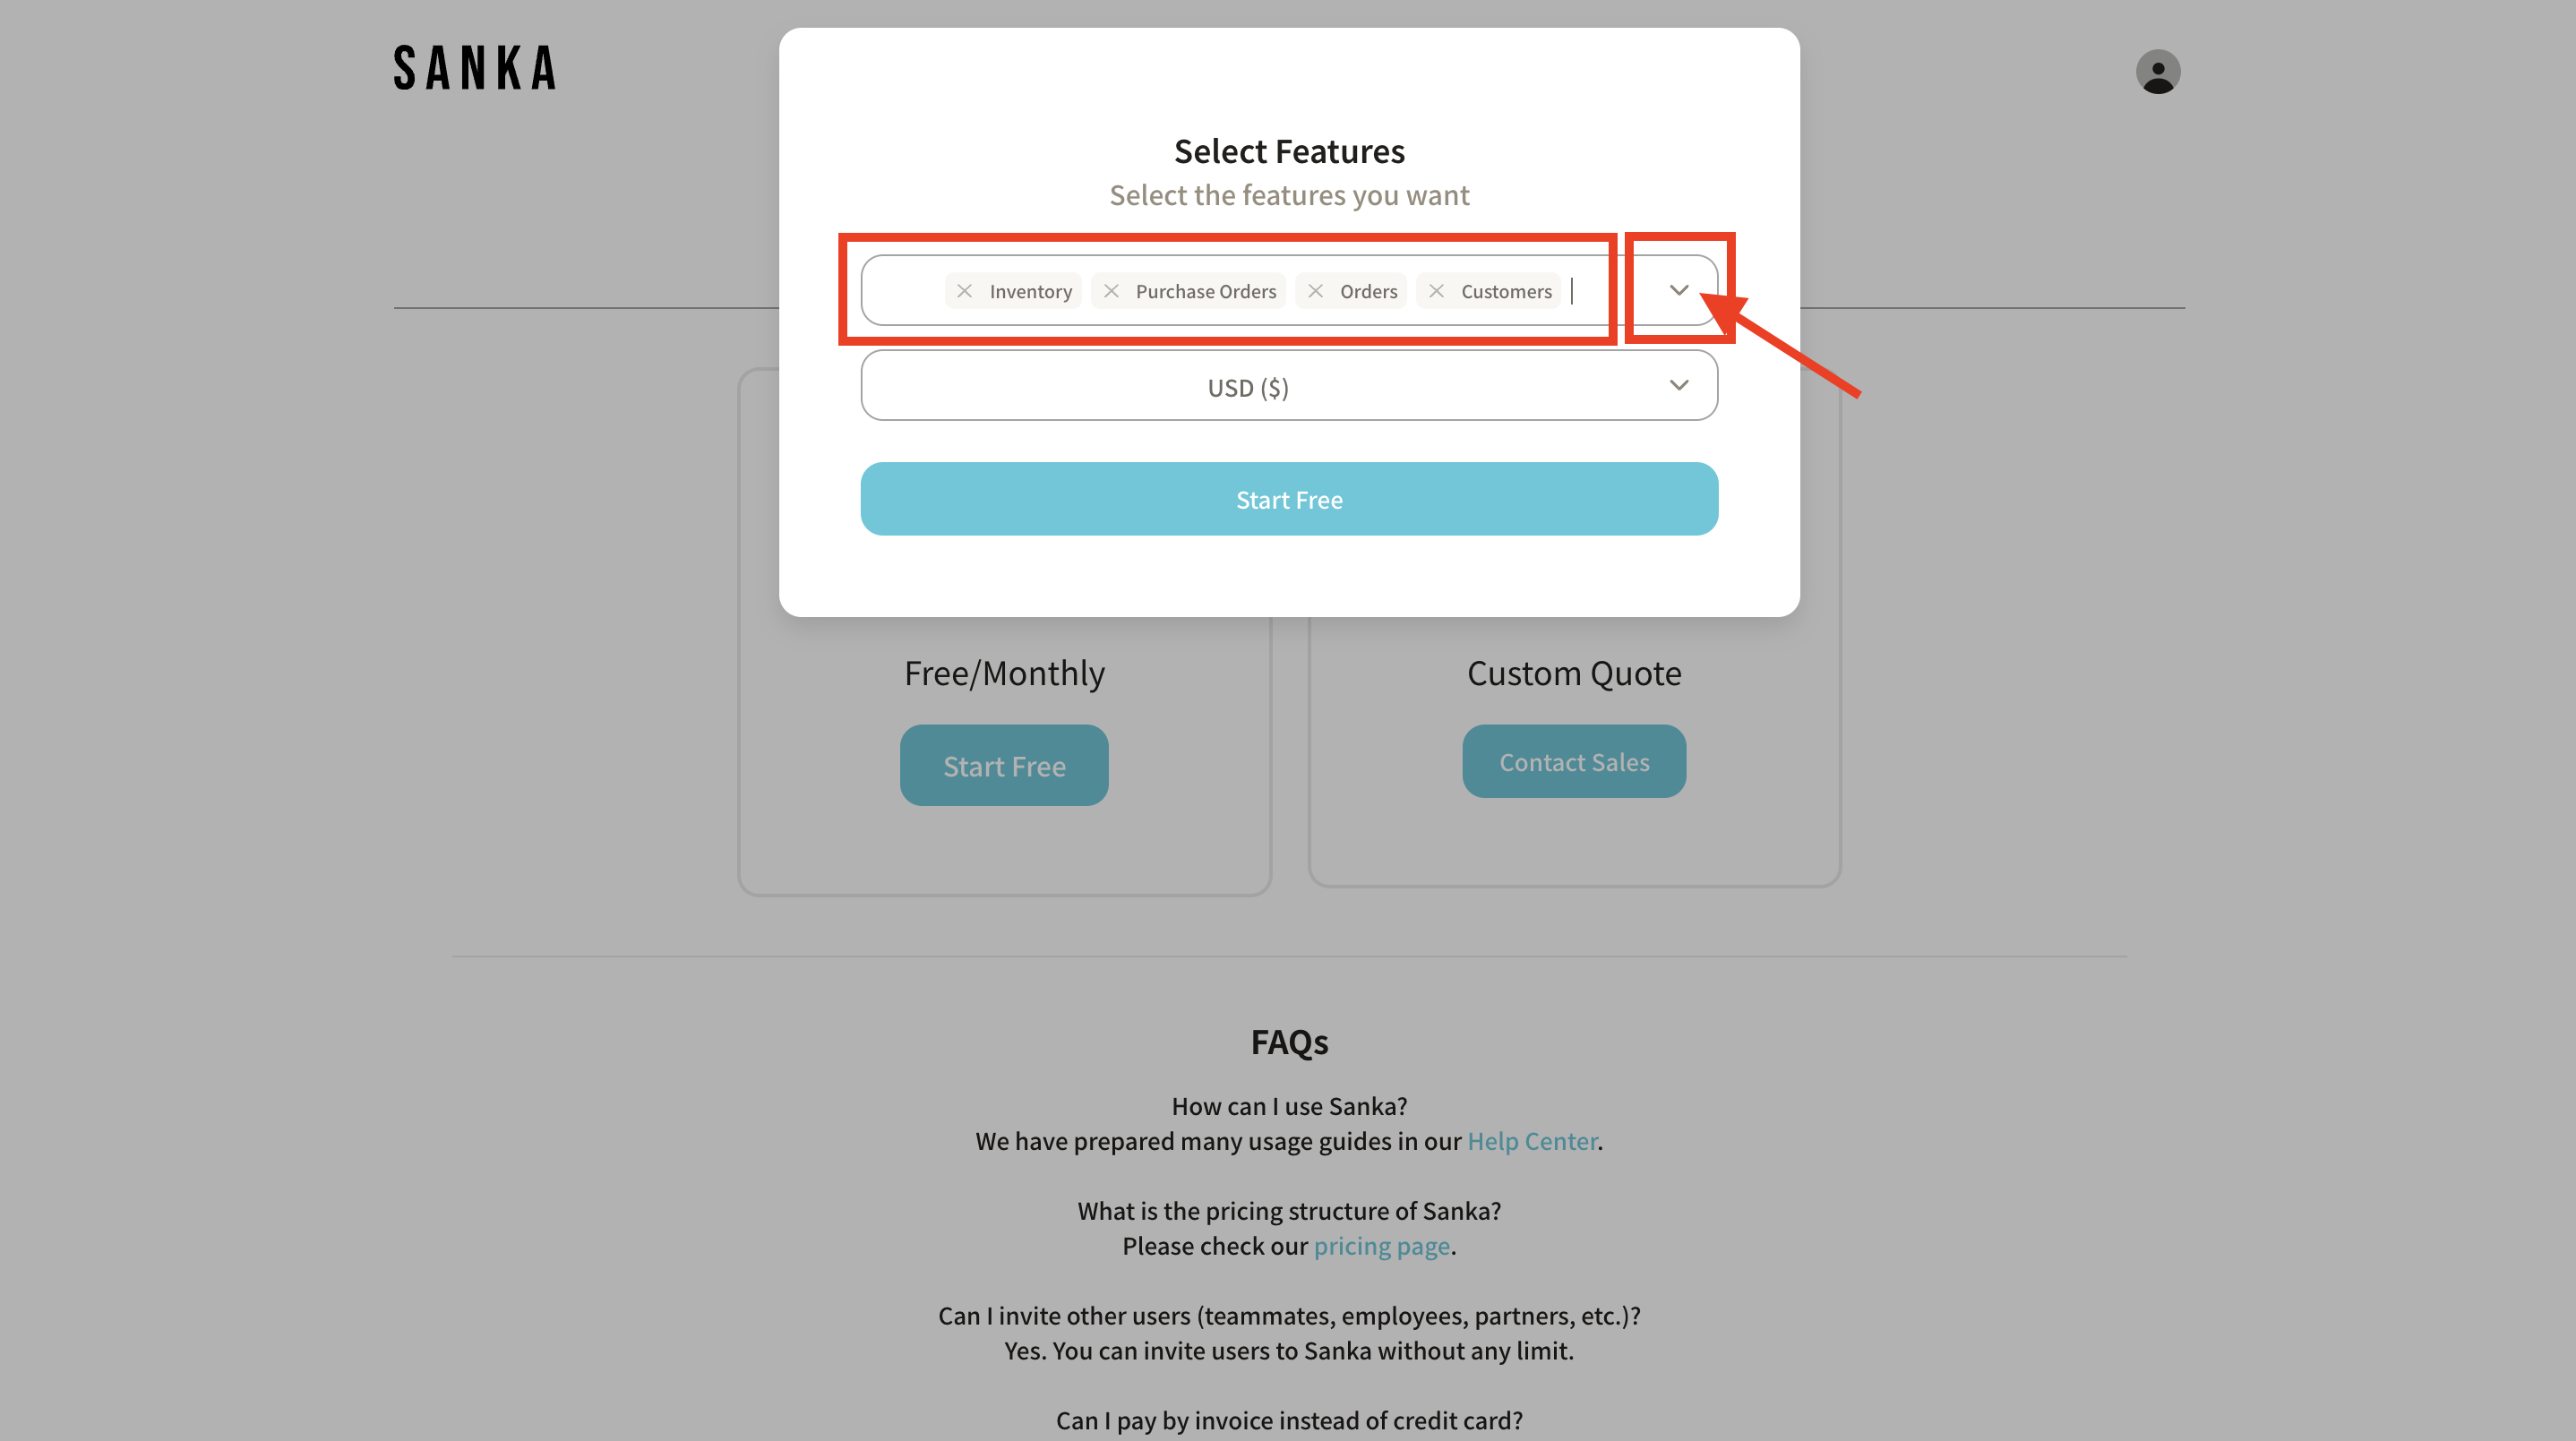 **6: Click the dropdown menu to see more features. If you can’t find the feature you need, please contact customer service. **
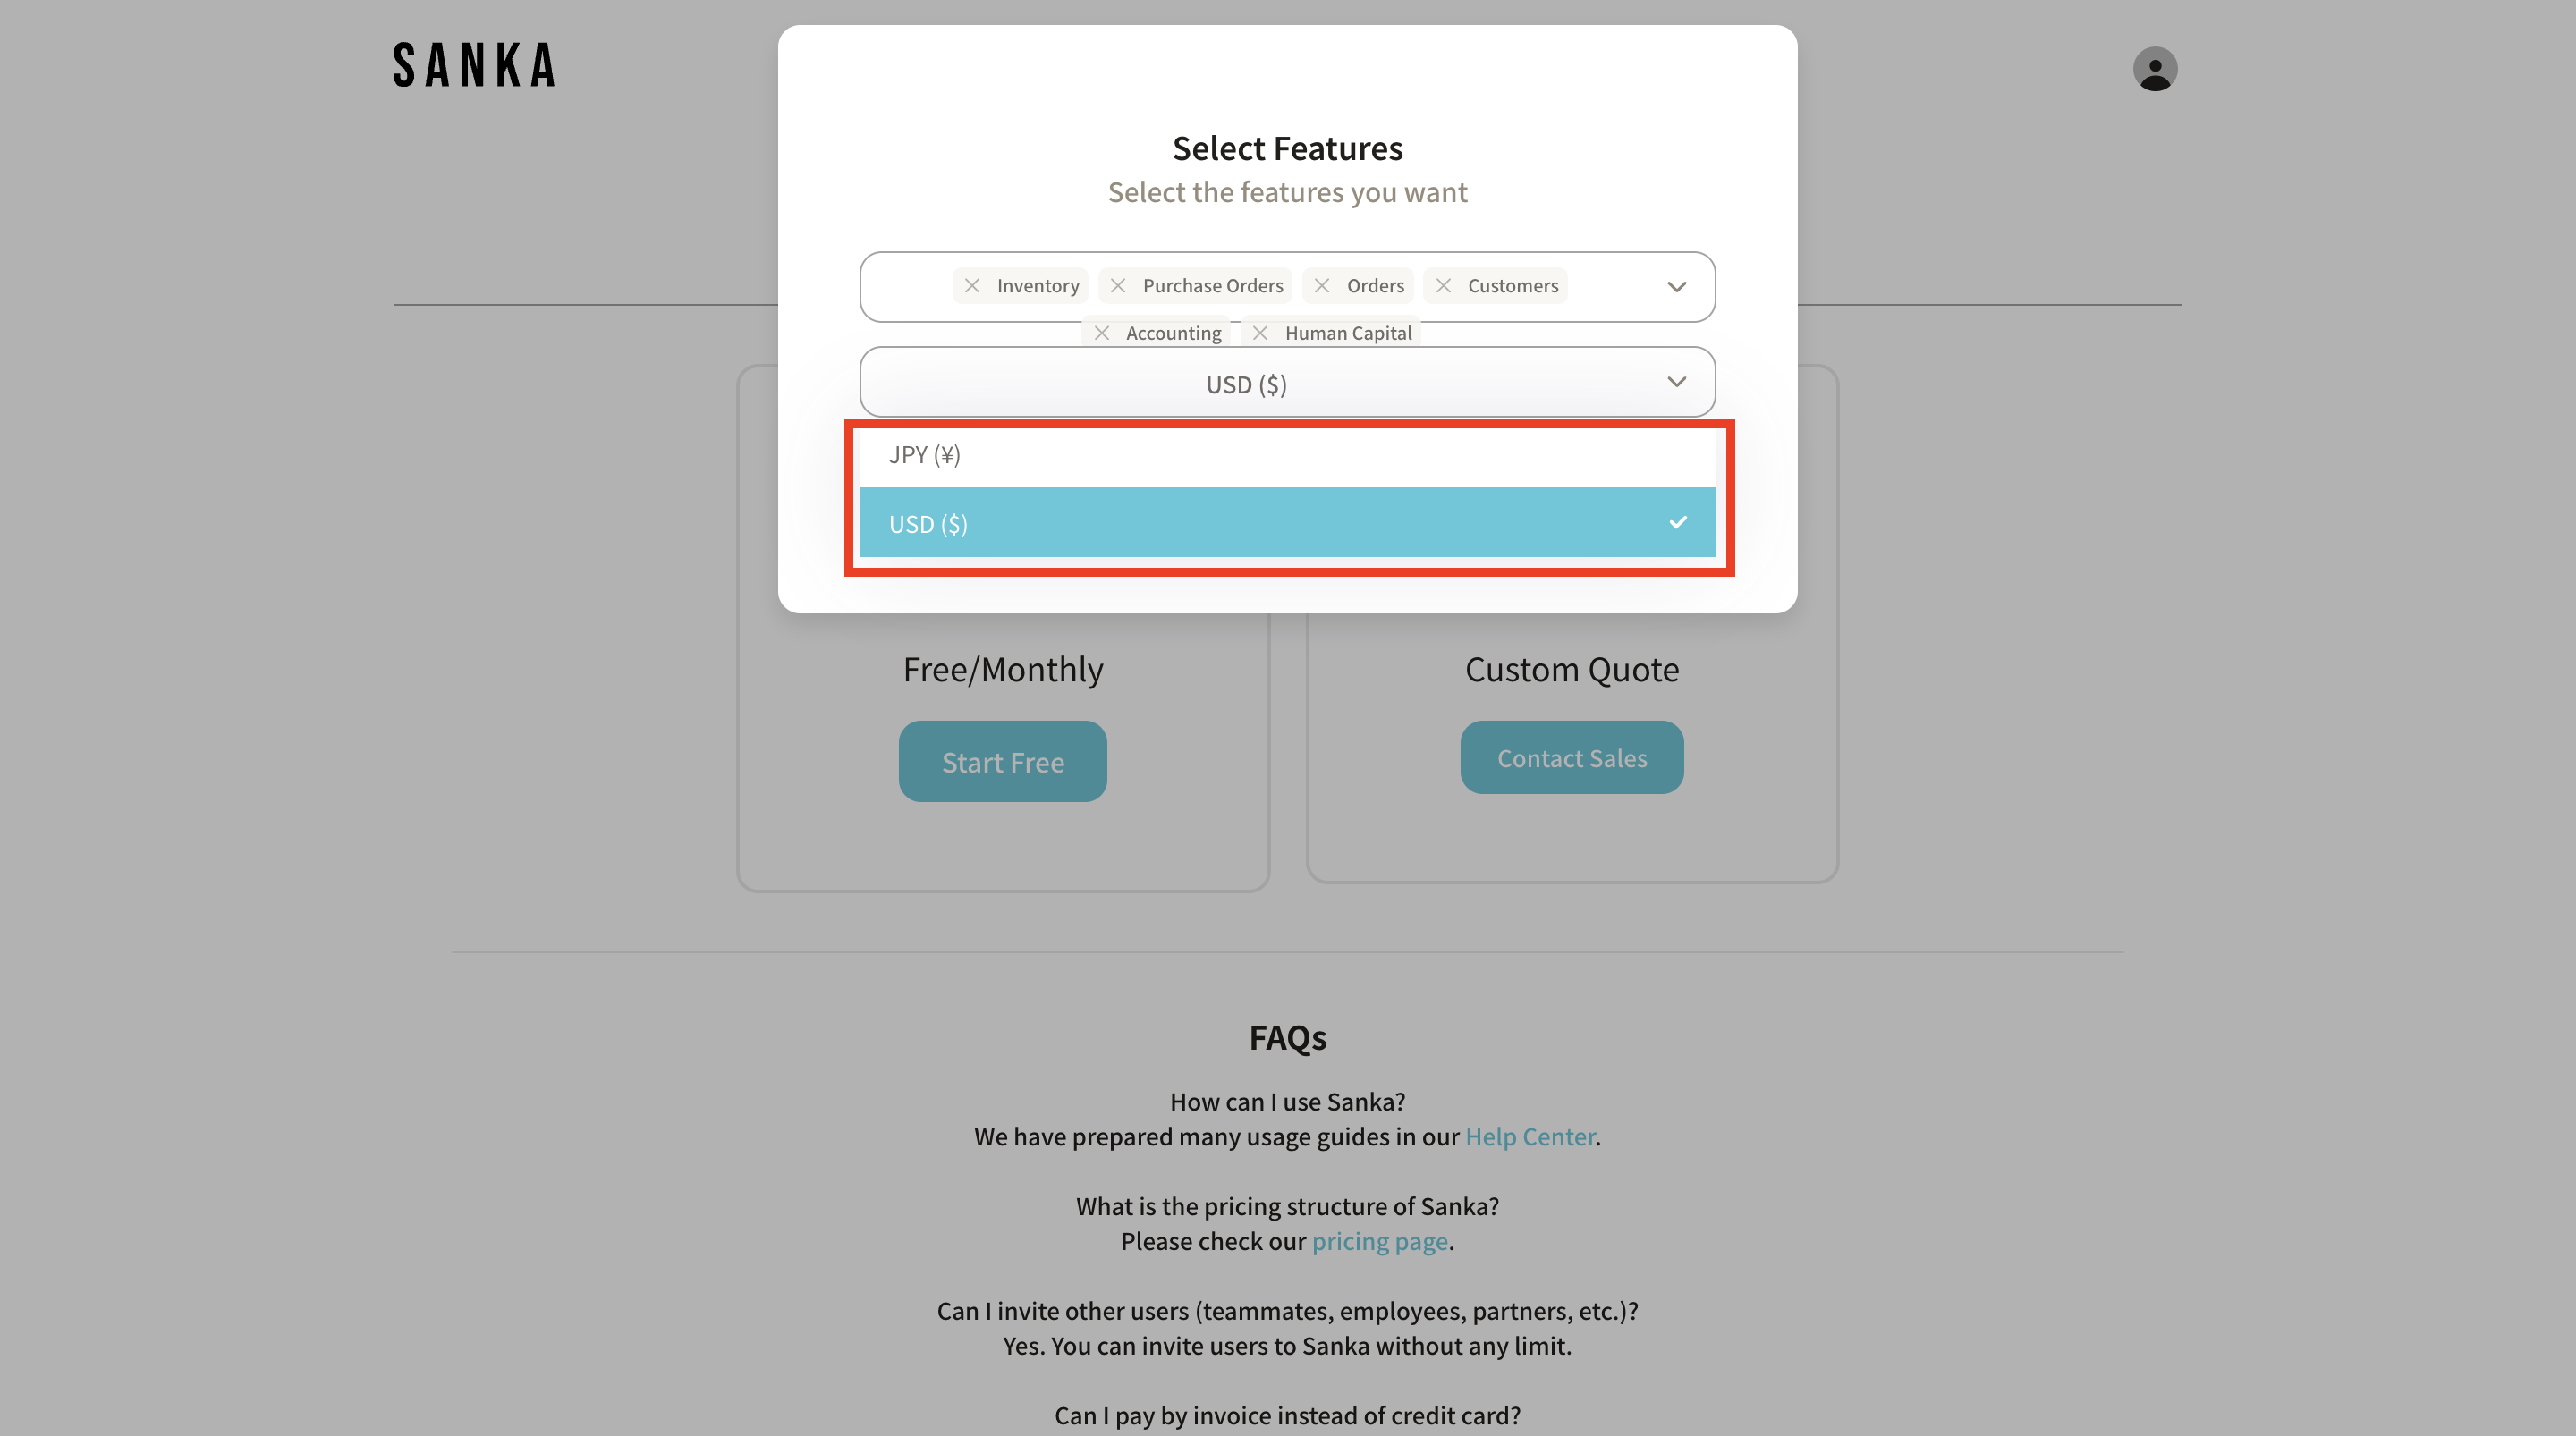
 **7: Next, select the default currency. This can be changed later in workspace settings. **
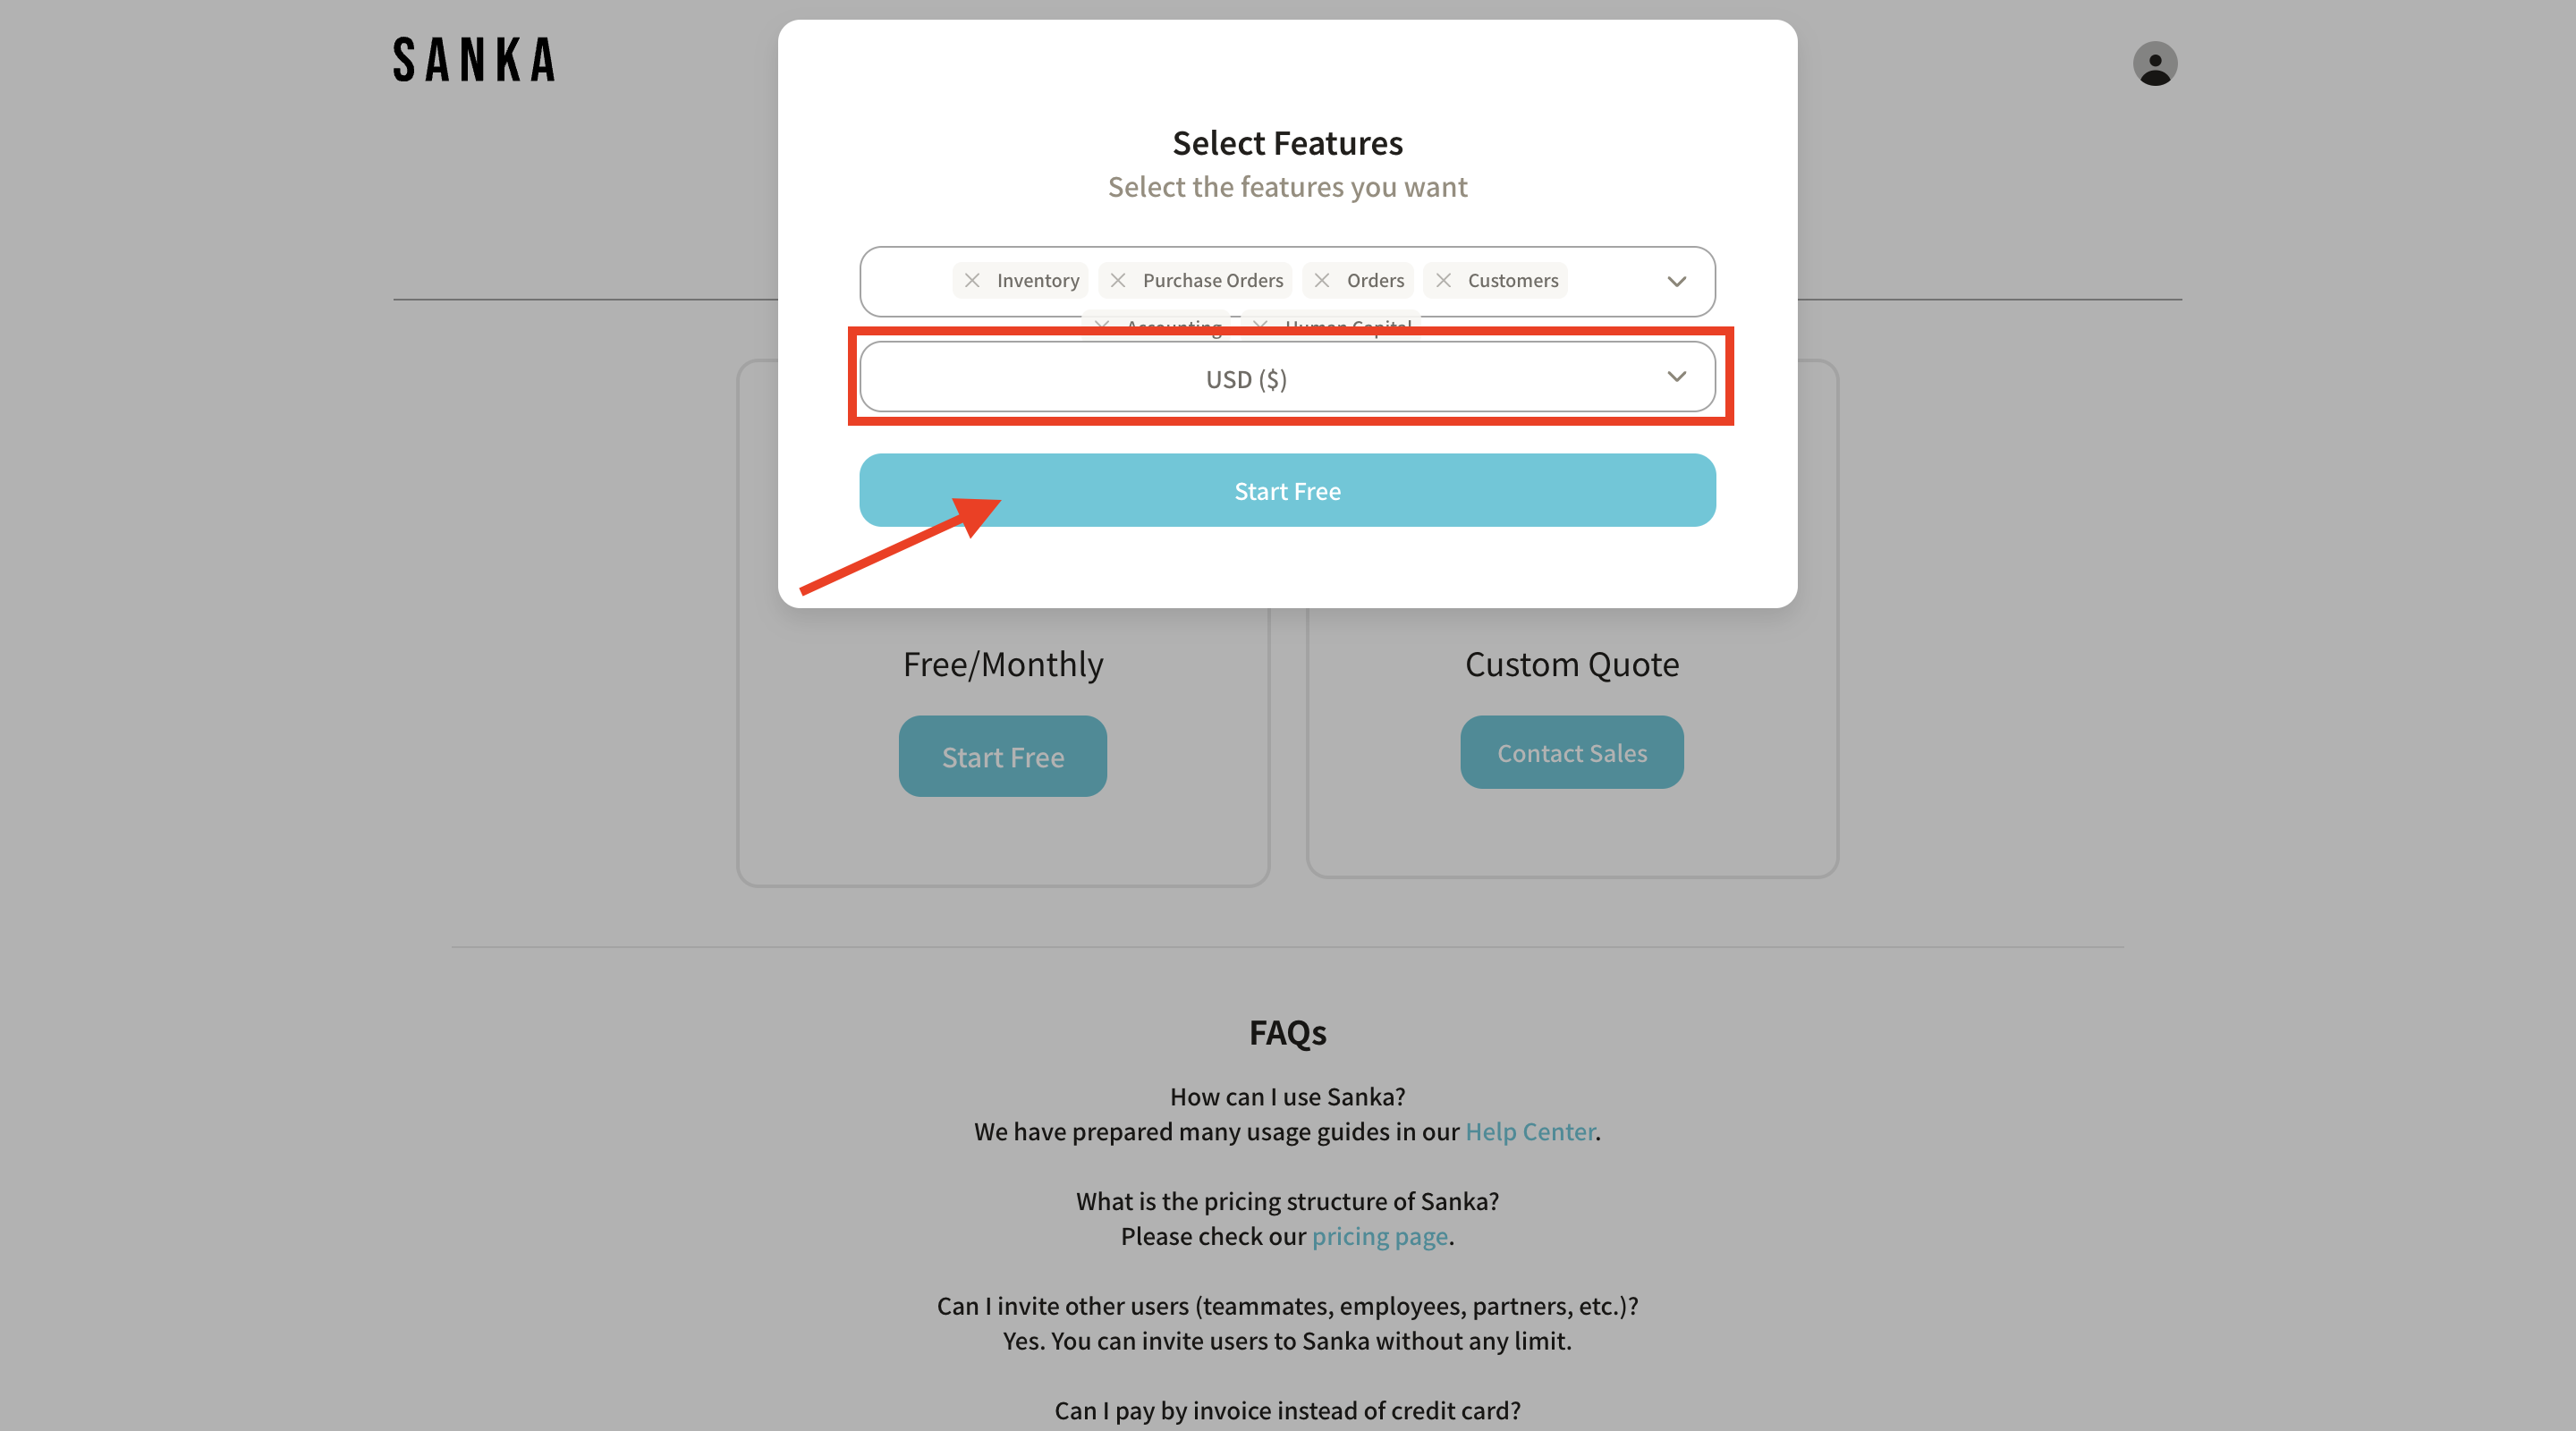
 **8: Once completed, click the “Start Free” button. **
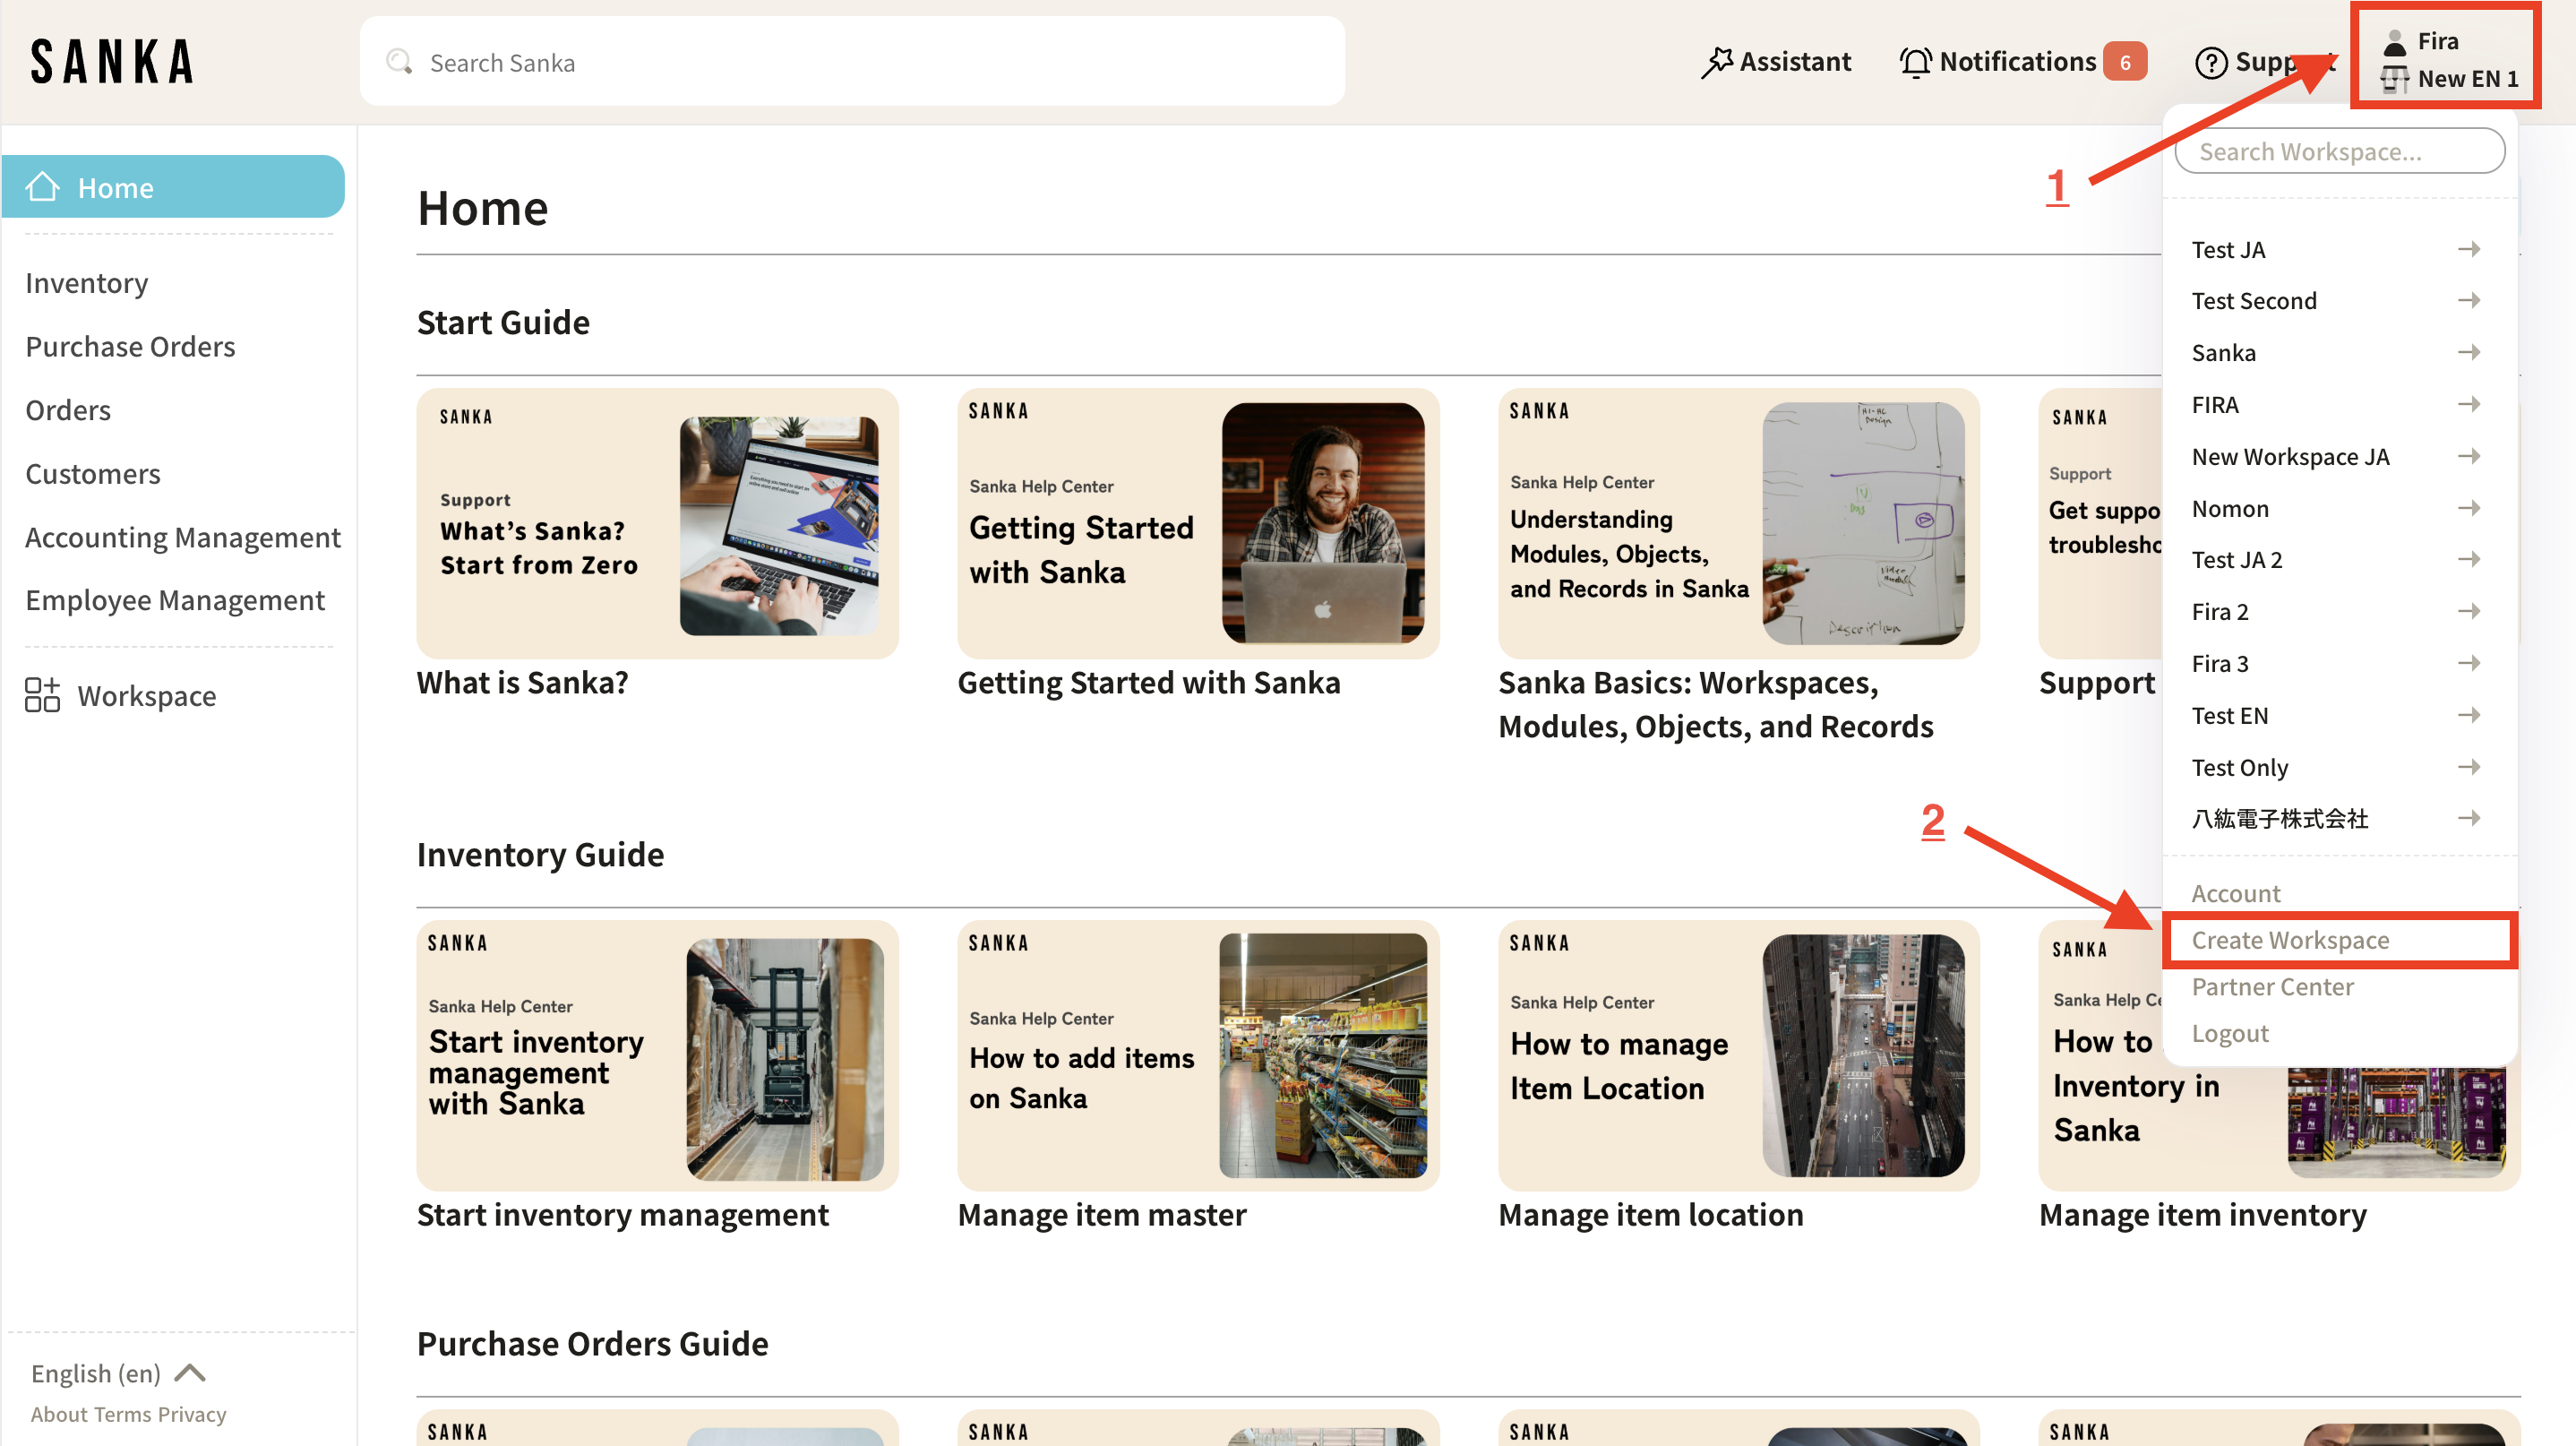
 **9: You will be taken to the home page and your new workspace will appear in the workspace list. **

Manage your workspace
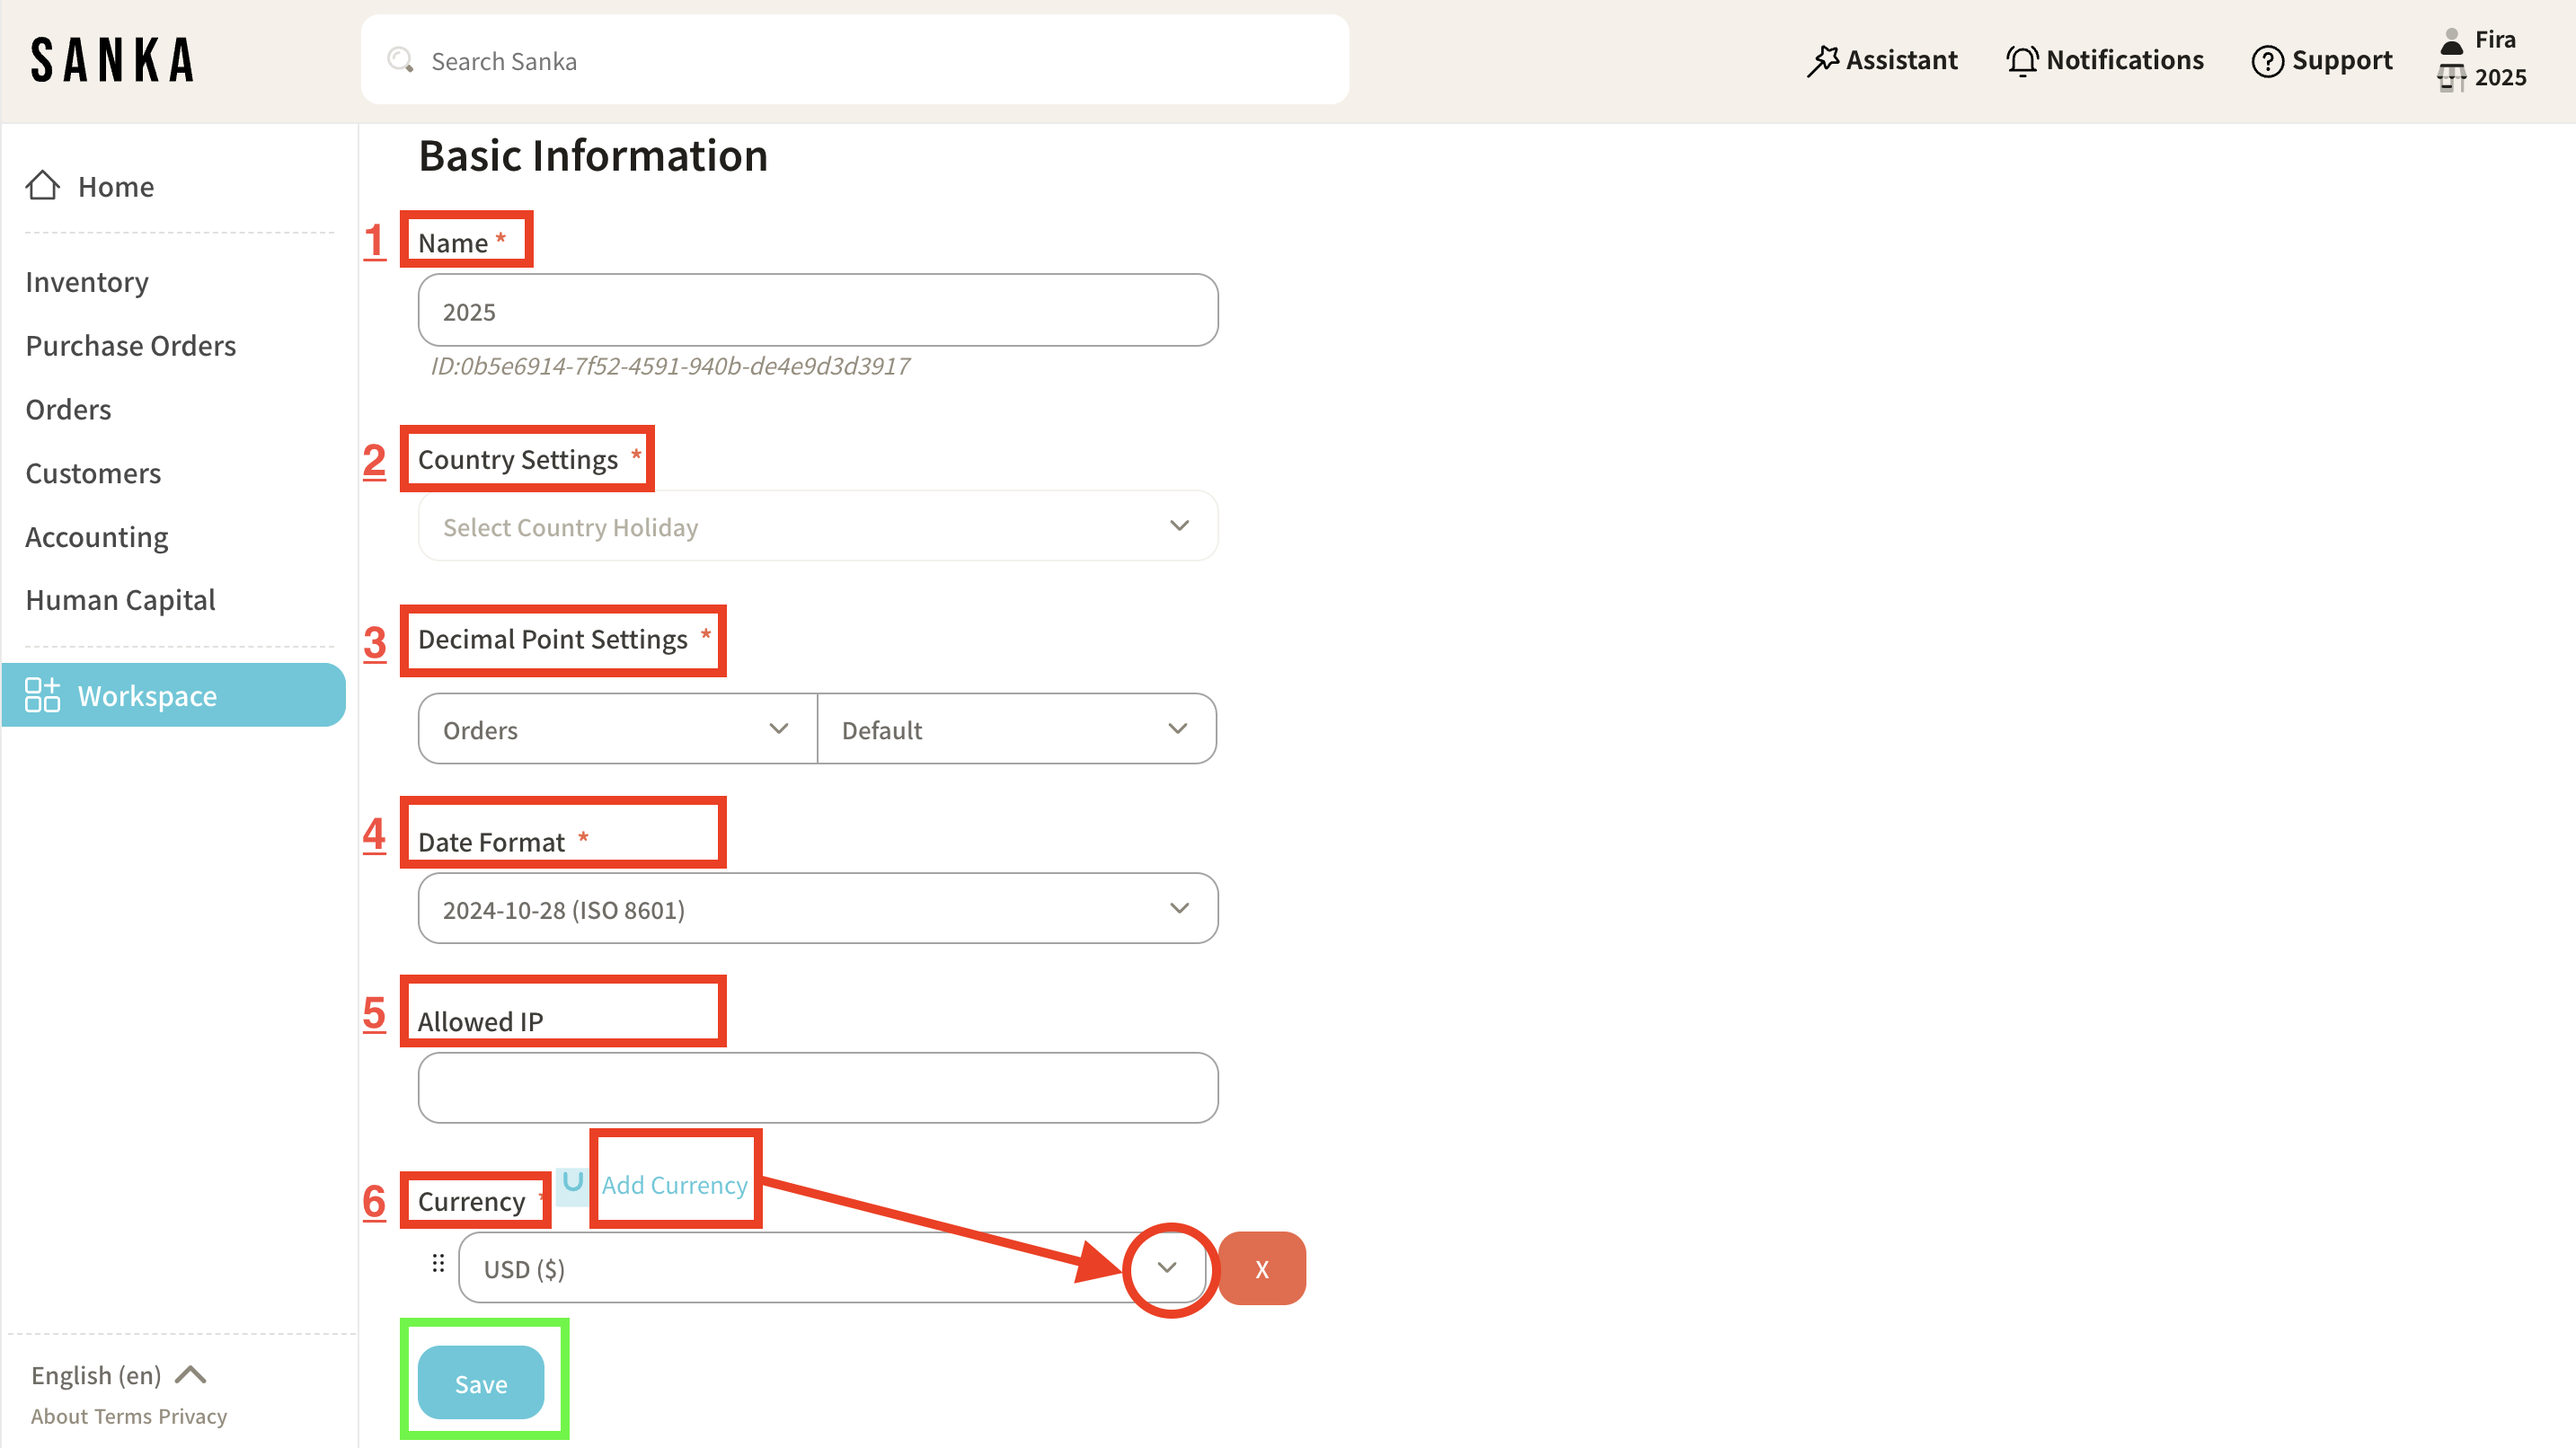
**10: After you create a workspace, you can configure or change its settings as needed. Go to your workspace dashboard and click Workspace Settings. **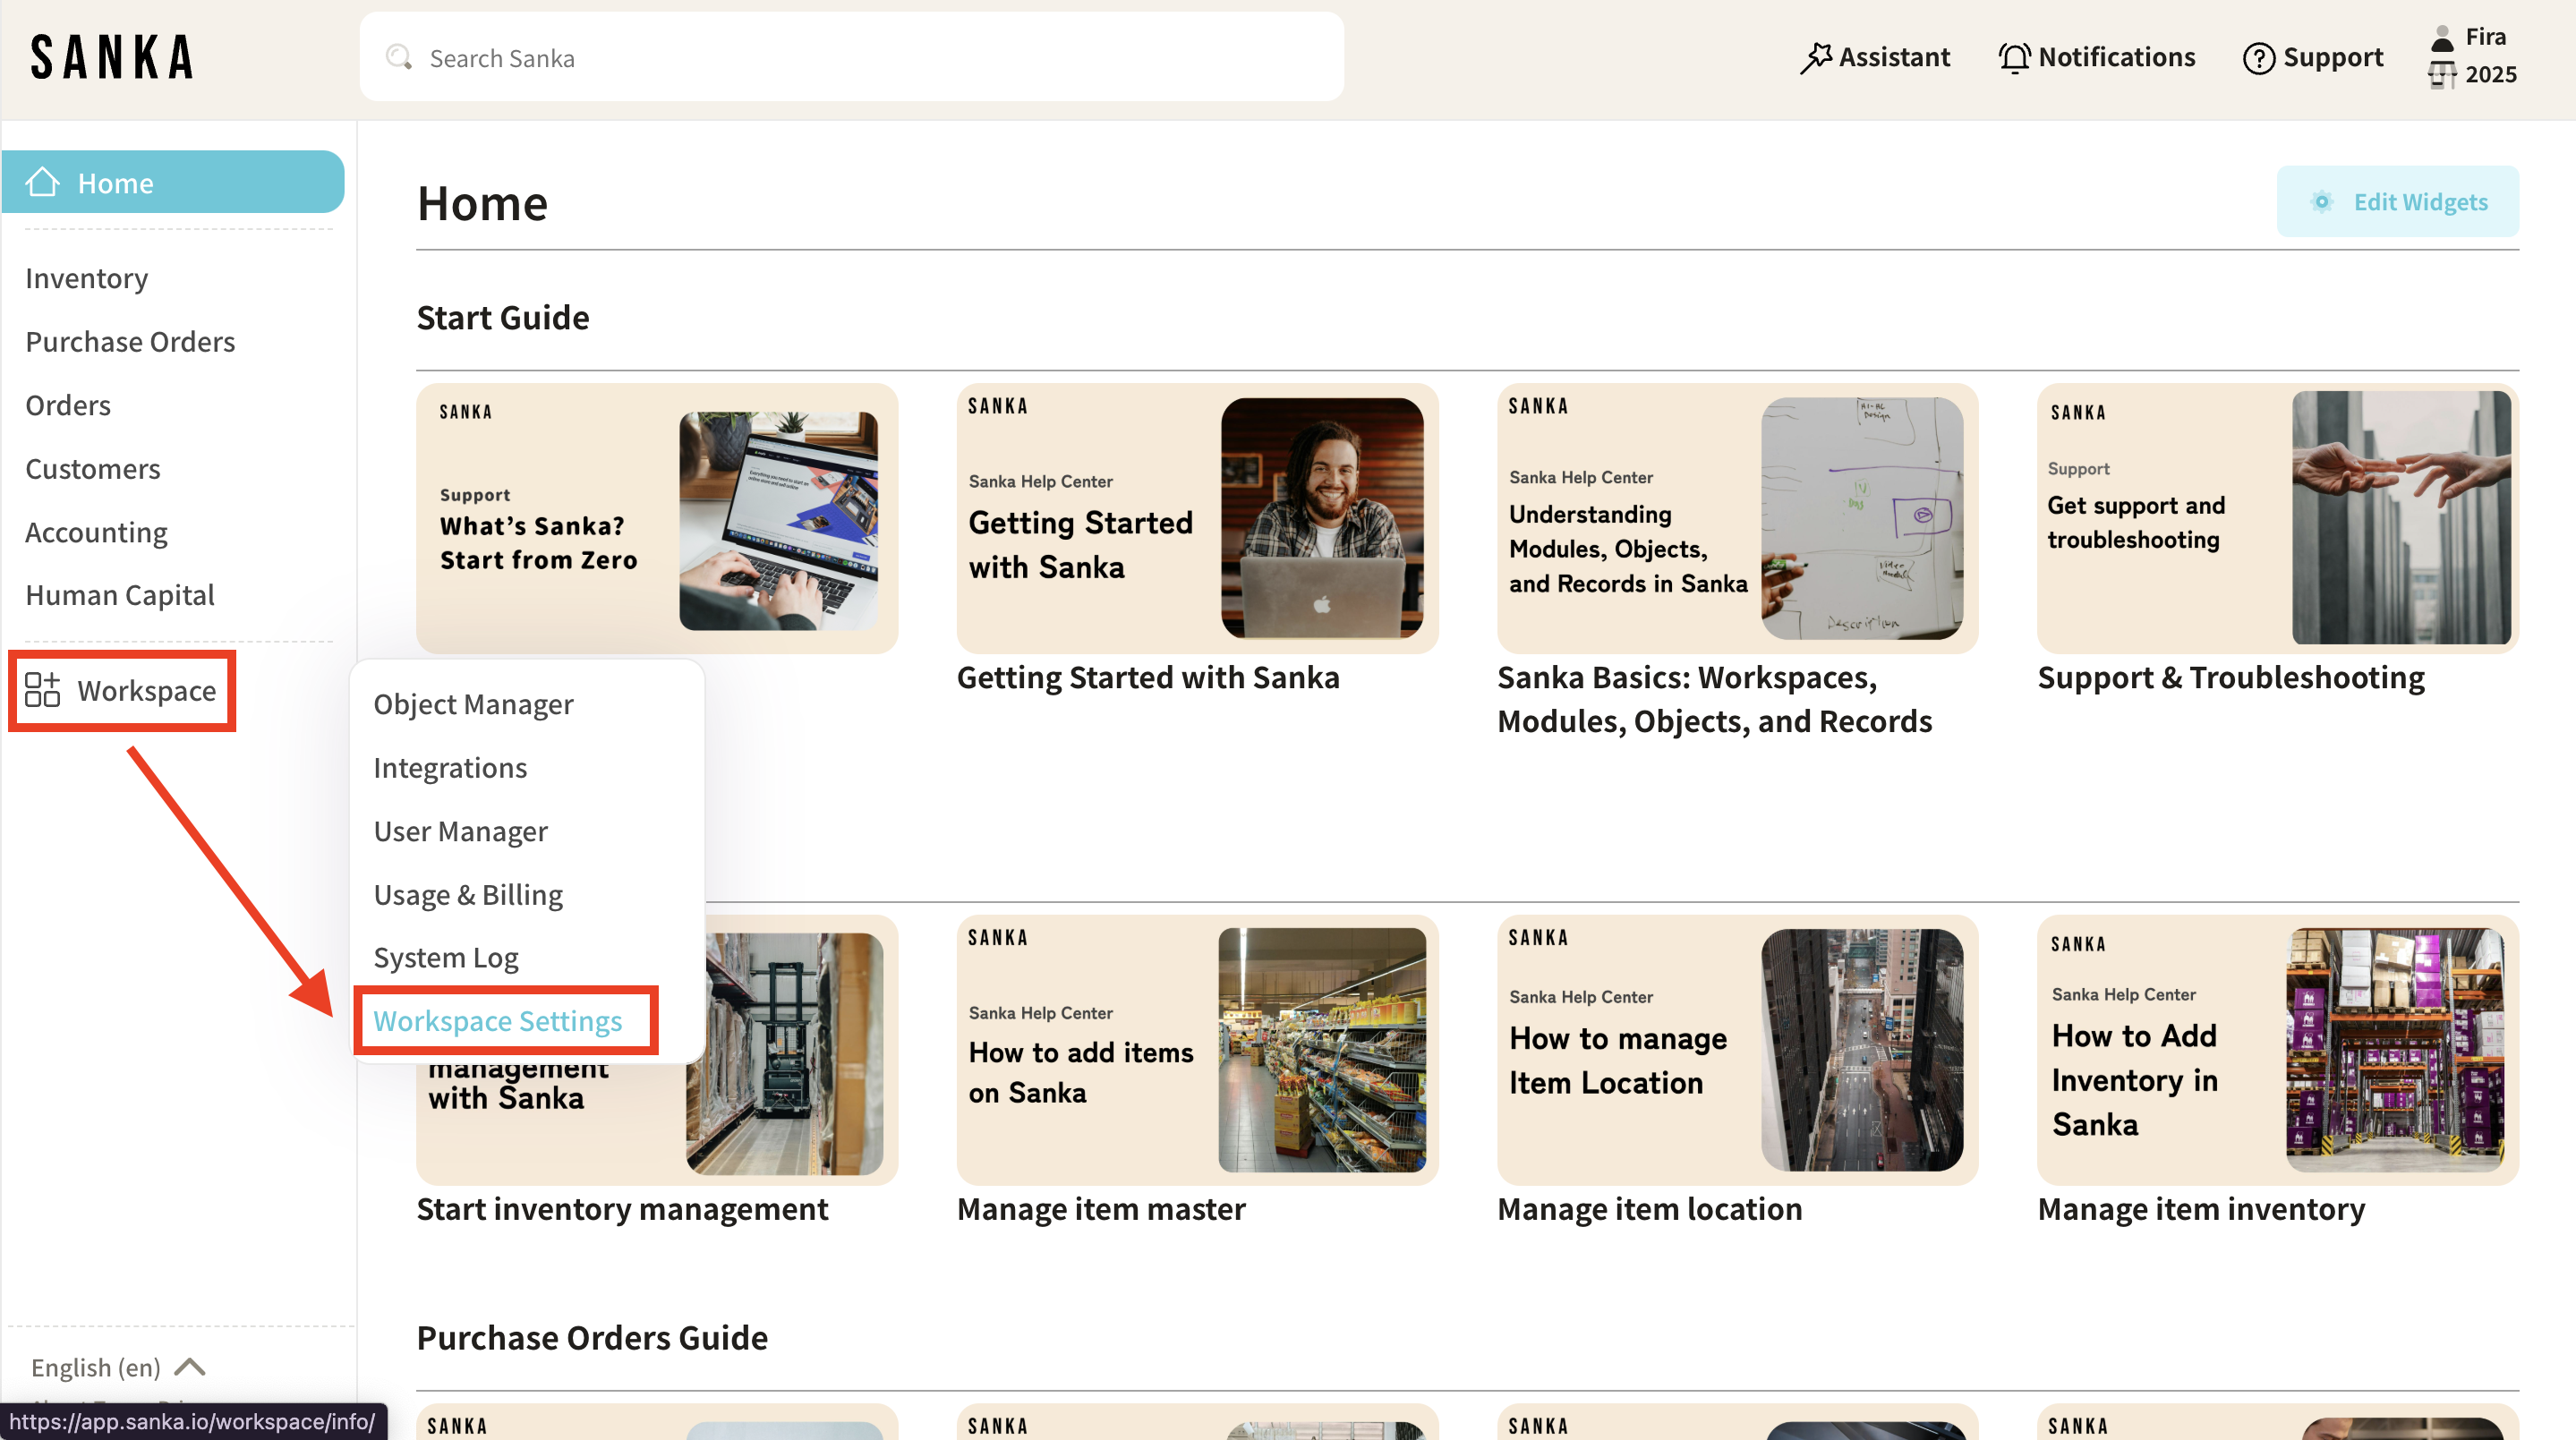 **11: The workspace settings details page is displayed. **
- **You can change basic information such as name, country setting, decimal point setting, date format, allowed IPs, currency, etc. **
- **To add a default currency, click the currency field dropdown menu and select your preferred currency. **
- **Click Save to complete the workspace settings. **