overview
By integrating Sanka and Salesforce, you can sync leads, accounts, contacts, opportunities, activities, and custom objects between the two platforms and leverage workflows to increase productivity. This guide will walk you through the steps to connect Sanka and Salesforce for seamless operation.How to collaborate
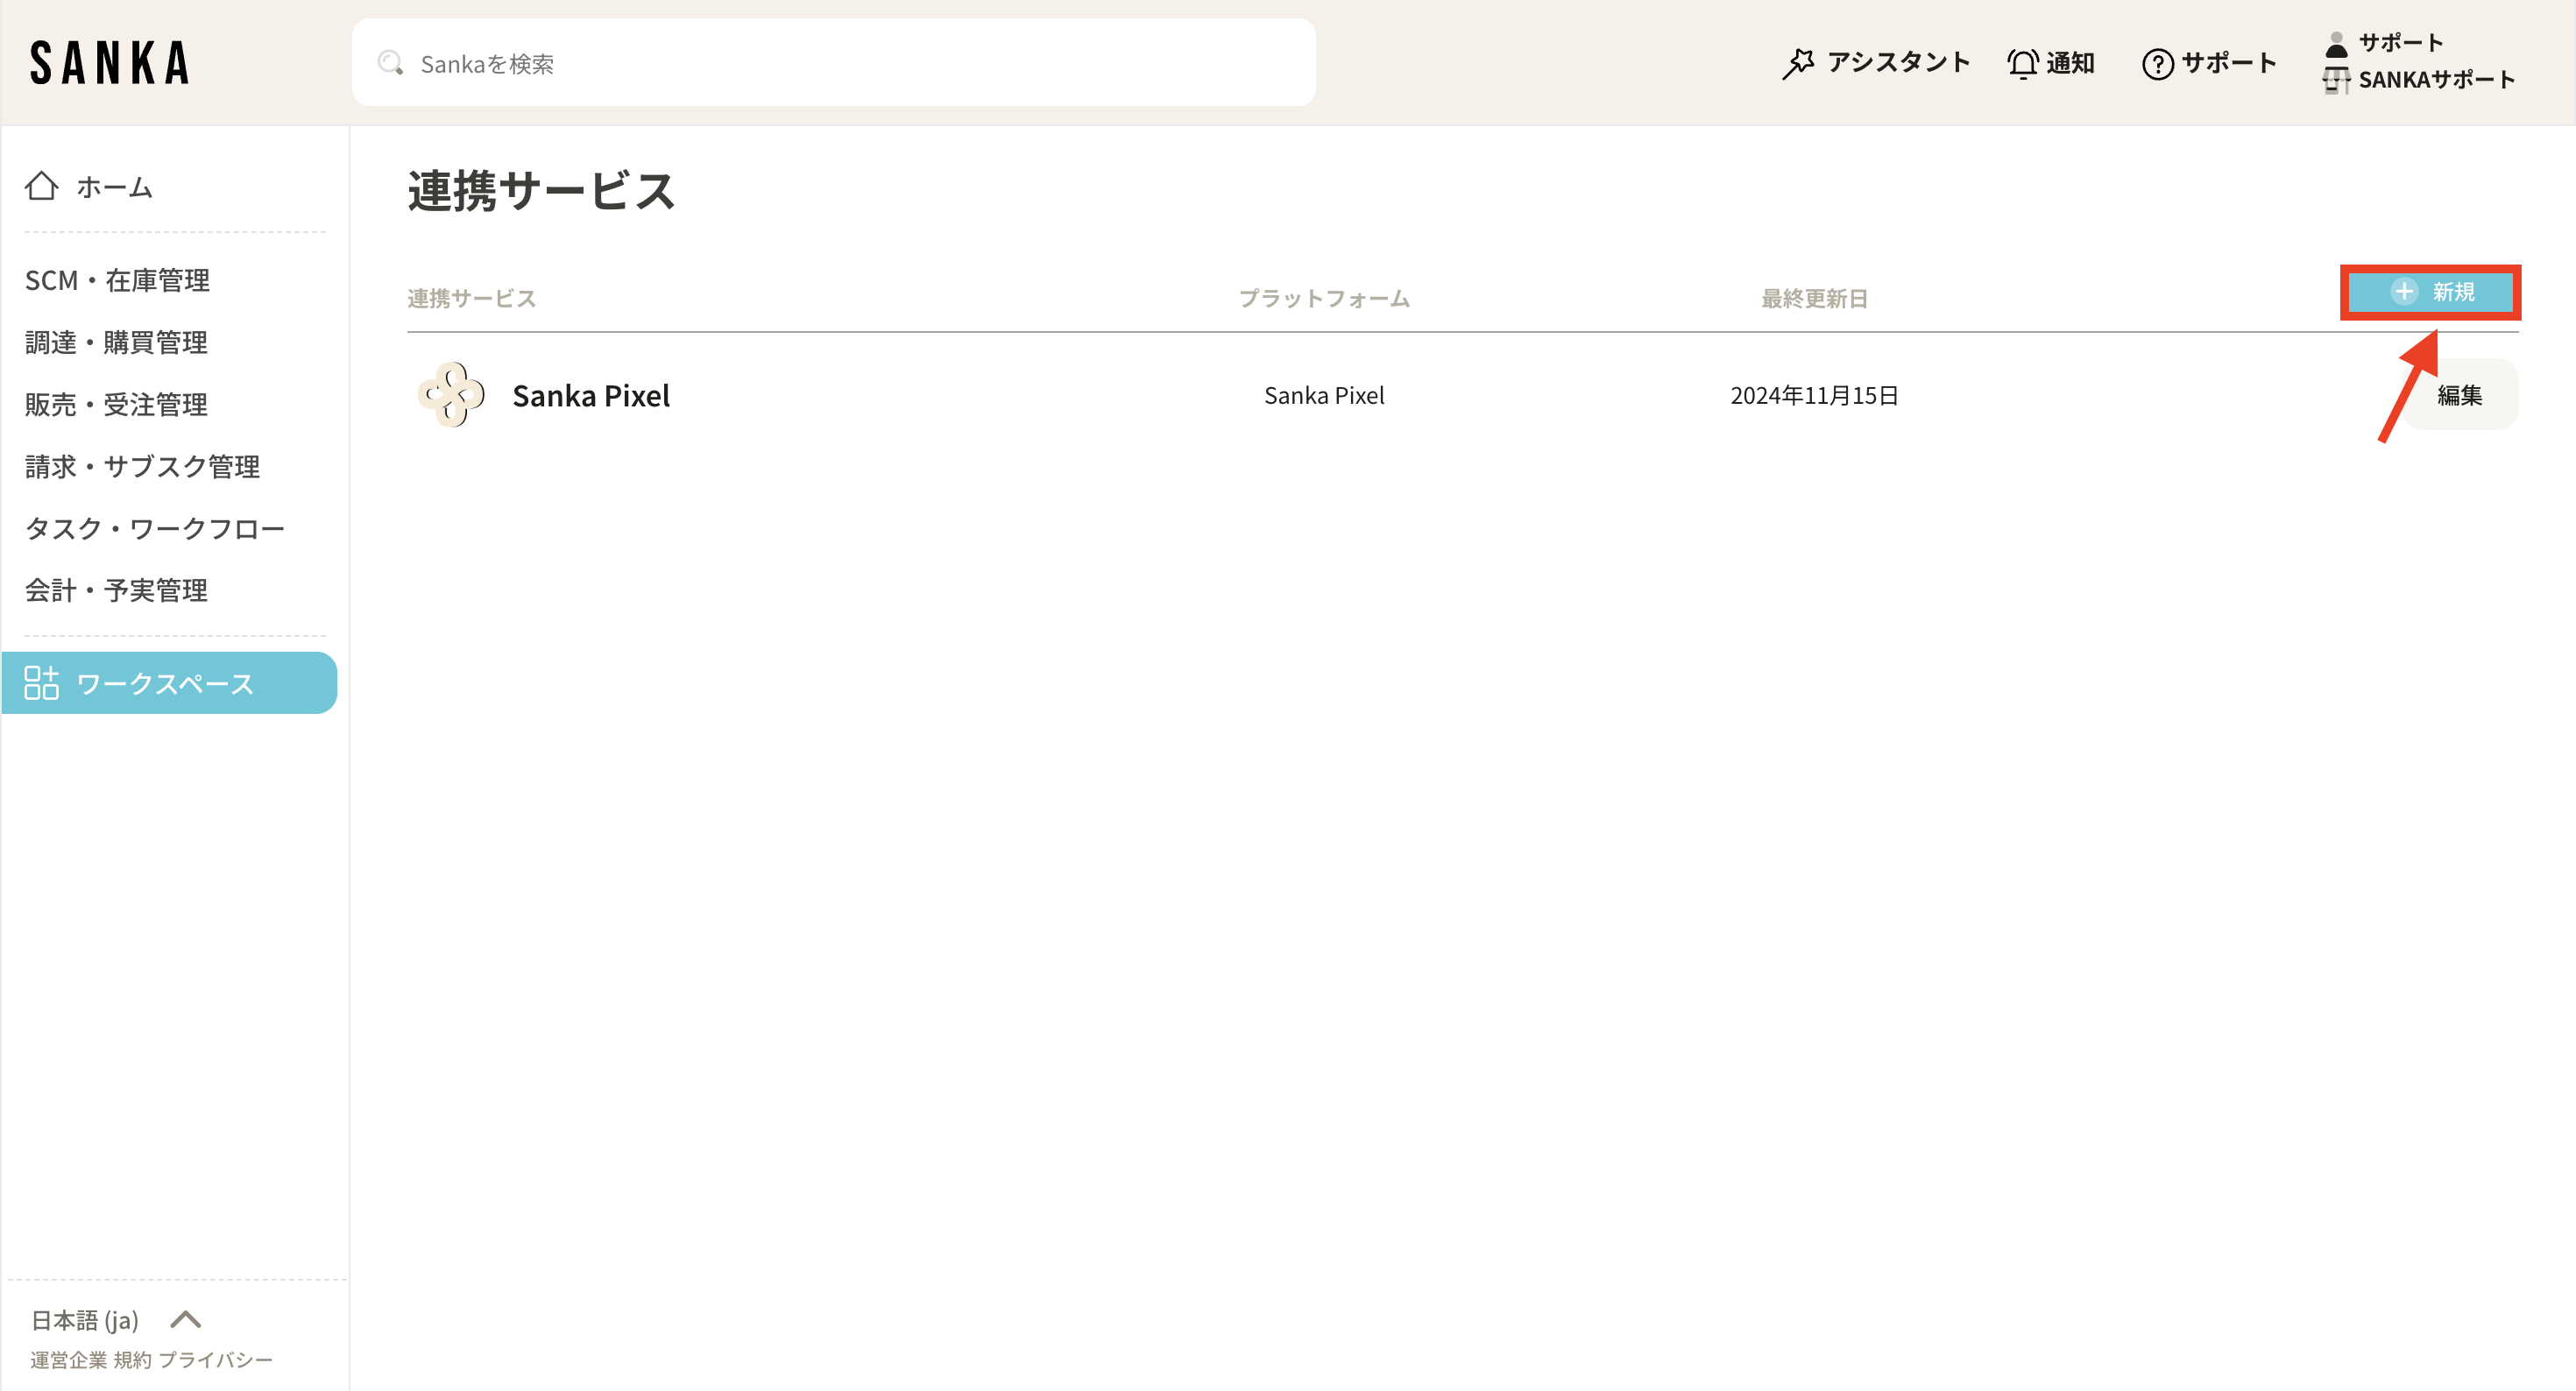
**① Click the “Workspace” tab on the left menu of the dashboard. Next, click “Linked Services”. **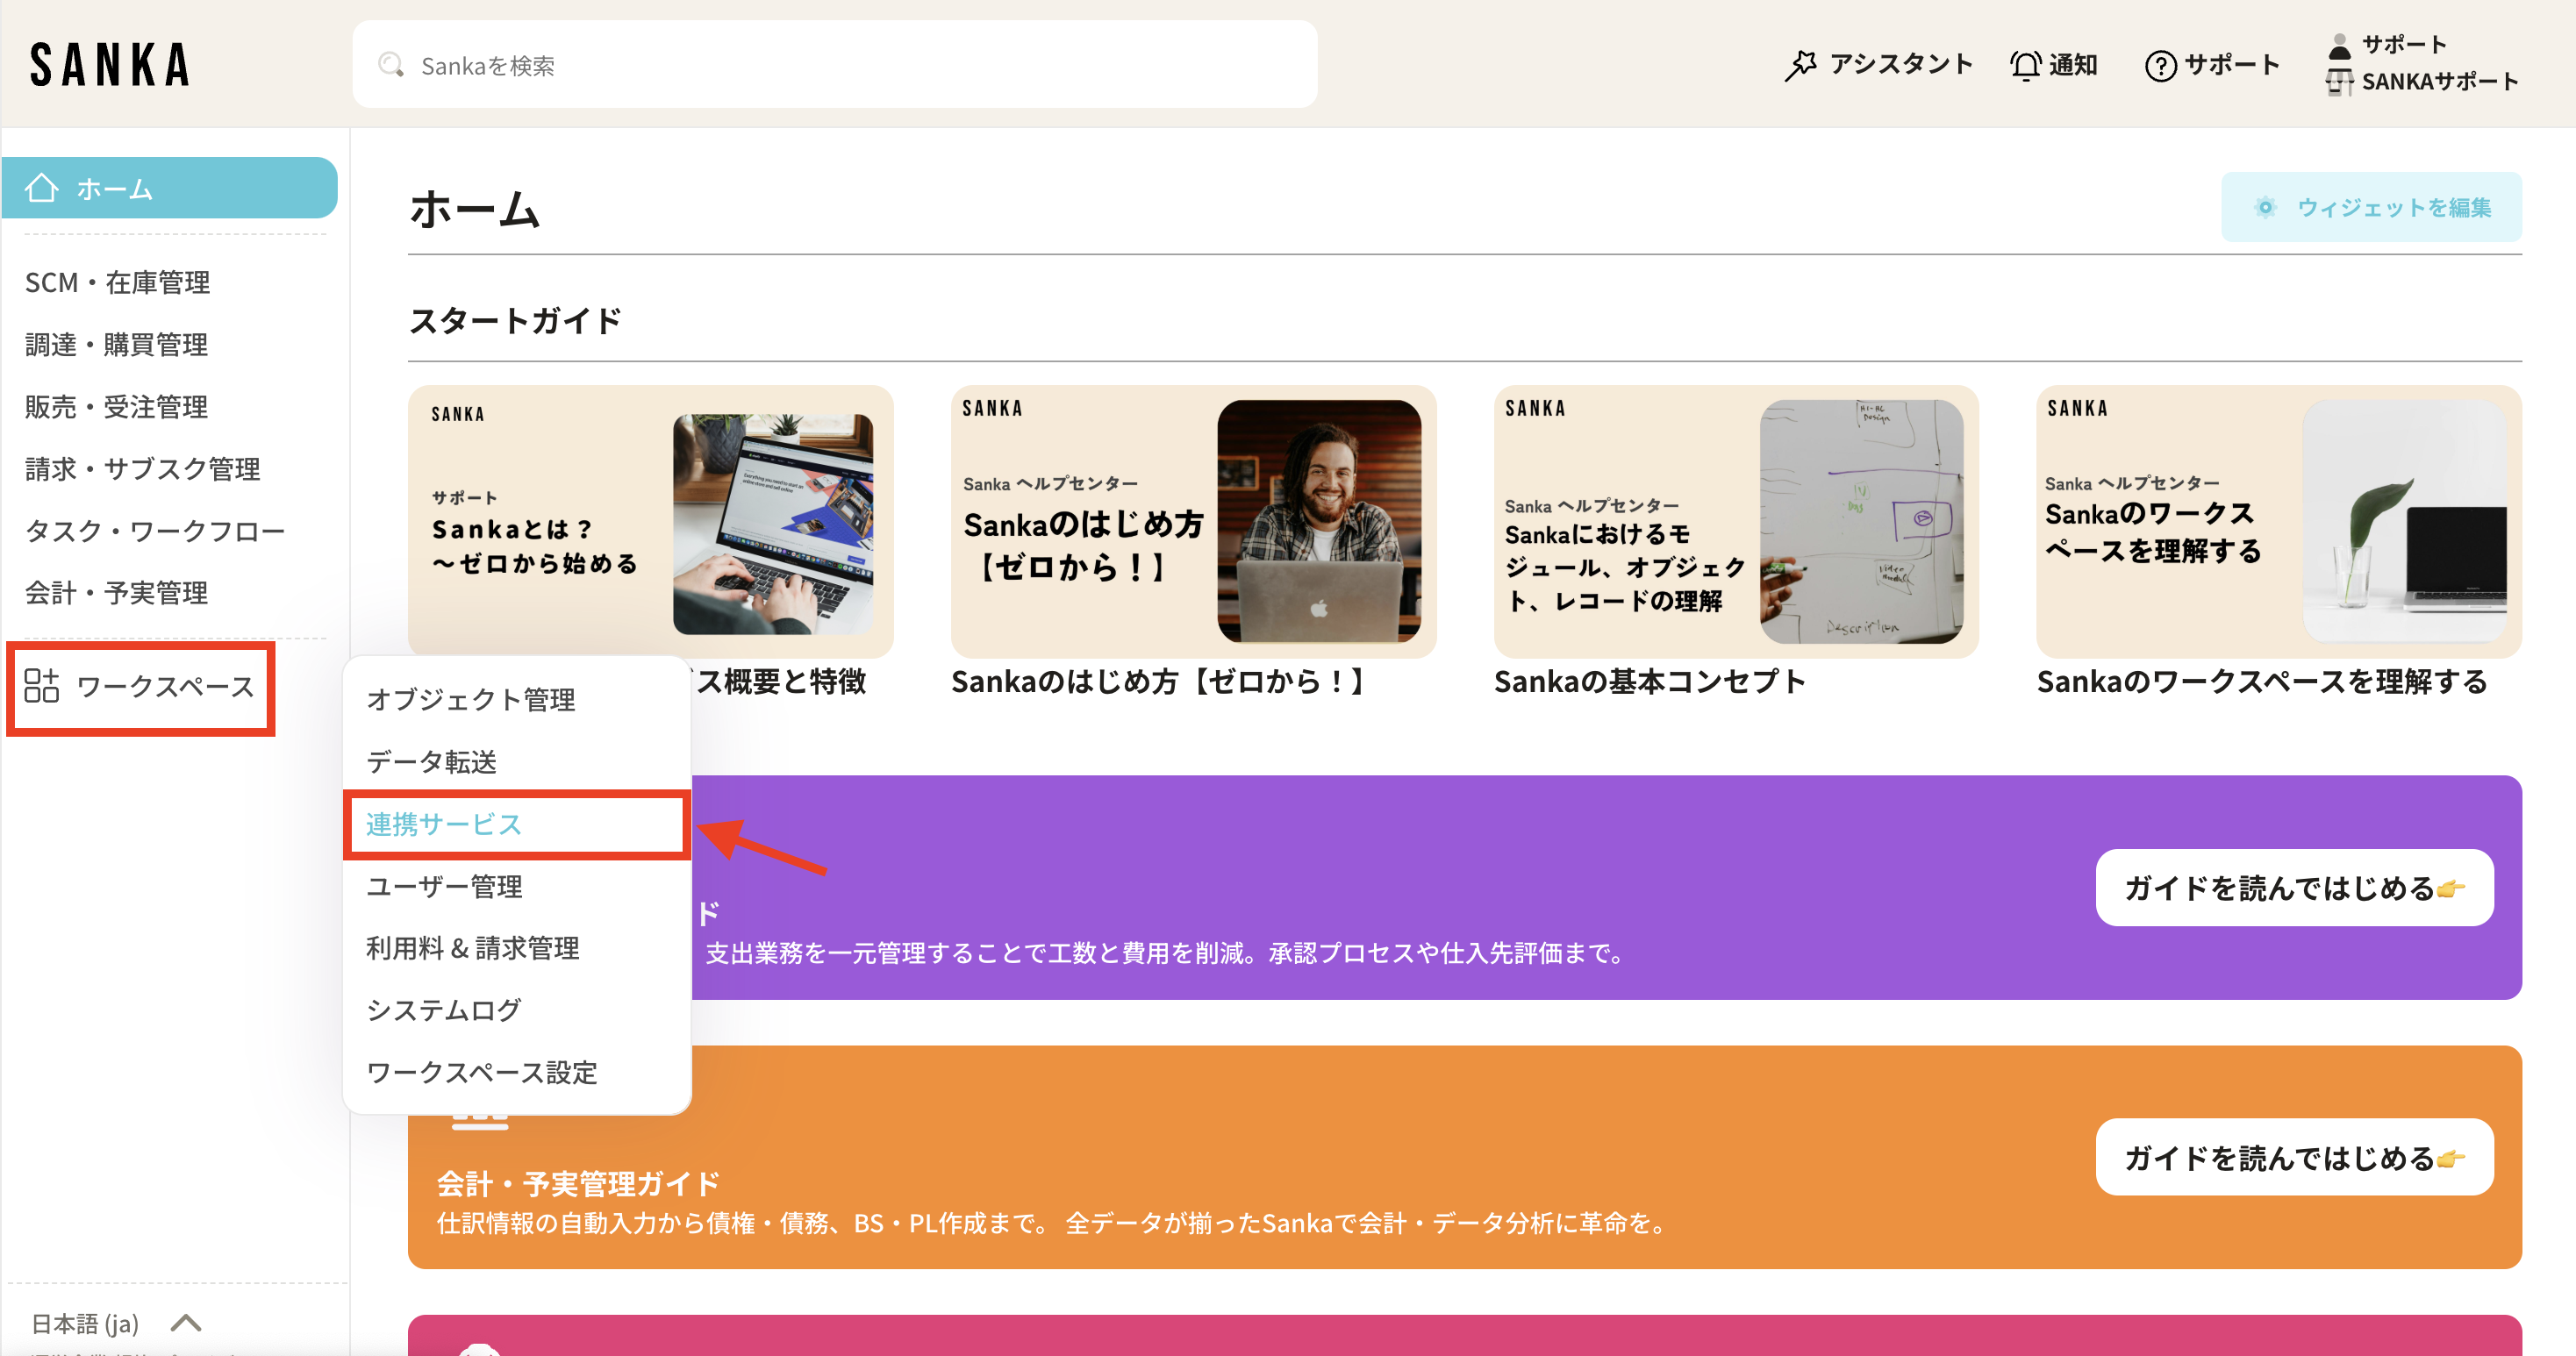 **②Click the “New” button on the upper right side of the linked service screen. **
 **③ A list page of linked services will be displayed. All applications that can connect to Sanka are listed. **
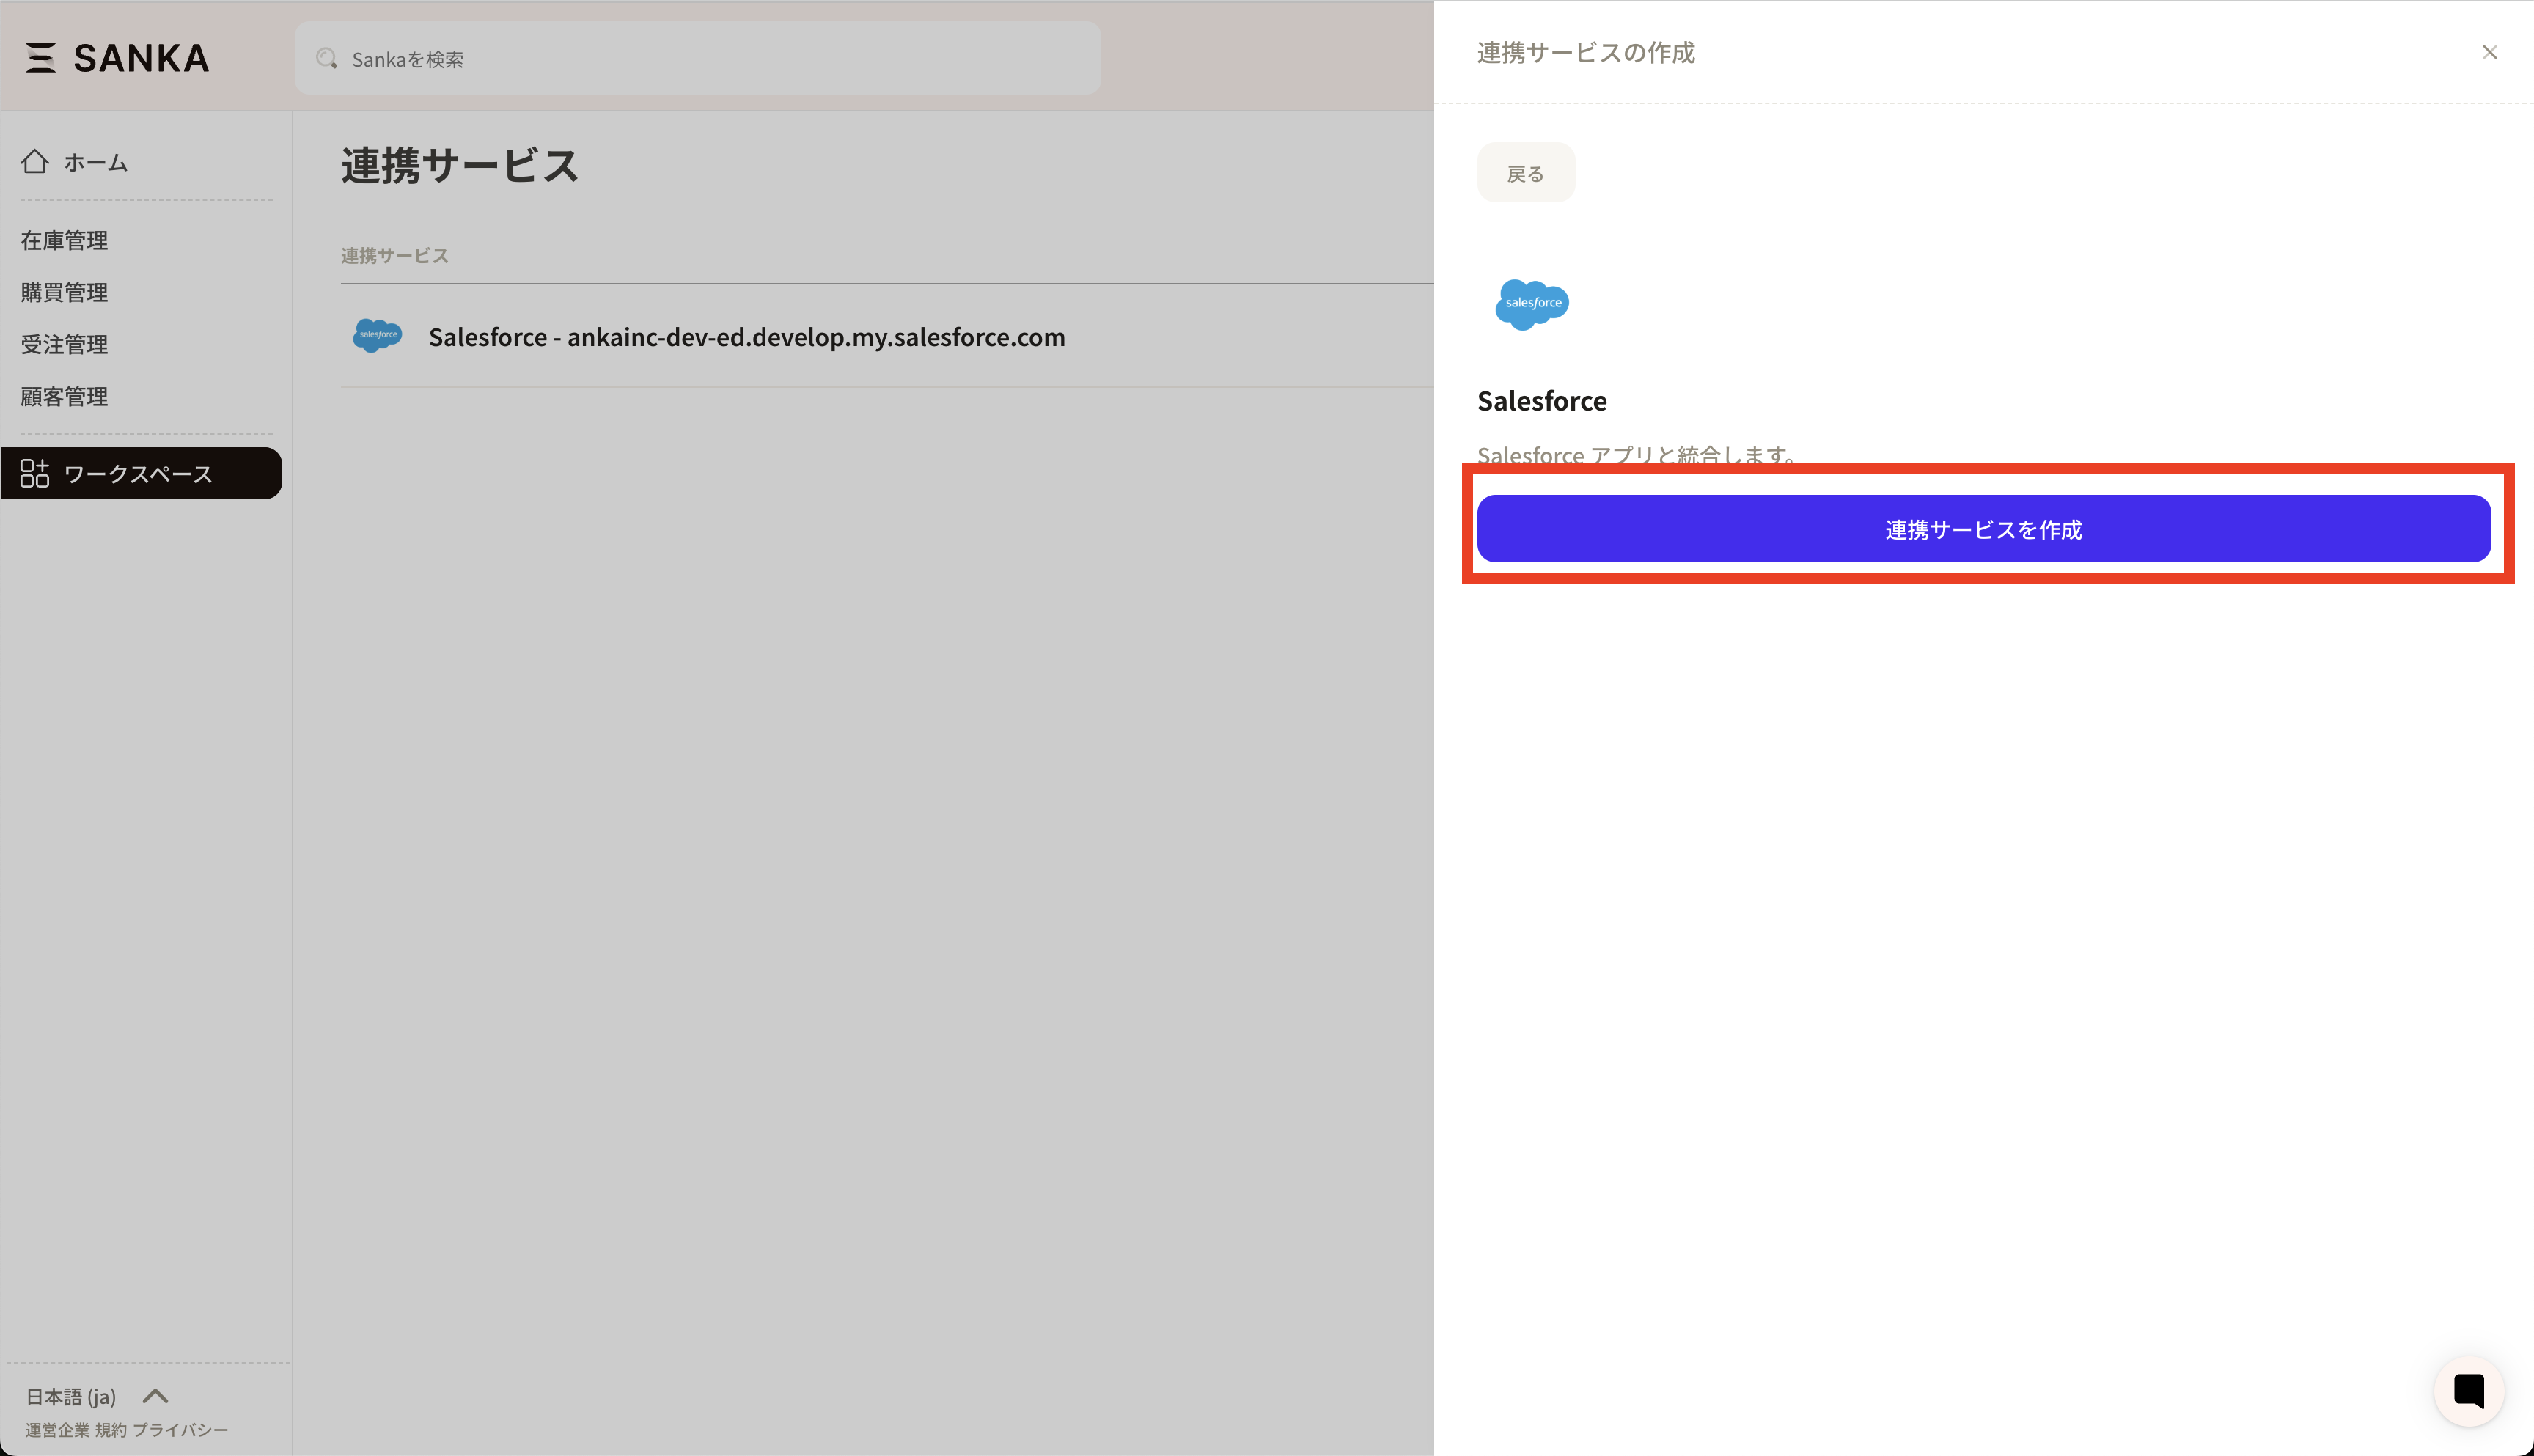
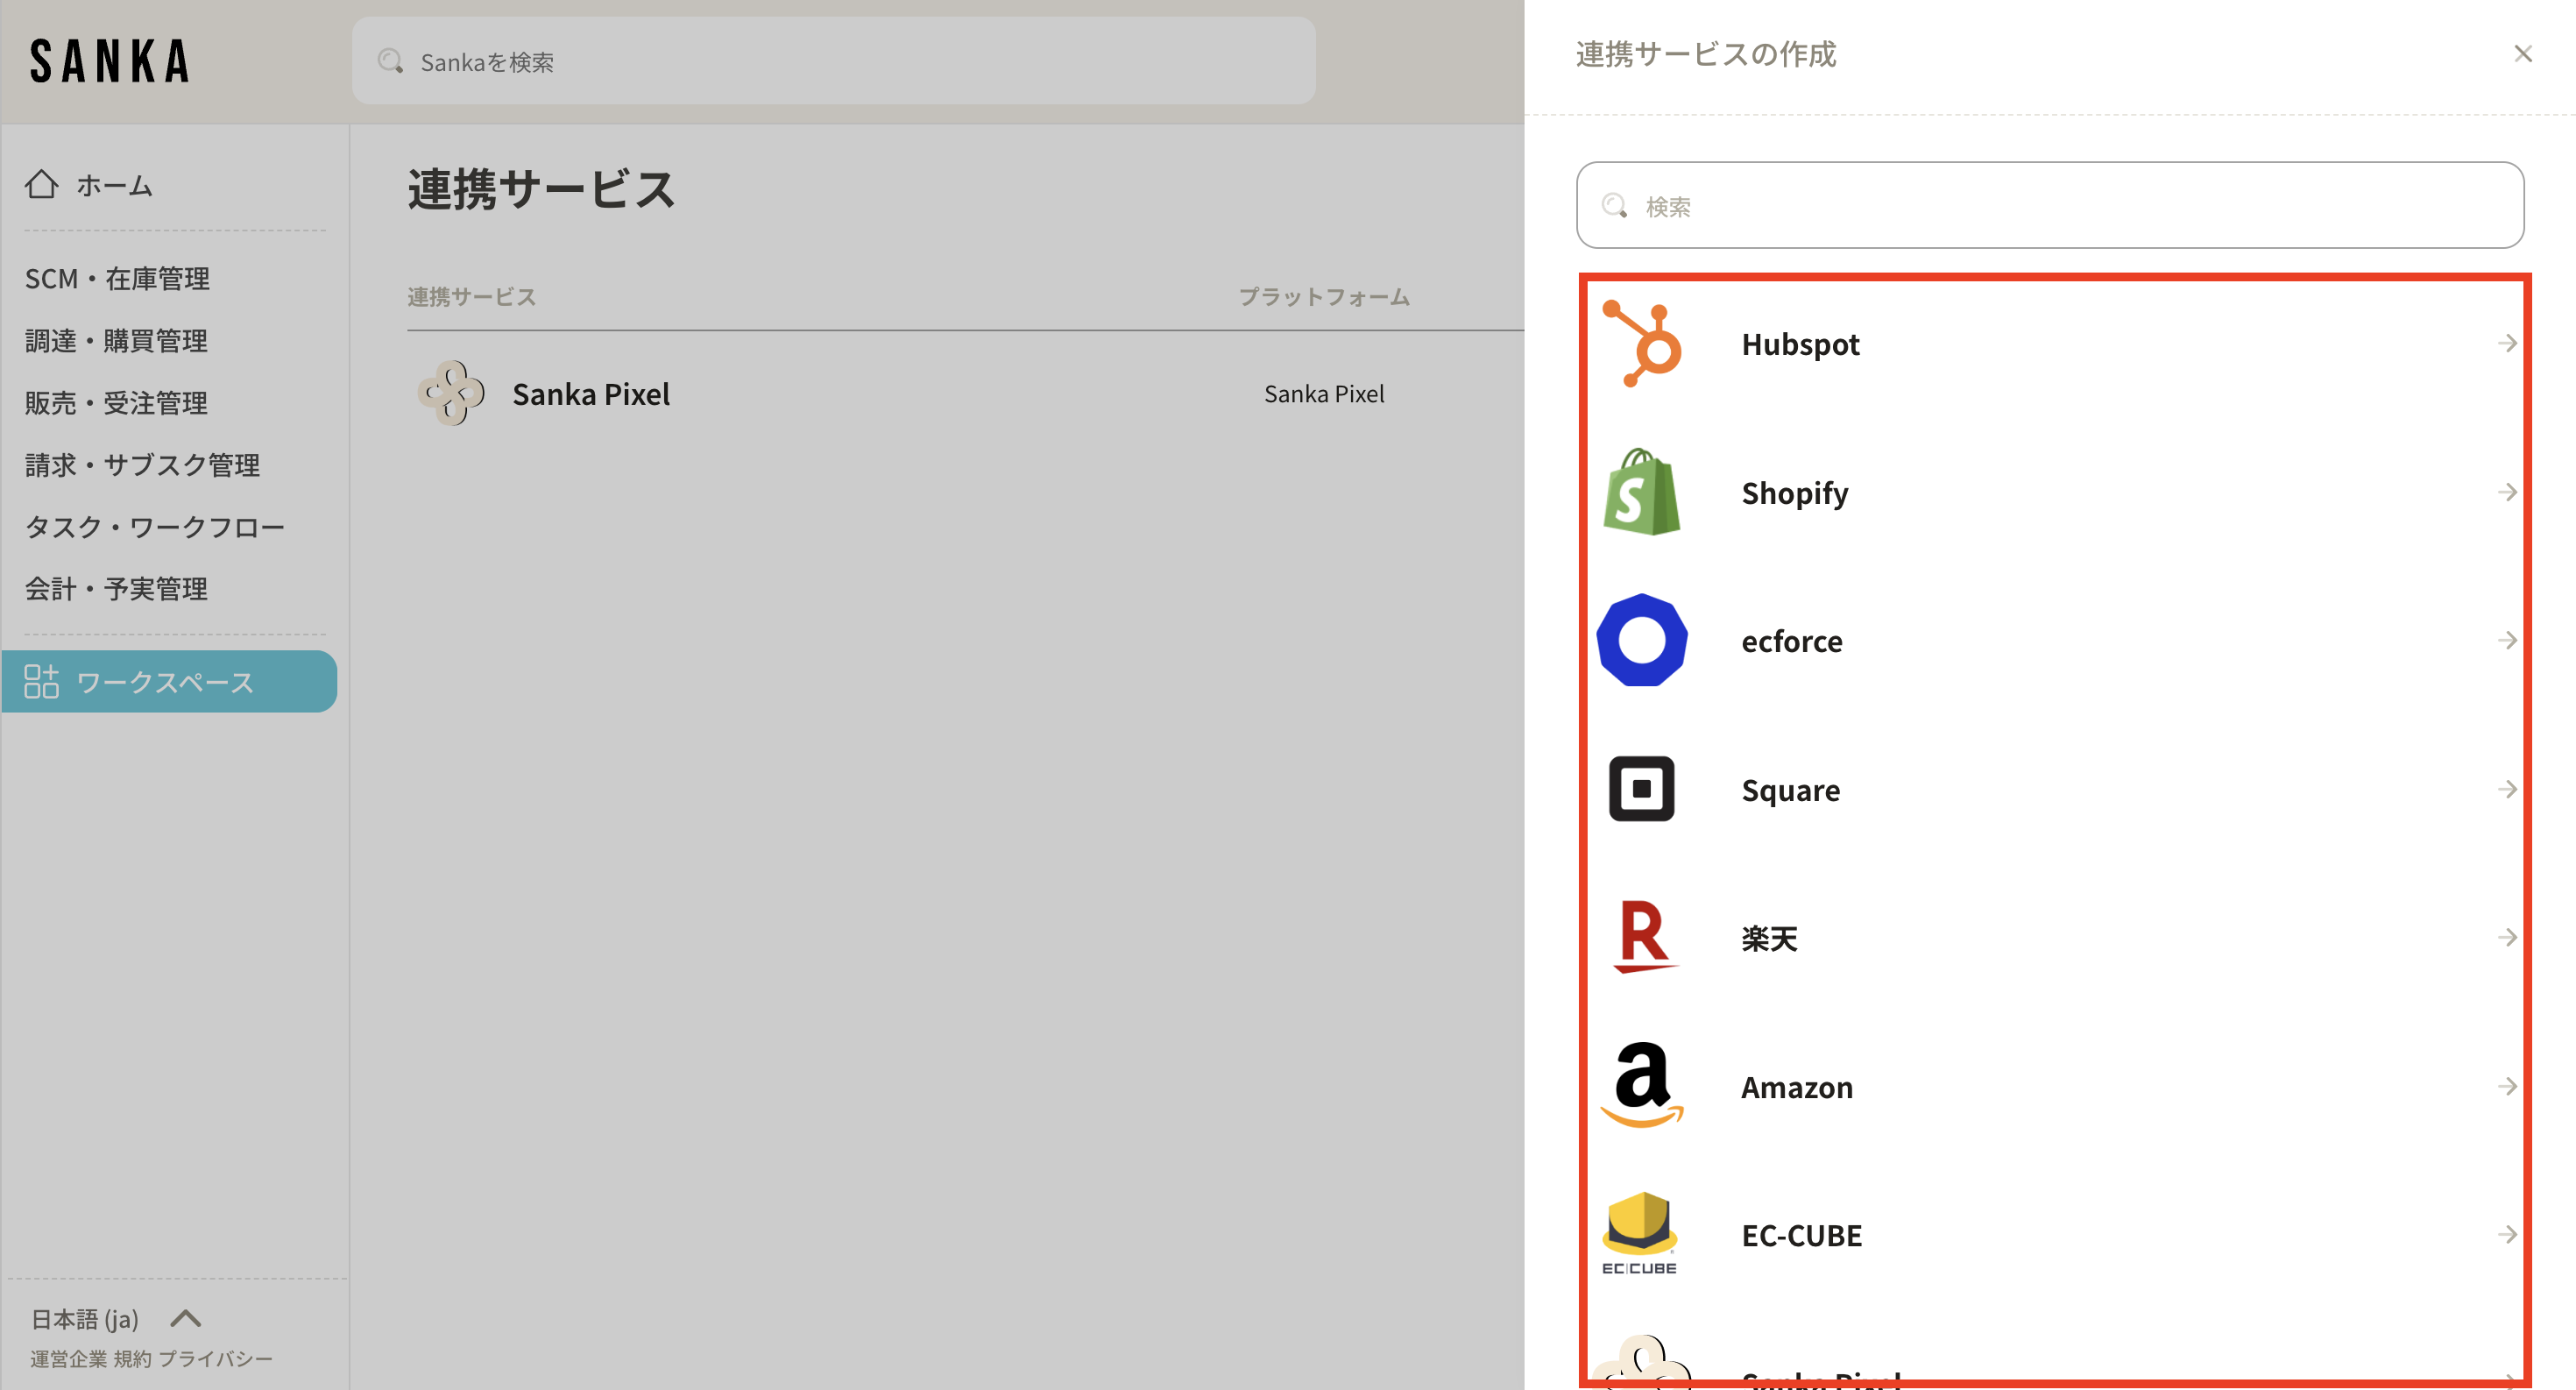 **④ Select “Salesforce” to start linking. You can also scroll through the list of integrated services or use the search bar. **
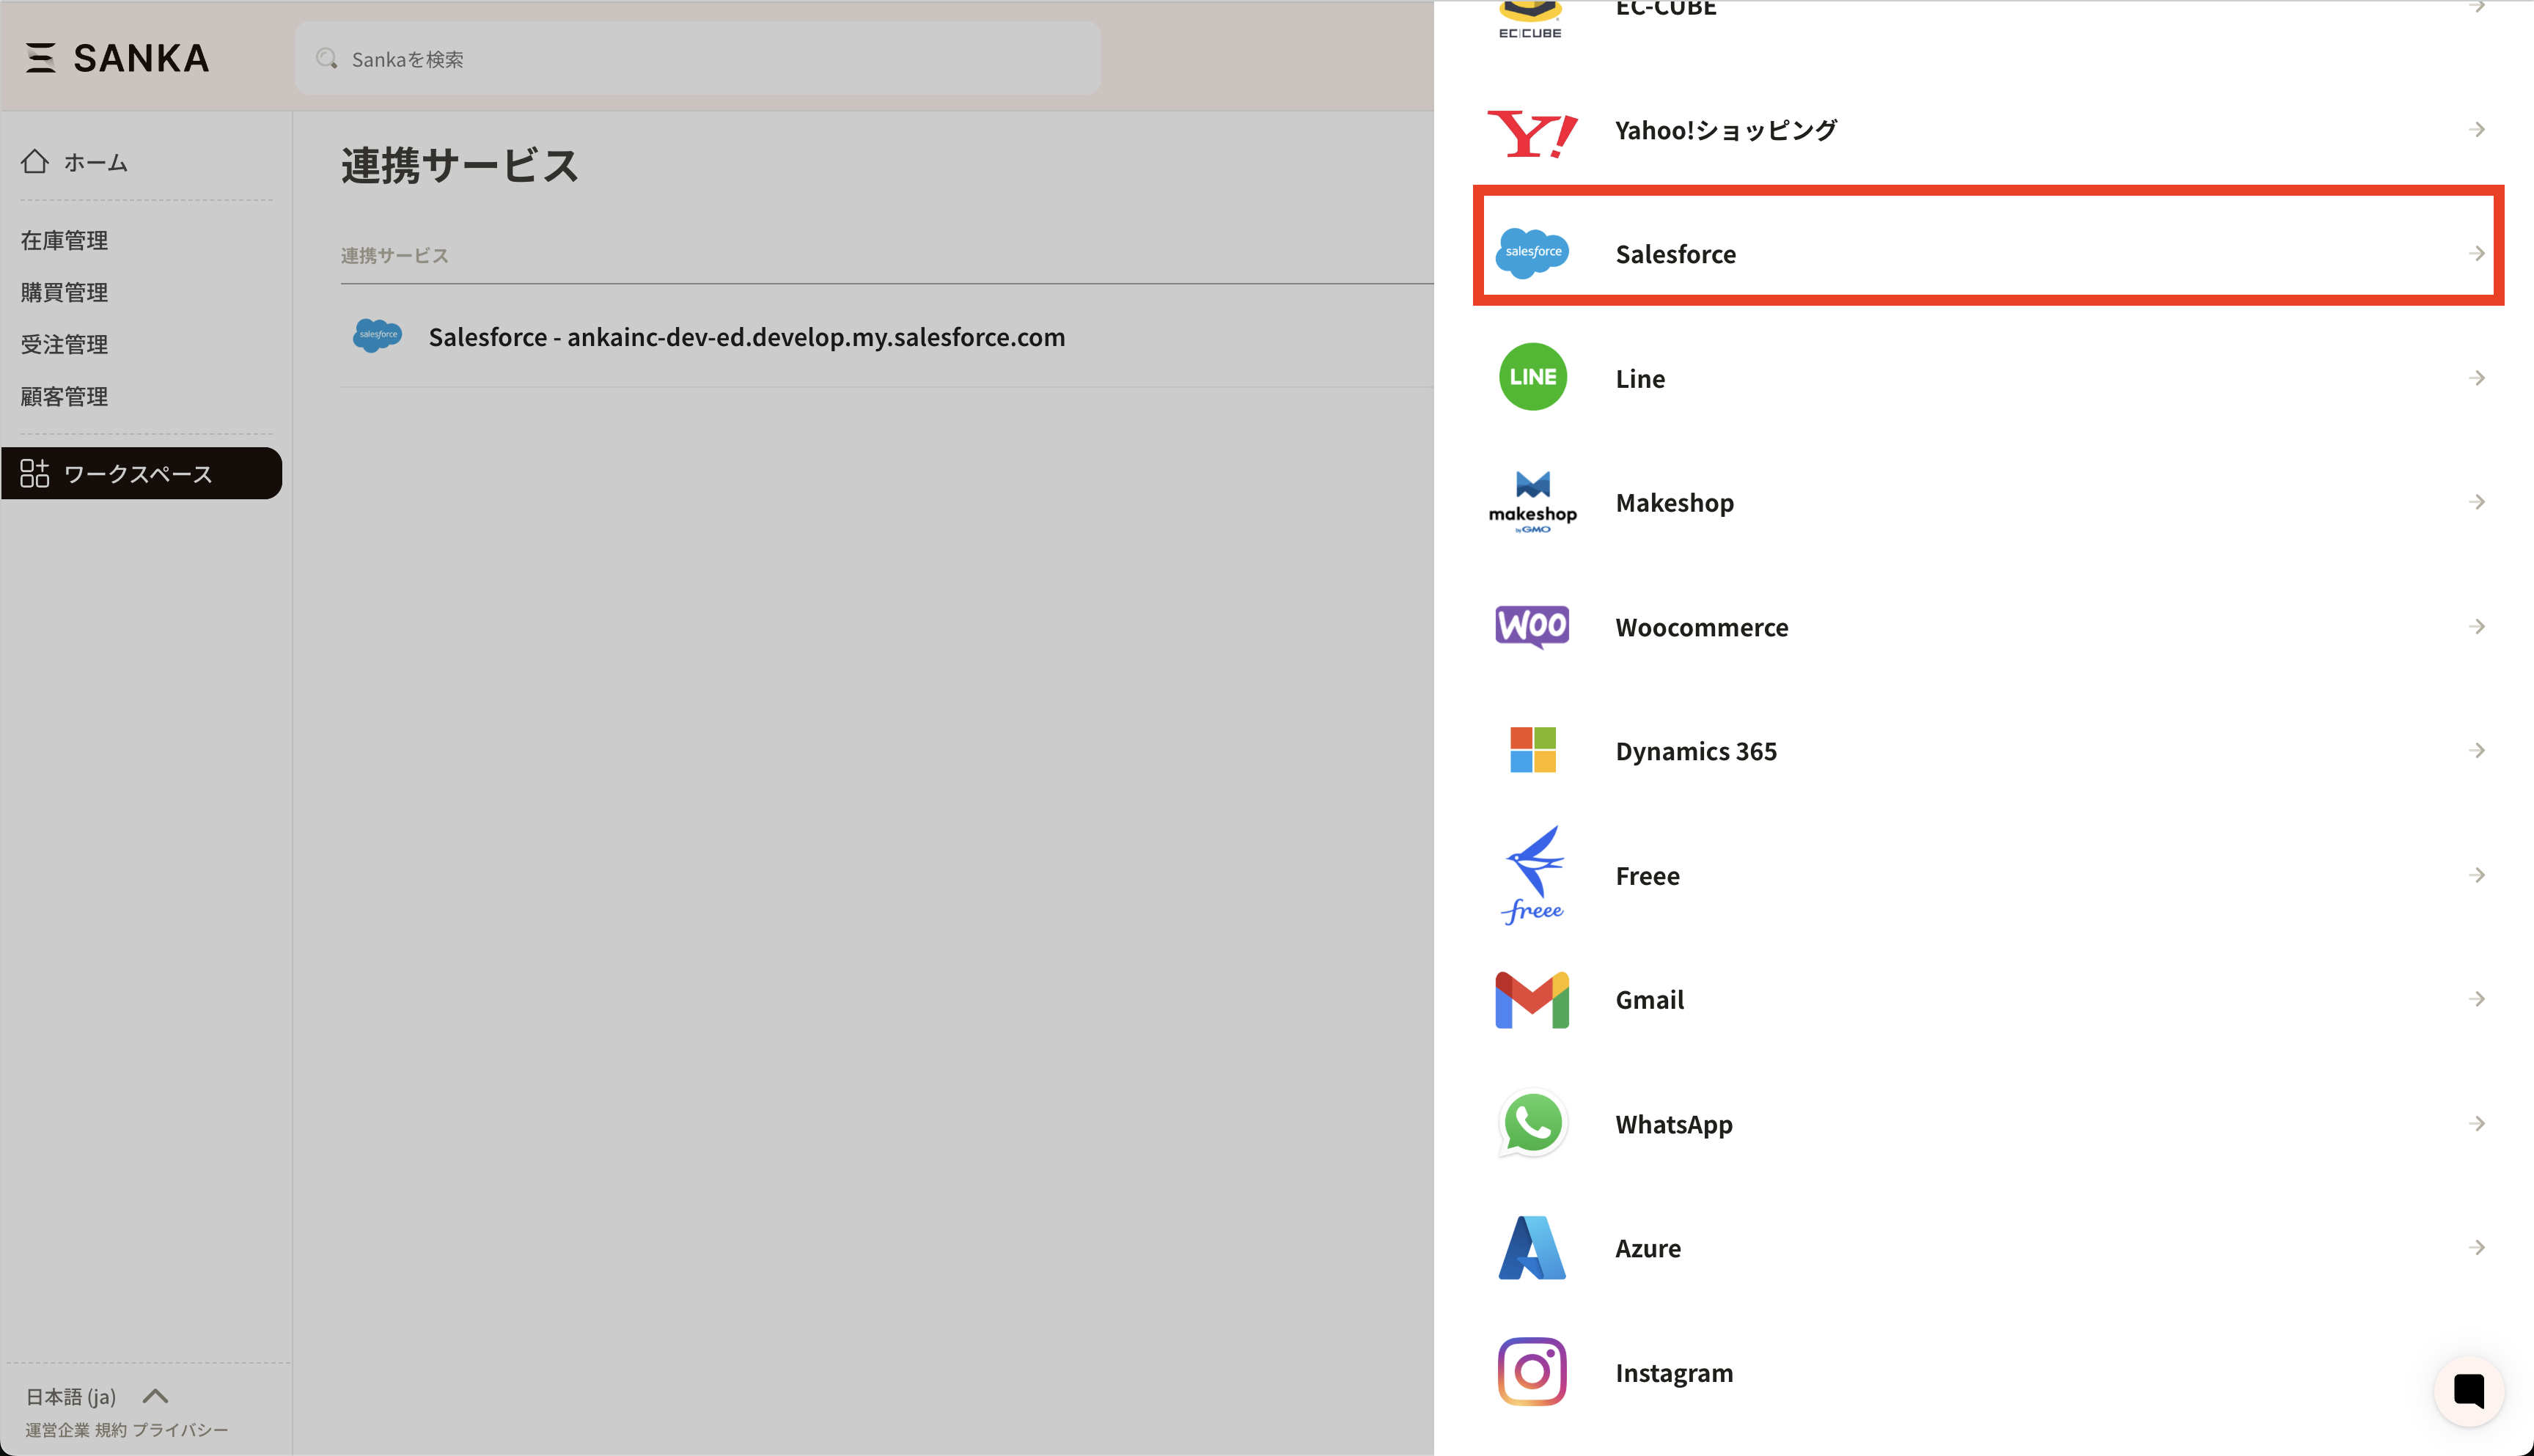 **⑤ Make sure “Salesforce” is selected and start linking. **
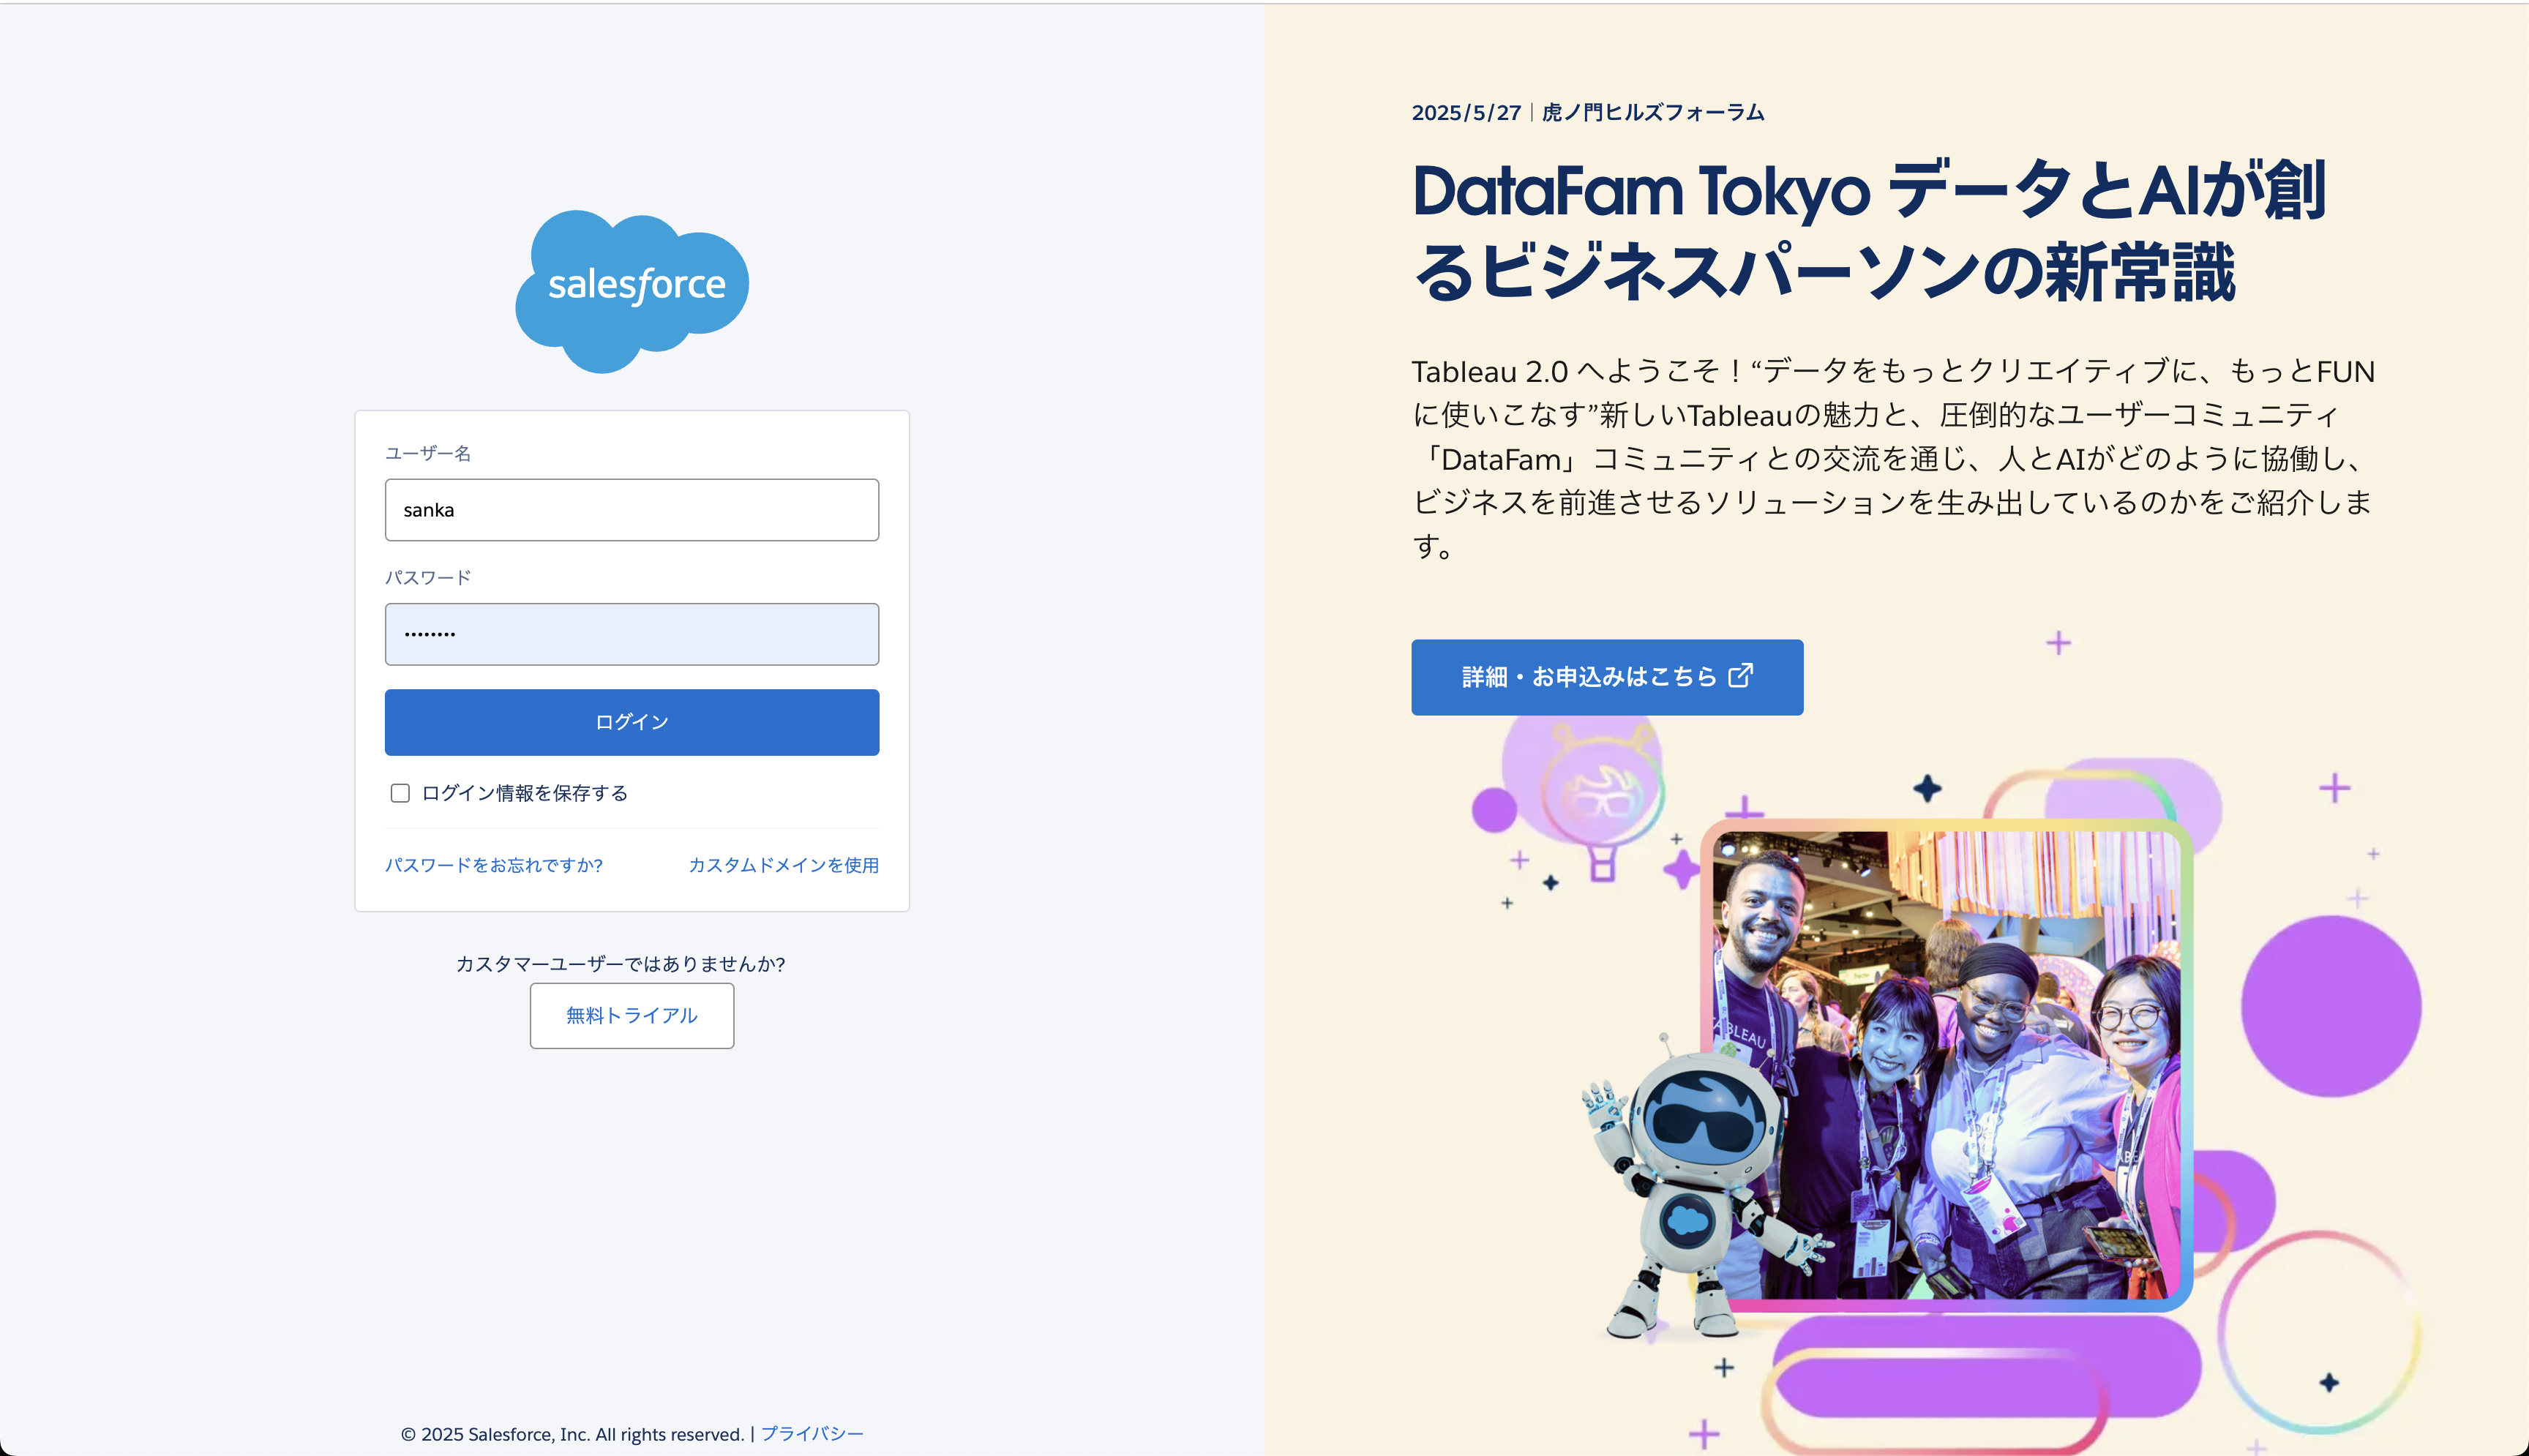
 **⑥Next, the Salesforce authentication page will be displayed, so select the account you want to link and give permission. **
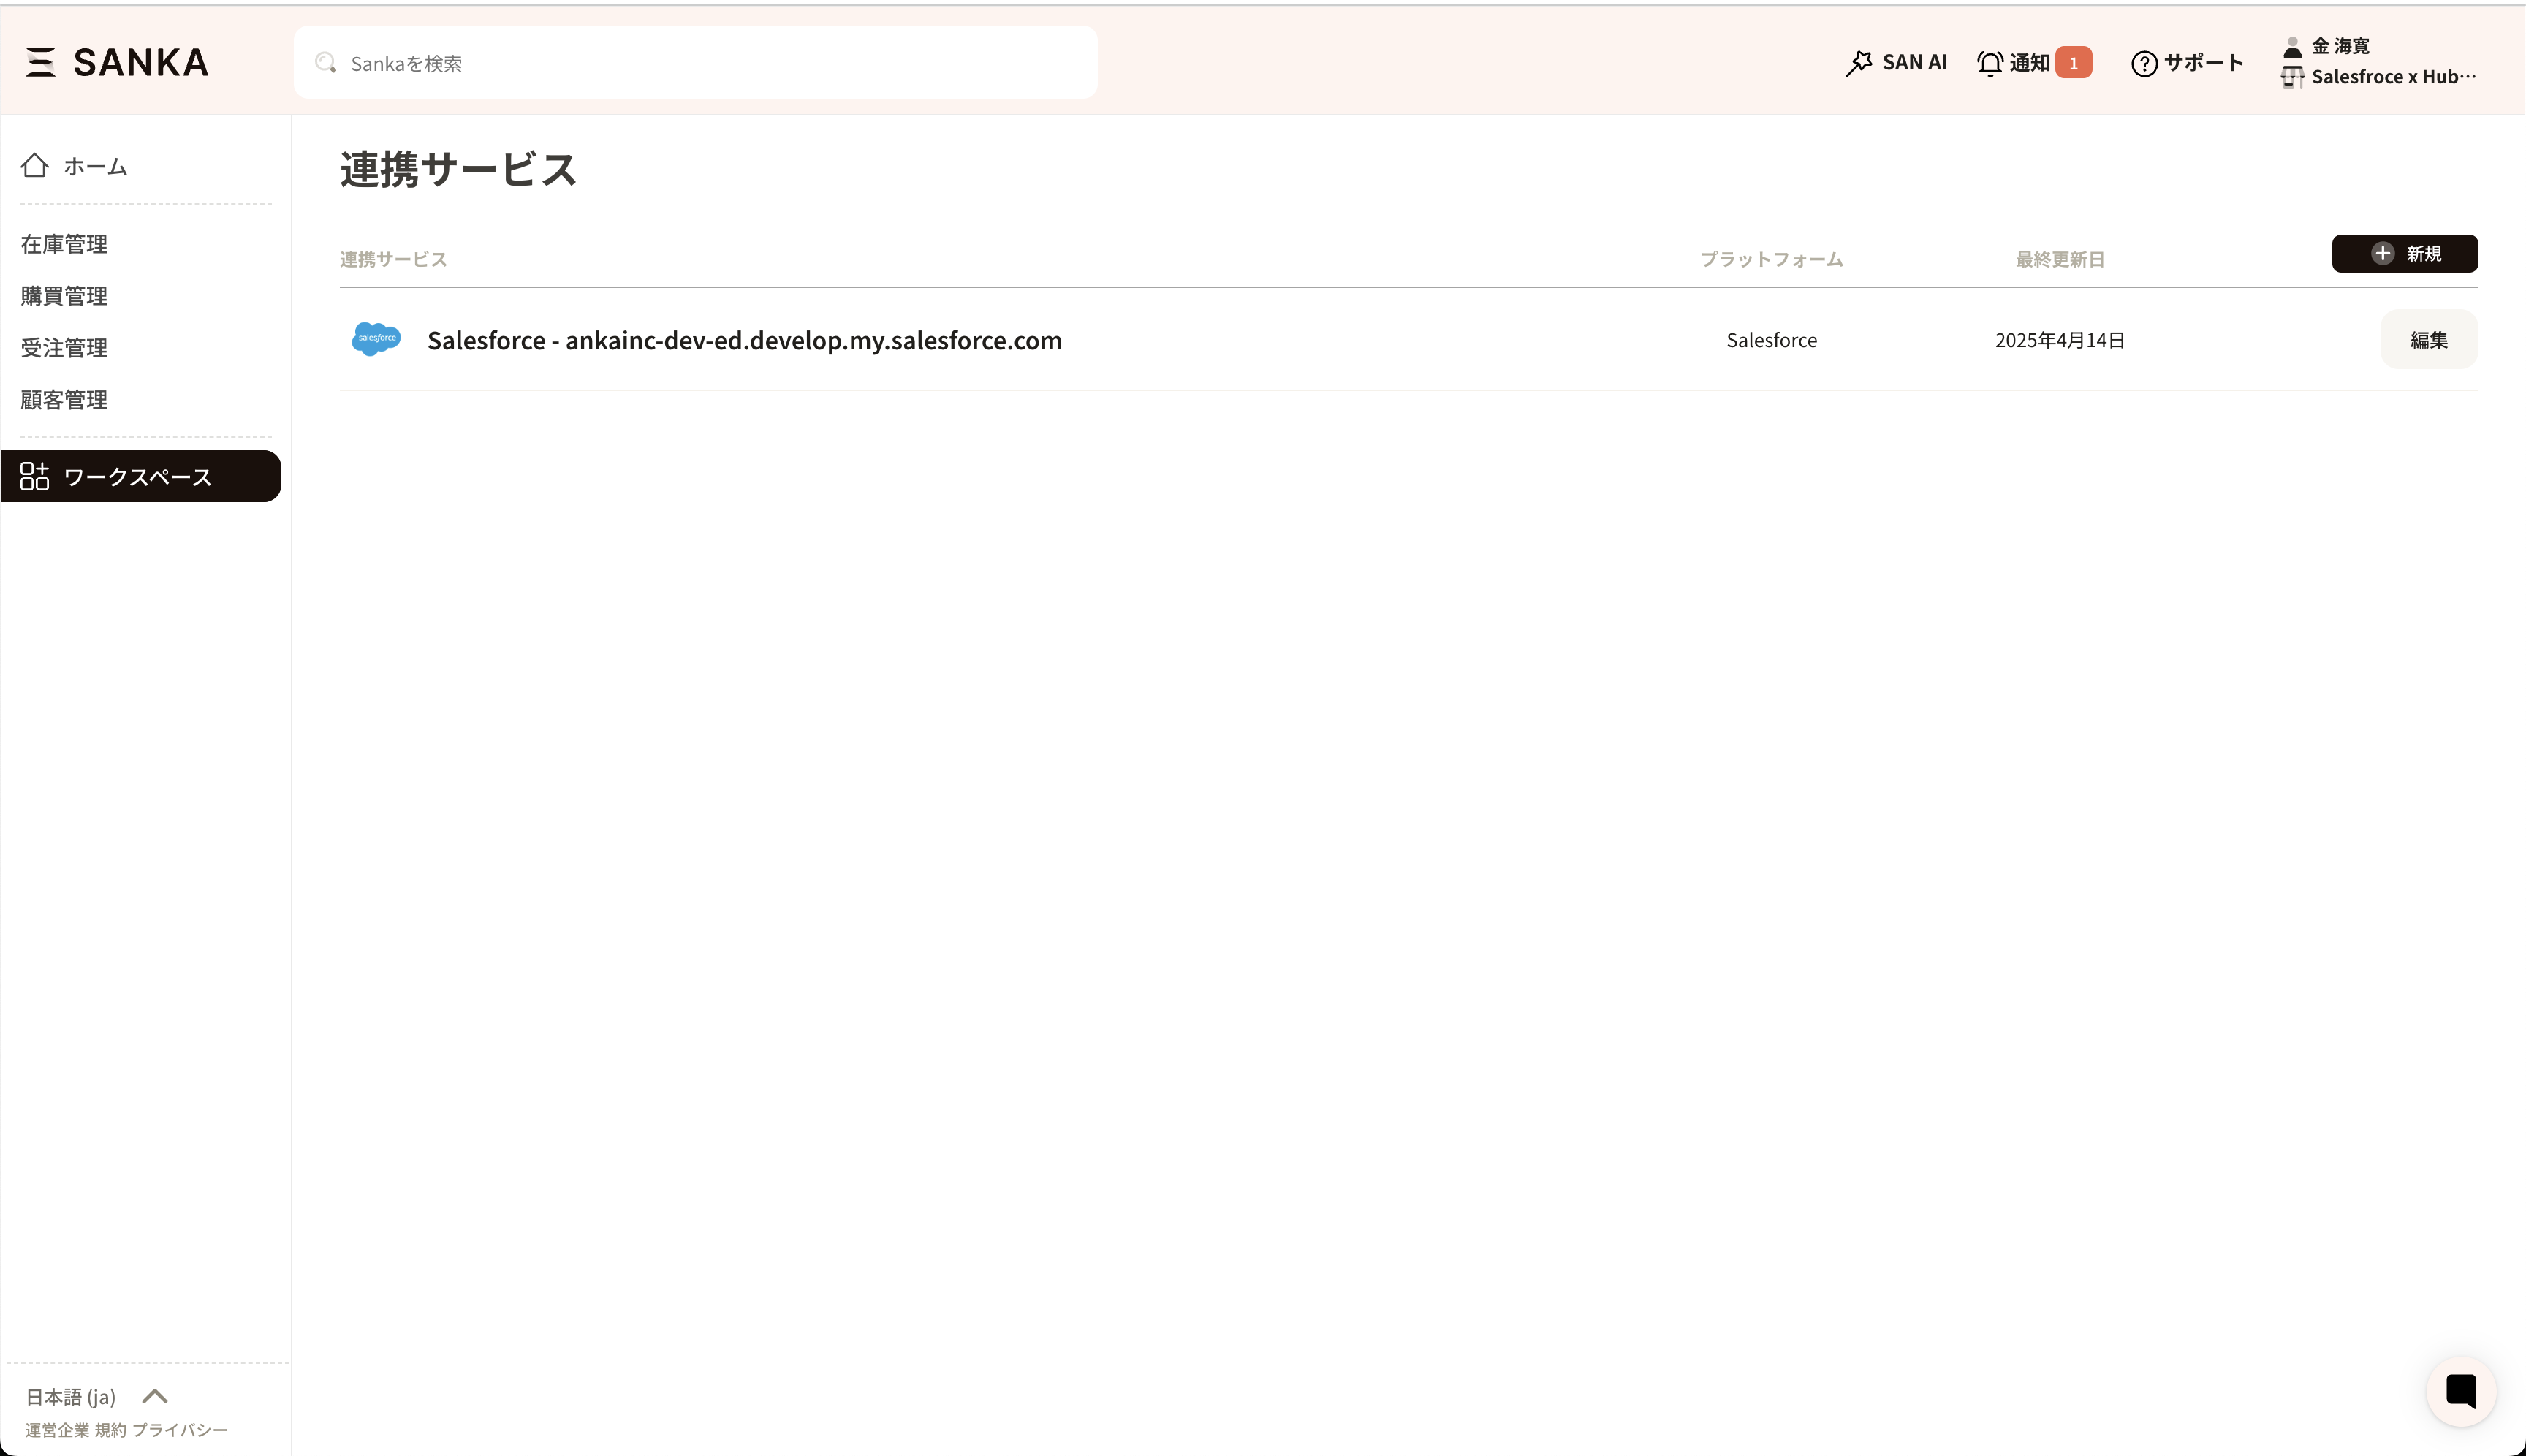
 **⑦If you allow cooperation, you will be redirected to Sanka. If the integration is successful, your HubSpot account will be displayed on the integration service page. **
Import accounts
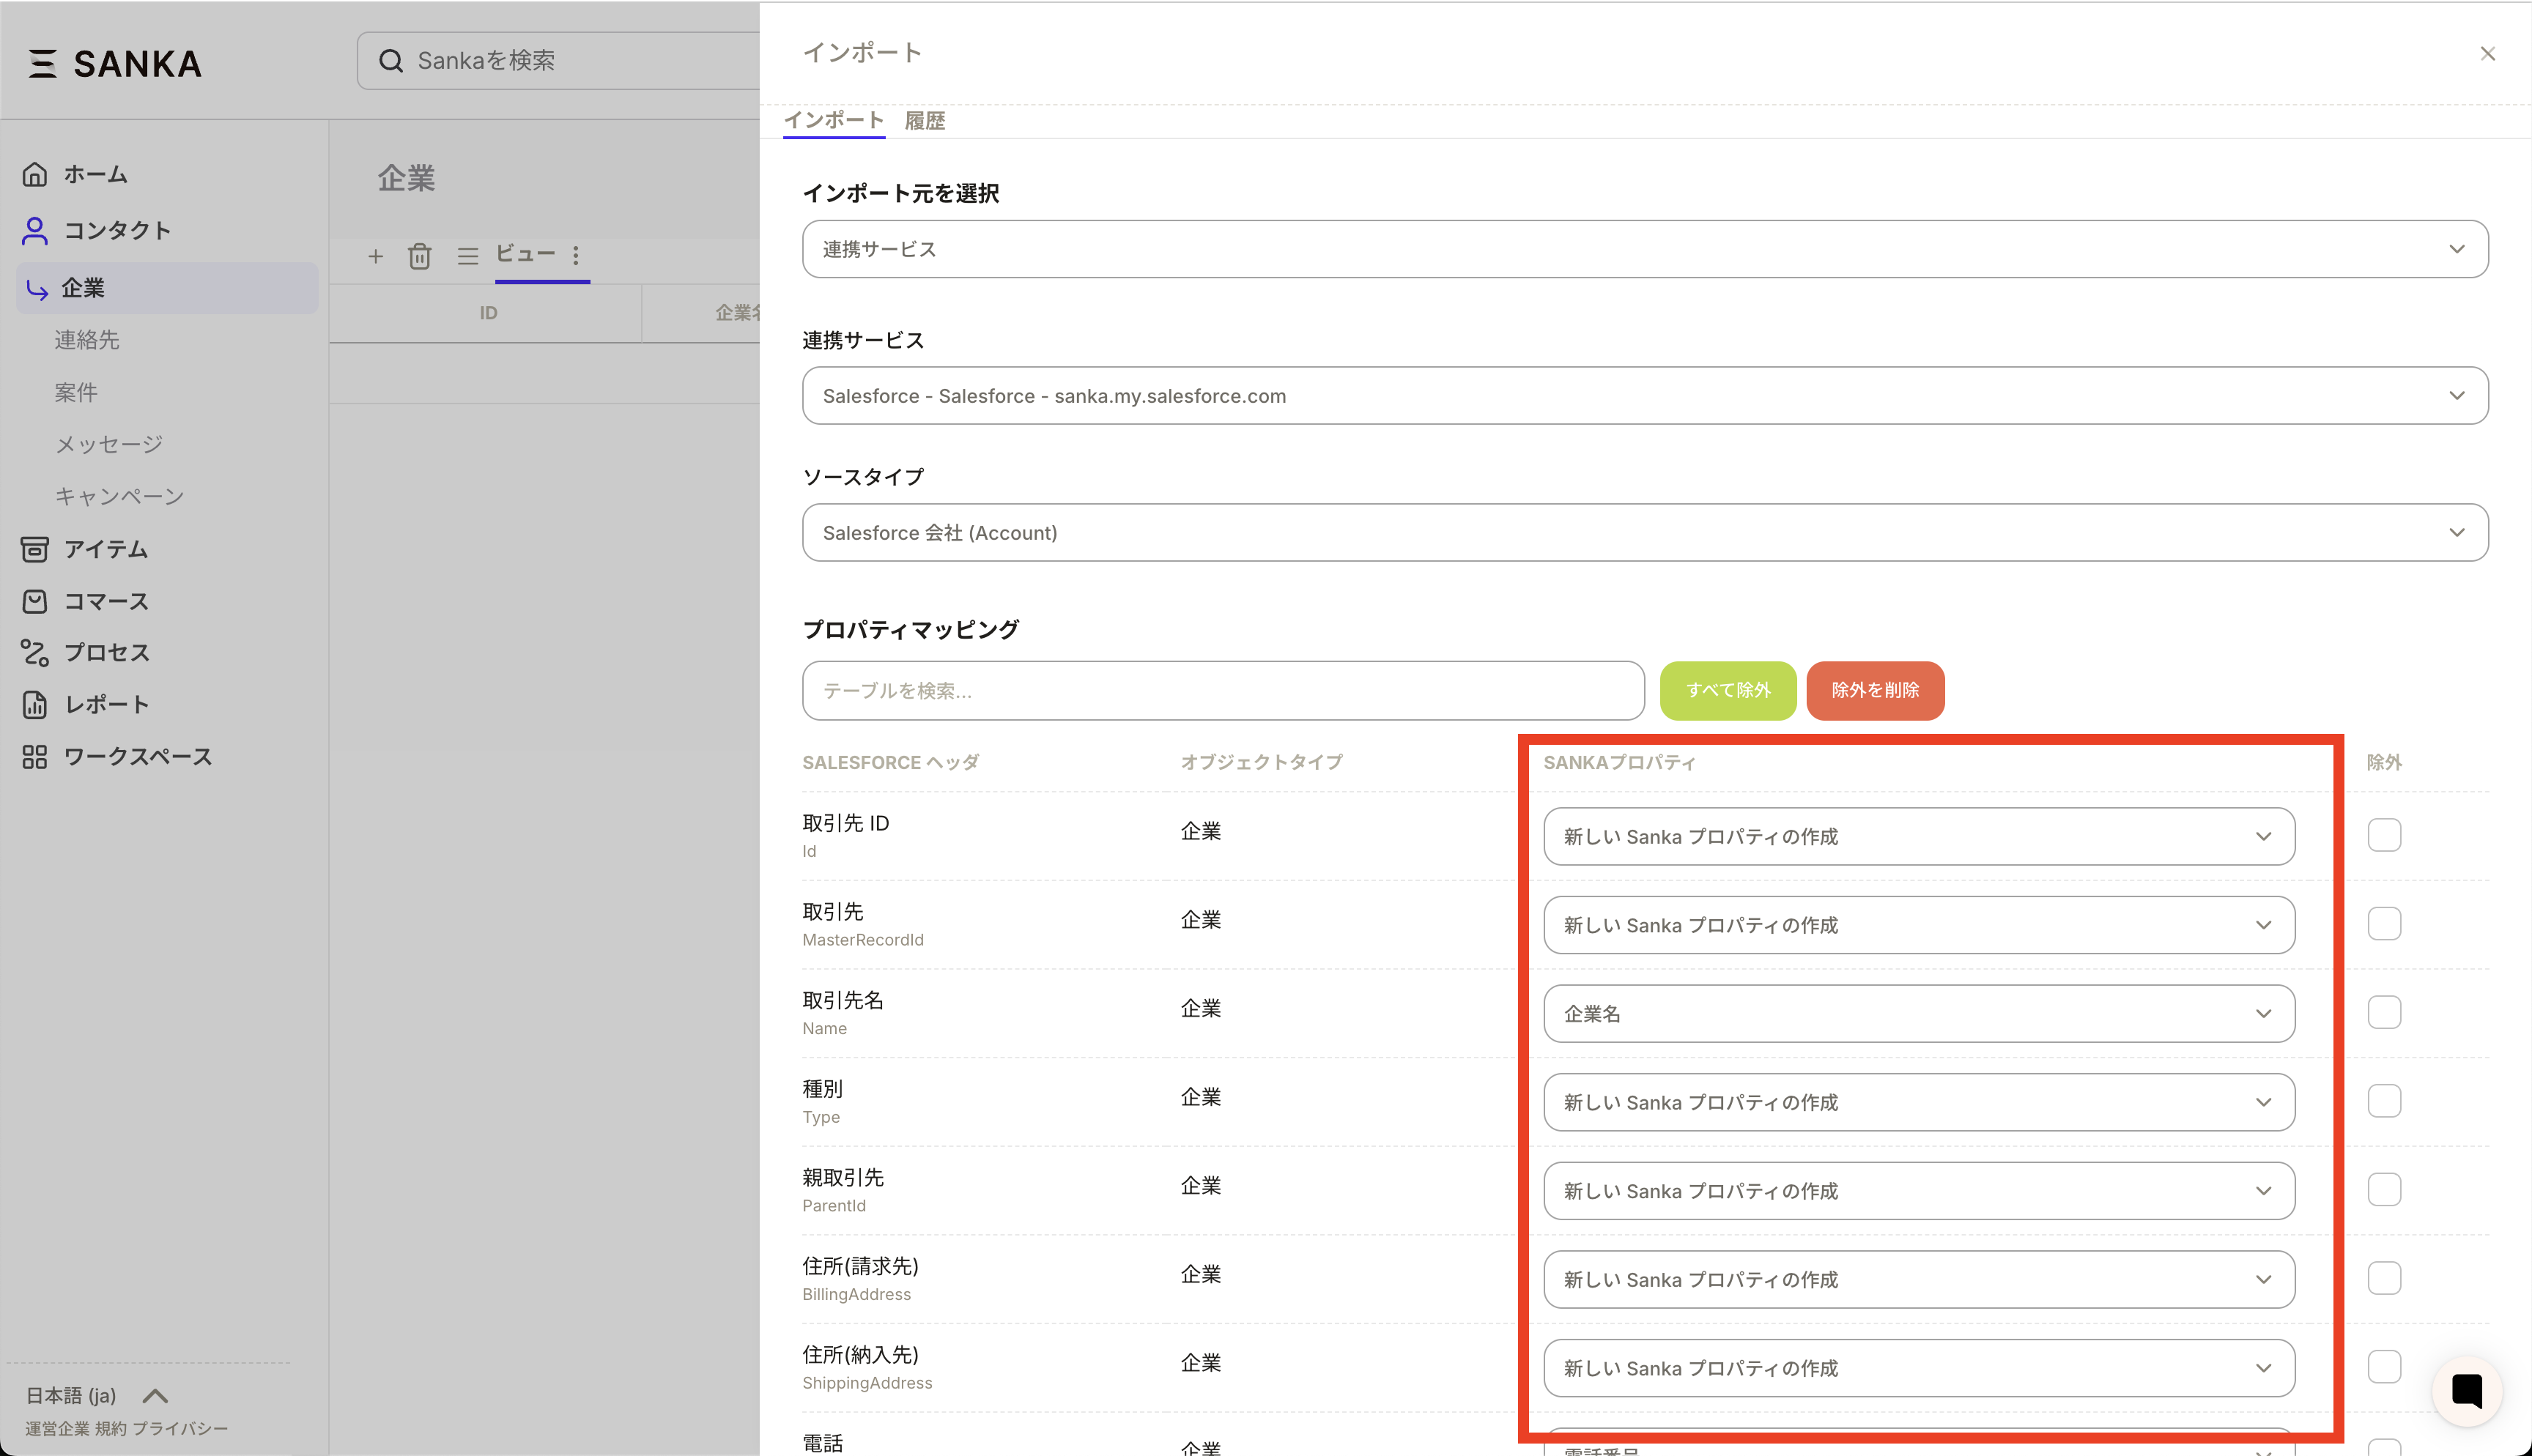
**① Access Sanka’s “Company” menu and click Import. **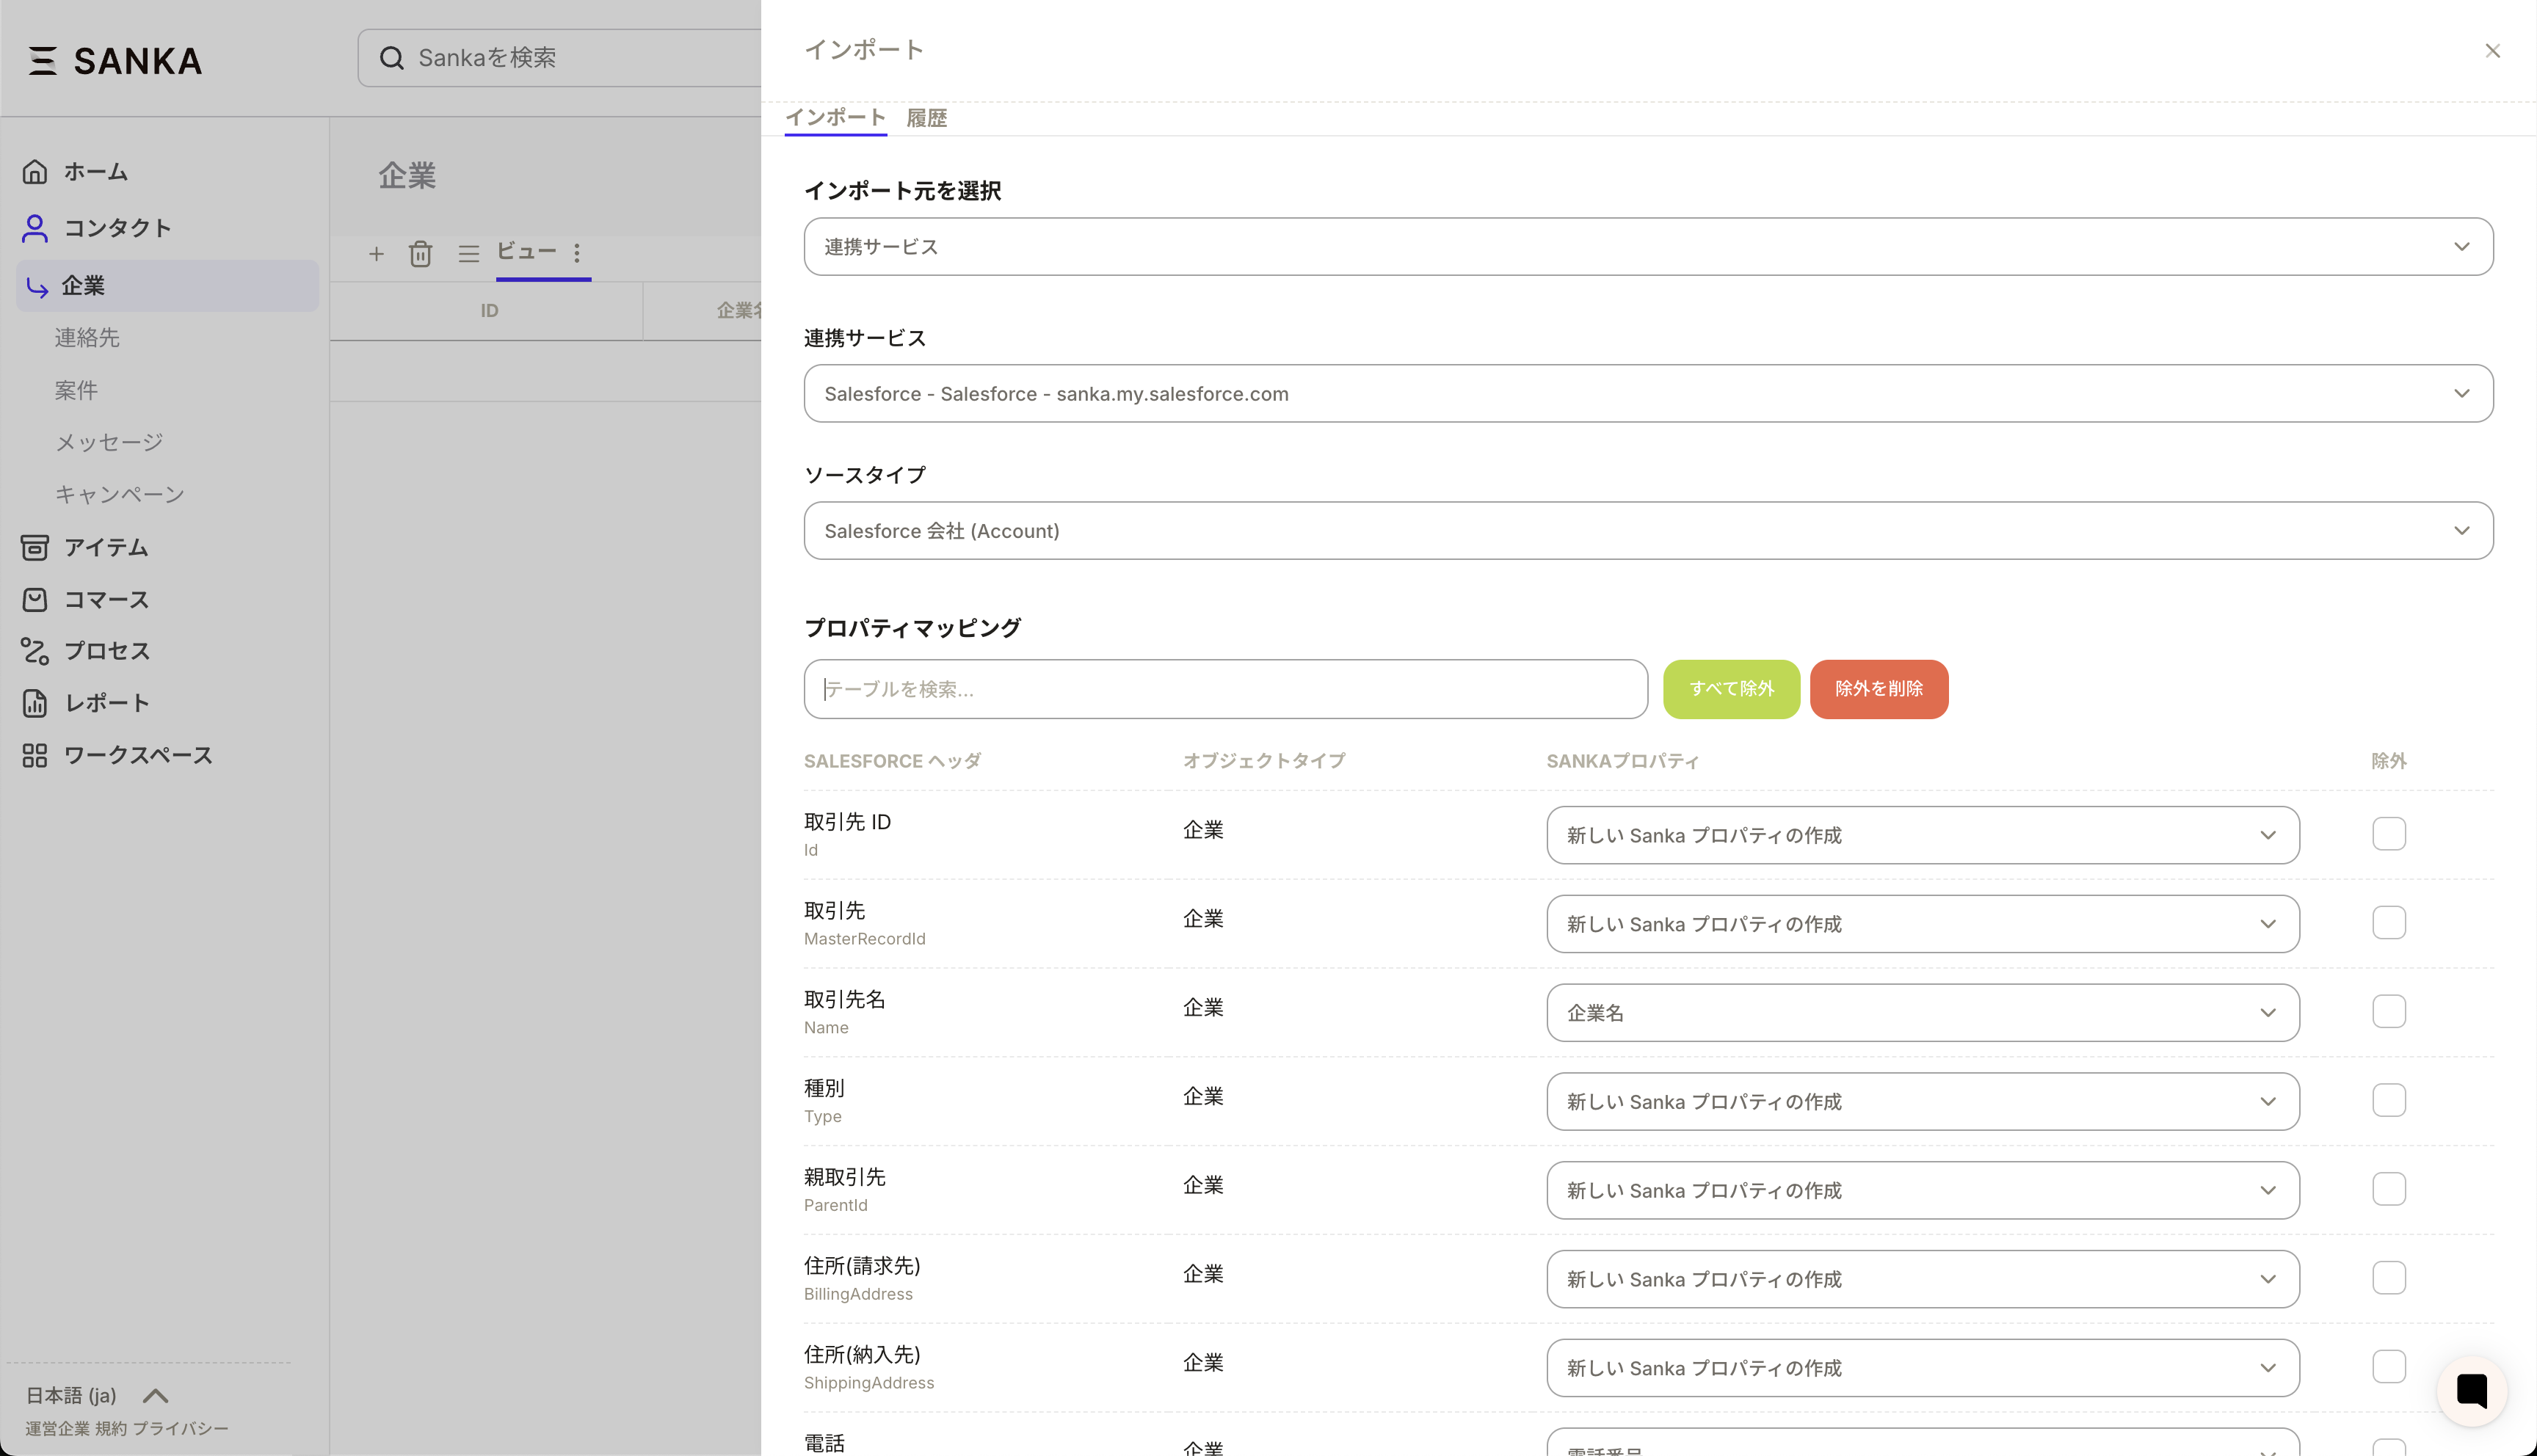 **②We will map the Salesforce items and Sanka properties. **
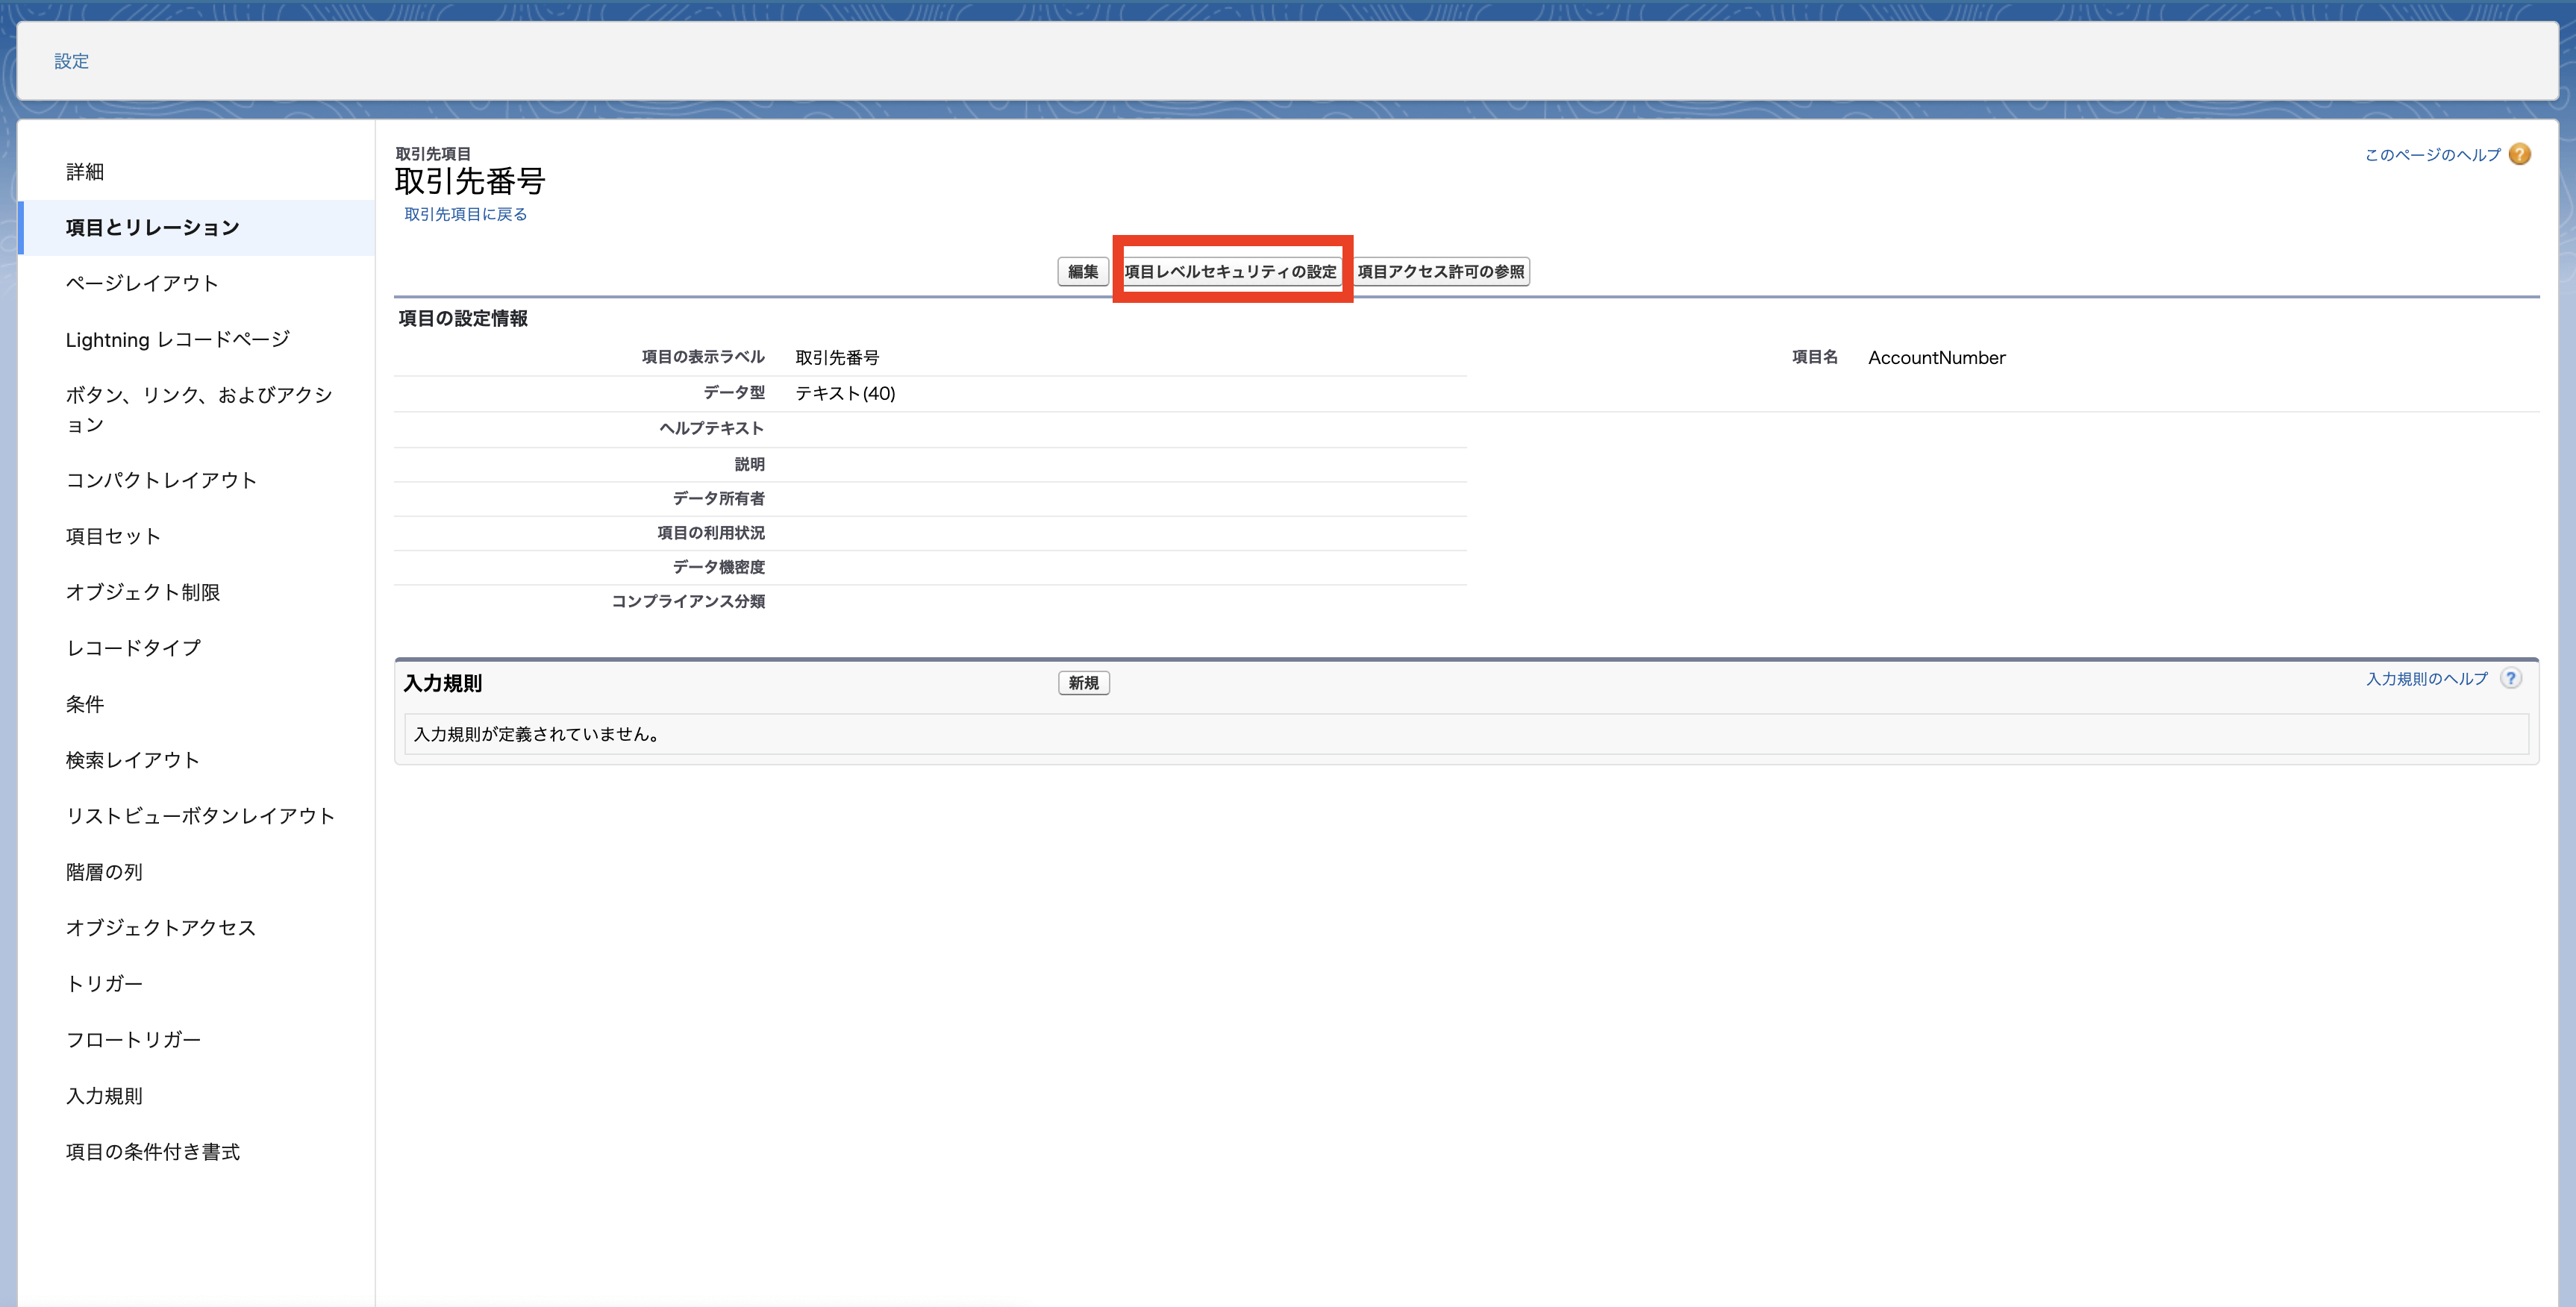
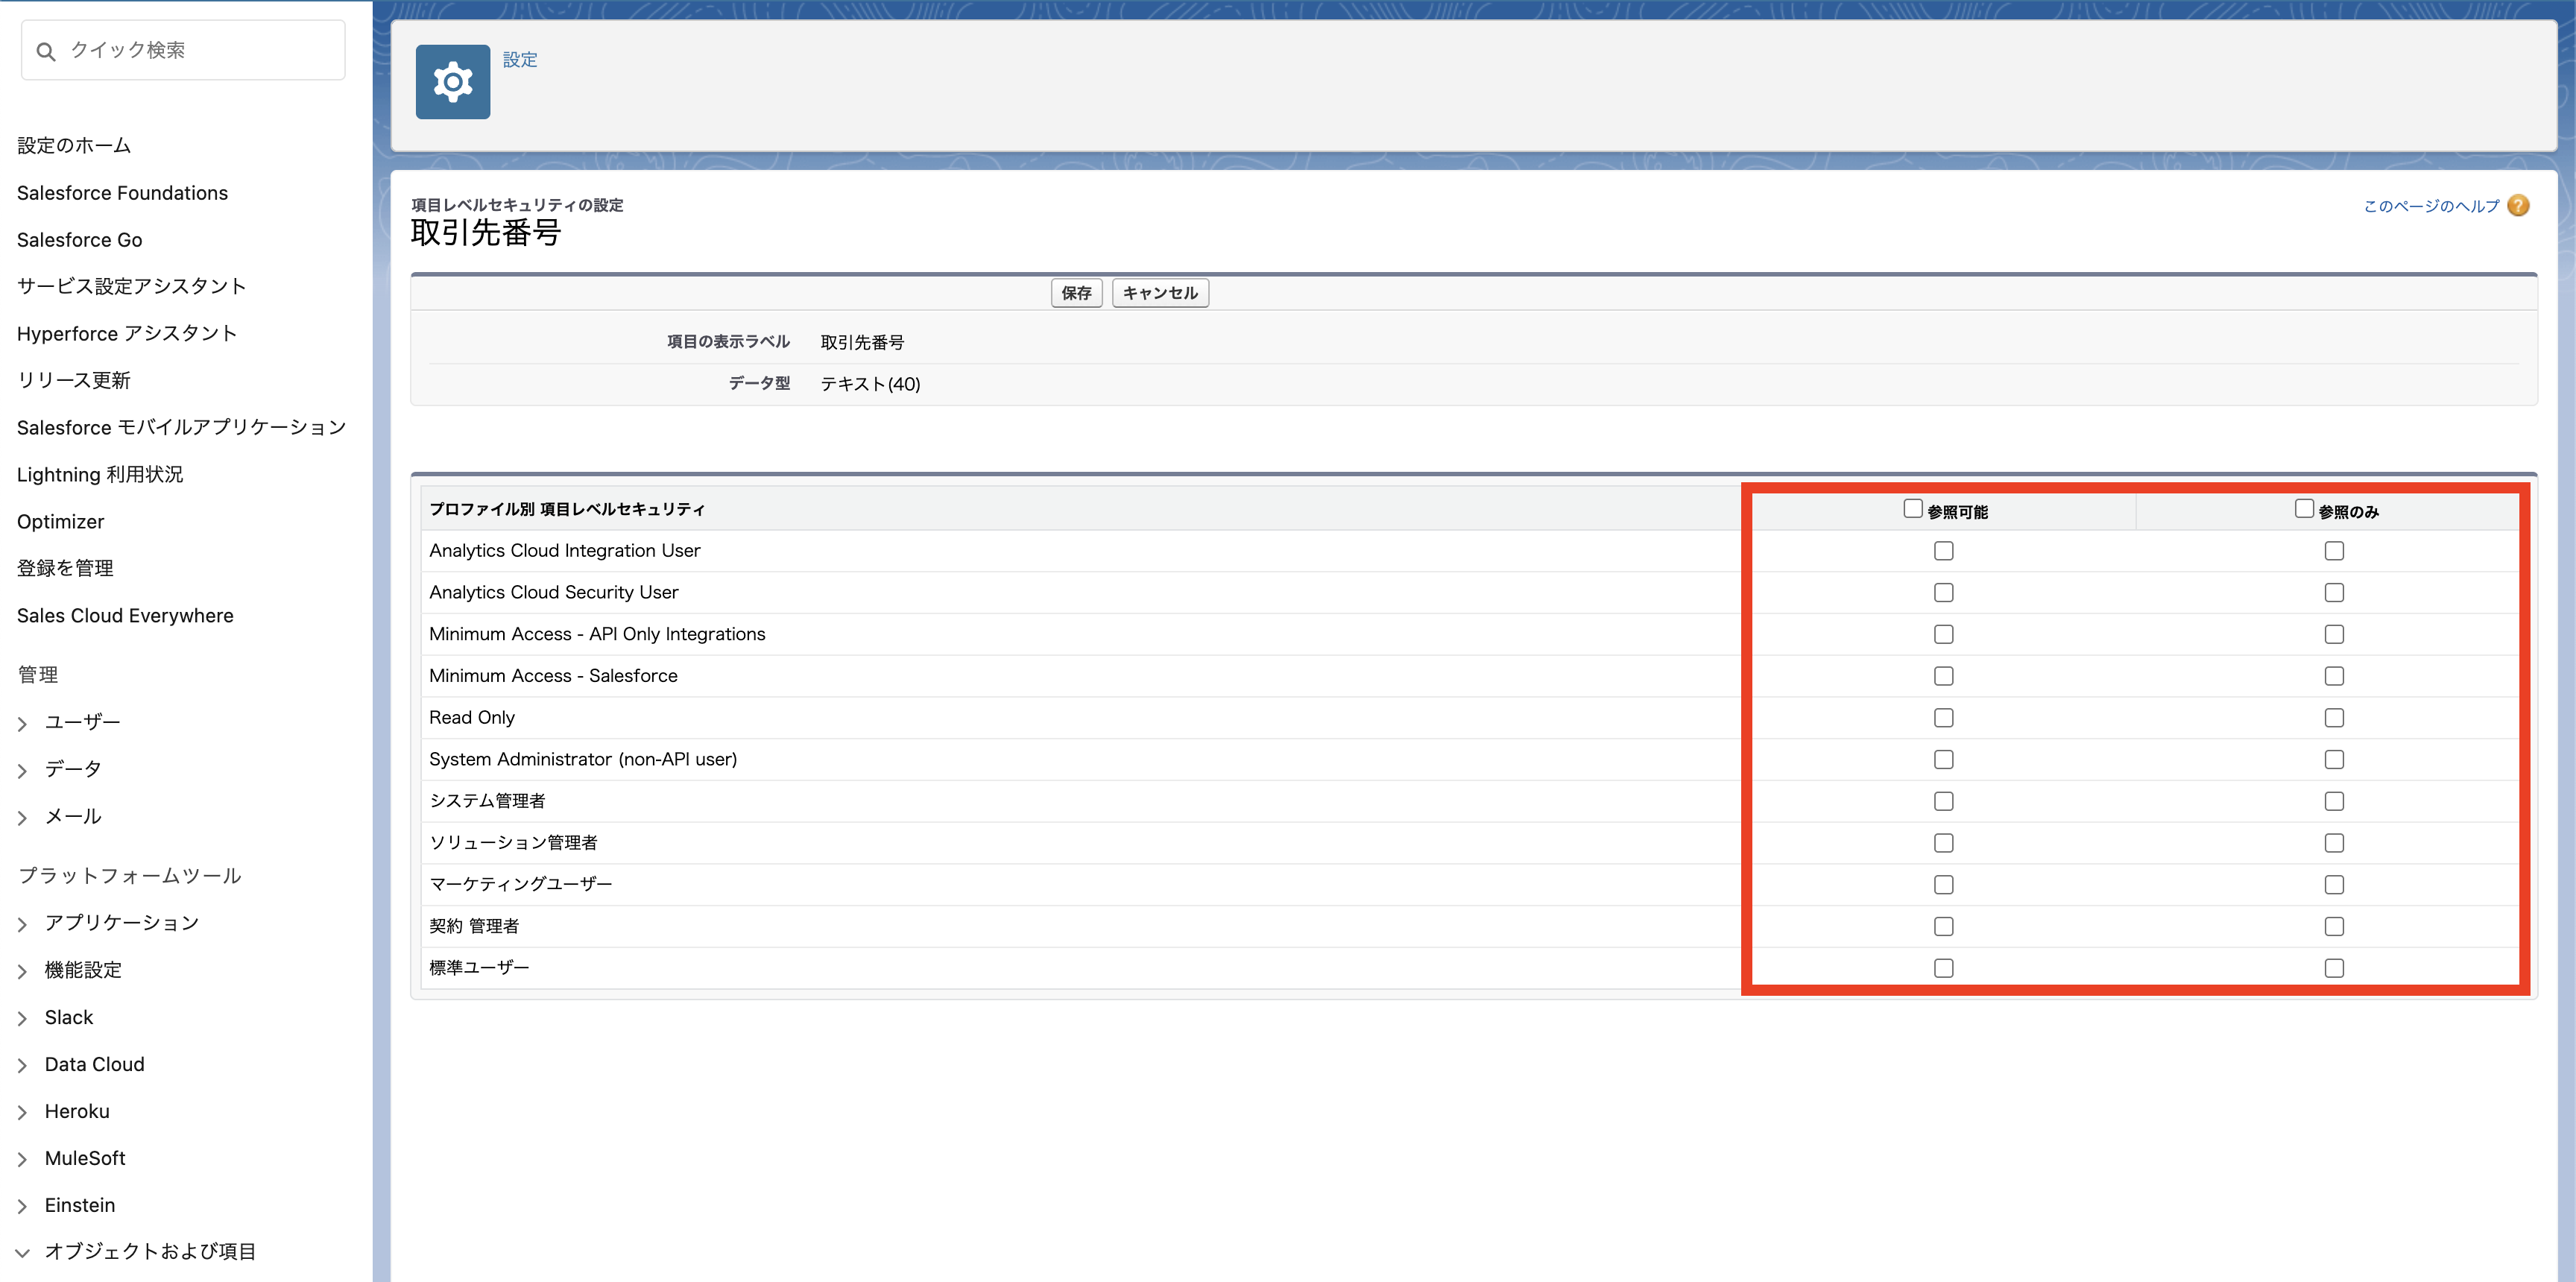
 **③ Caution! When importing to Sanka, please check whether both “Referenceable” and “Reference only” are checked in “Field level security settings” for the Salesforce item. If not, the item will not appear in the property association mapping. **
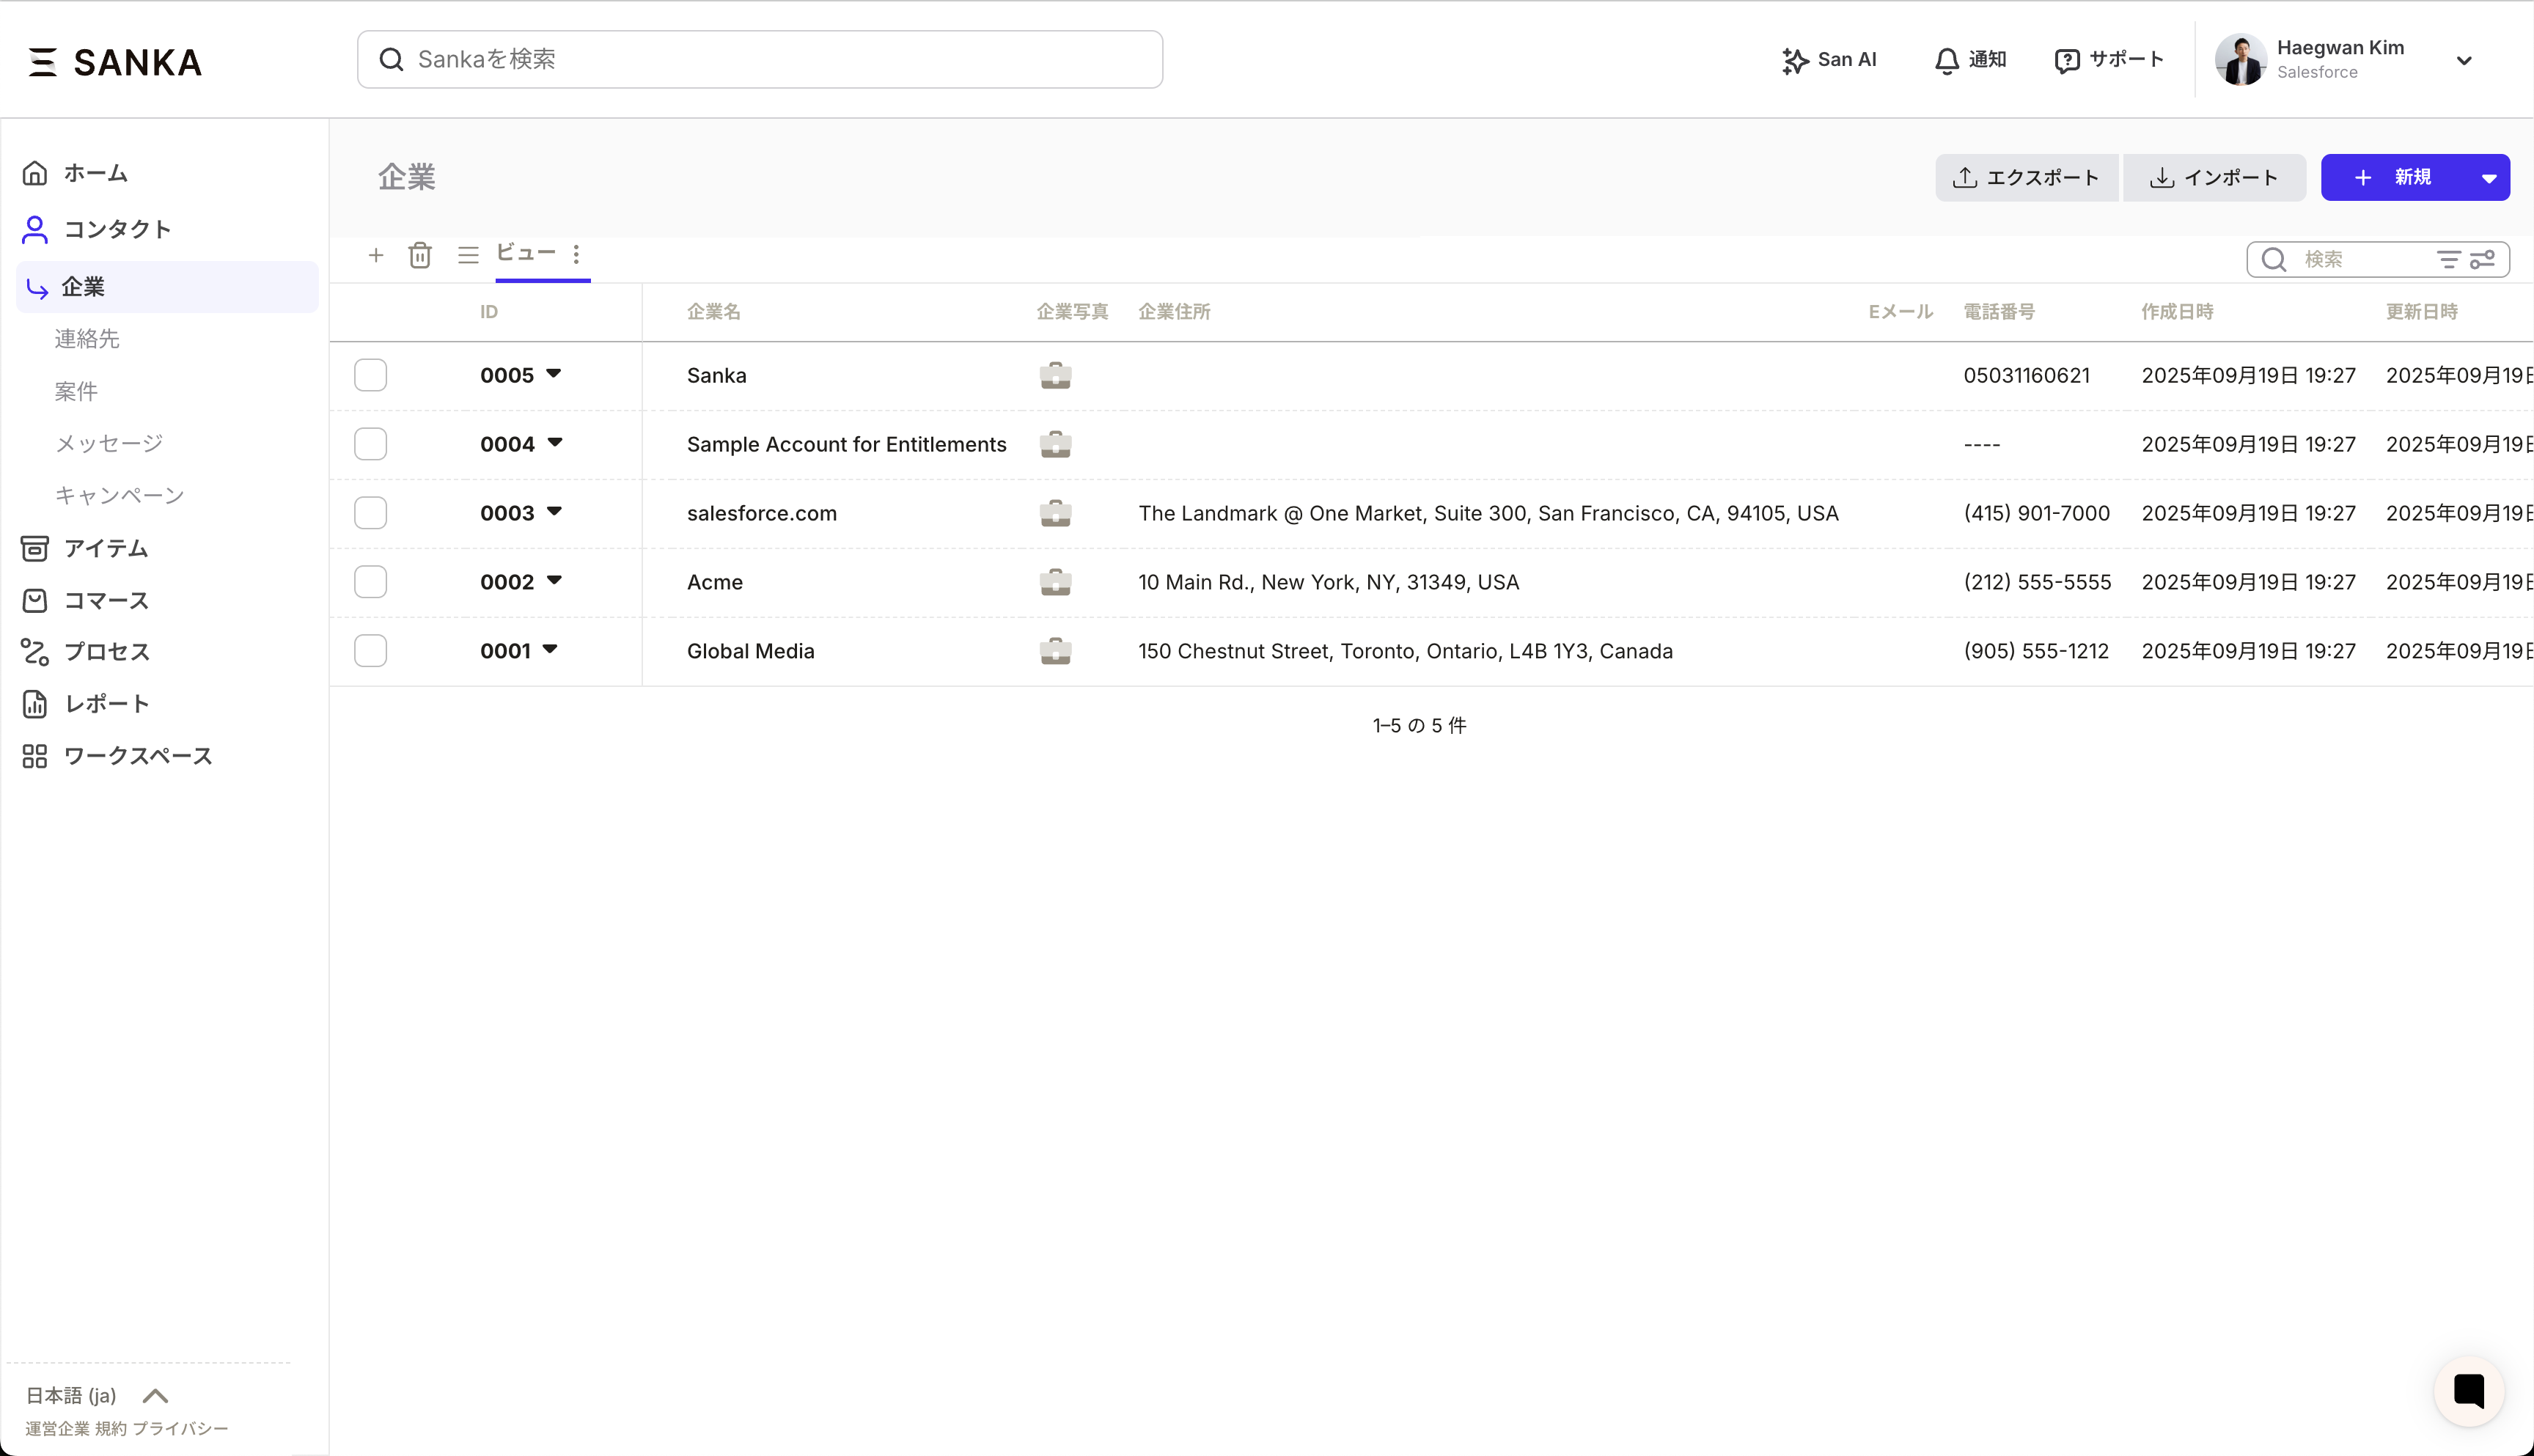
 **④ After mapping is complete, click Import to complete the import. **
Troubleshoot
Permission setting error
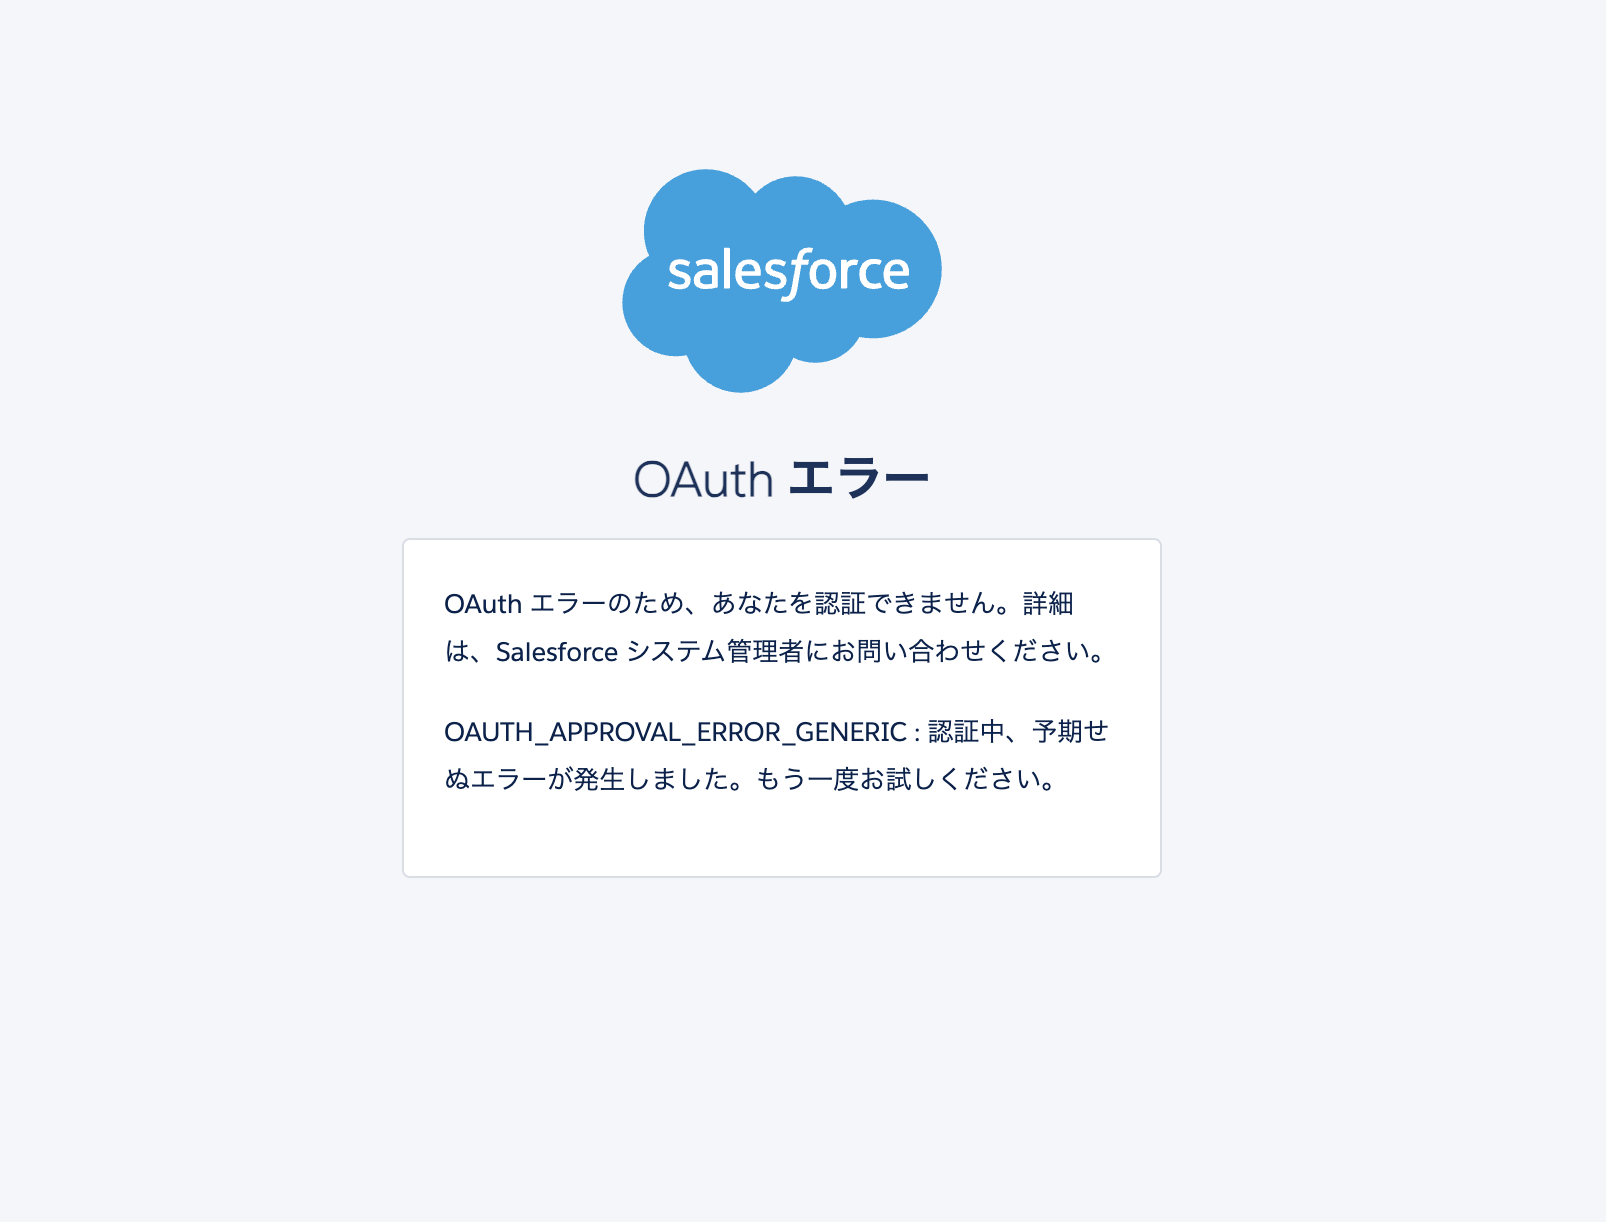 If you receive an error like the one below, please check the system administrator restrictions and make sure that the following system administrator privileges are enabled.
- Create, edit, and delete connected apps
- View all external client applications, view their settings and edit policies
- Application customization
- Check user permissions from settings
- Select Profile from Settings and select the user’s profile
- Click System > Edit System Permissions and make sure the above two permissions are enabled.
- Save changes and try integrating Sanka and Salesforce again.